David Grigor’s Art Club
A Great Success!
Special online art sessions for Down’s Syndrome Scotland
3 portrait projects to celebrate World Down’s Syndrome Day
‘21 Portraits for 21 Days.’
Trisomy 21- otherwise known as Down’s Syndrome.
1 hour online art sessions on 7, 14 & 21 March 2024 was a great success.
World Down’s Syndrome Day was on on Thursday 21 March 2024.
7 adult members with Down’s Syndrome made 3 portraits on the themes:
Pop portrait Picasso portrait Pointillist portrait.


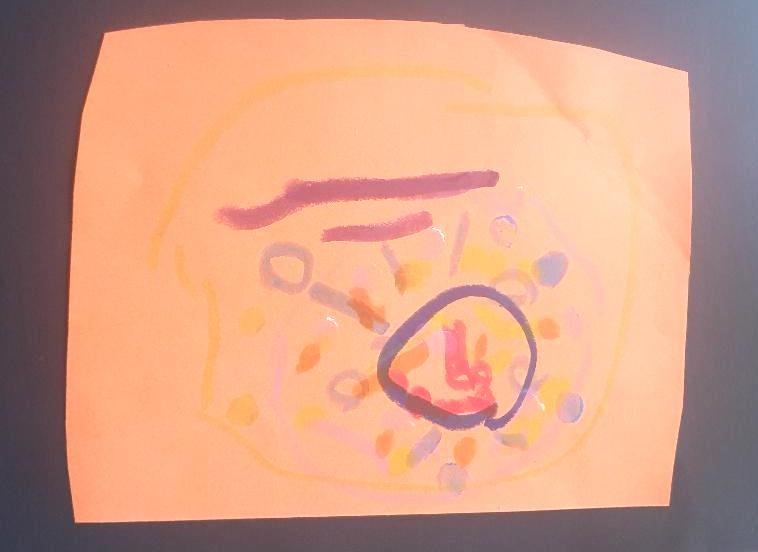
Participating Artists from Down's Syndrome Scotland and their Portraits..
Dream it
Dream it
Participating Artists from Down's Syndrome Scotland and their Portraits.. Dream it Dream it
This is the amazing completed work by the artists below. Read their stories about their portraits soon.
The 21 Portraits for 21 Days
was a Great success!
The Artists who participated in this project are showing their art work below and in their individual galleries.
This was to contribute and celebrate World Down’s Syndrome Day on Thursday 21st March 2024.
These sessions were provided from donations through the recent fund-raising campaign on my website.
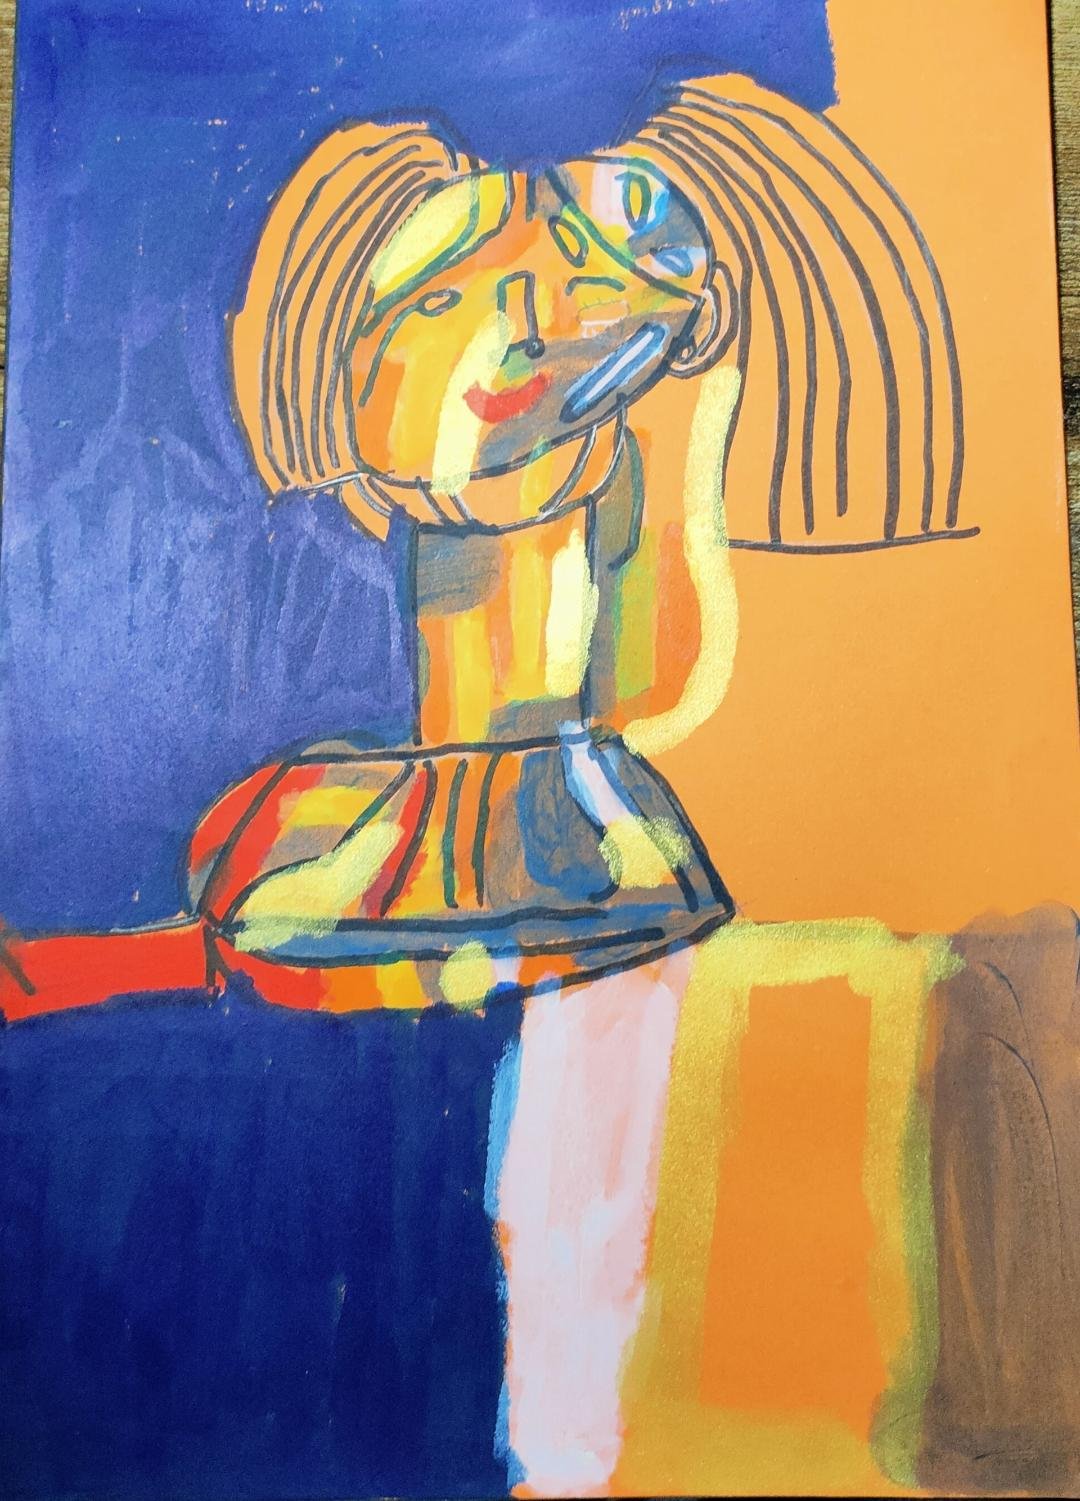
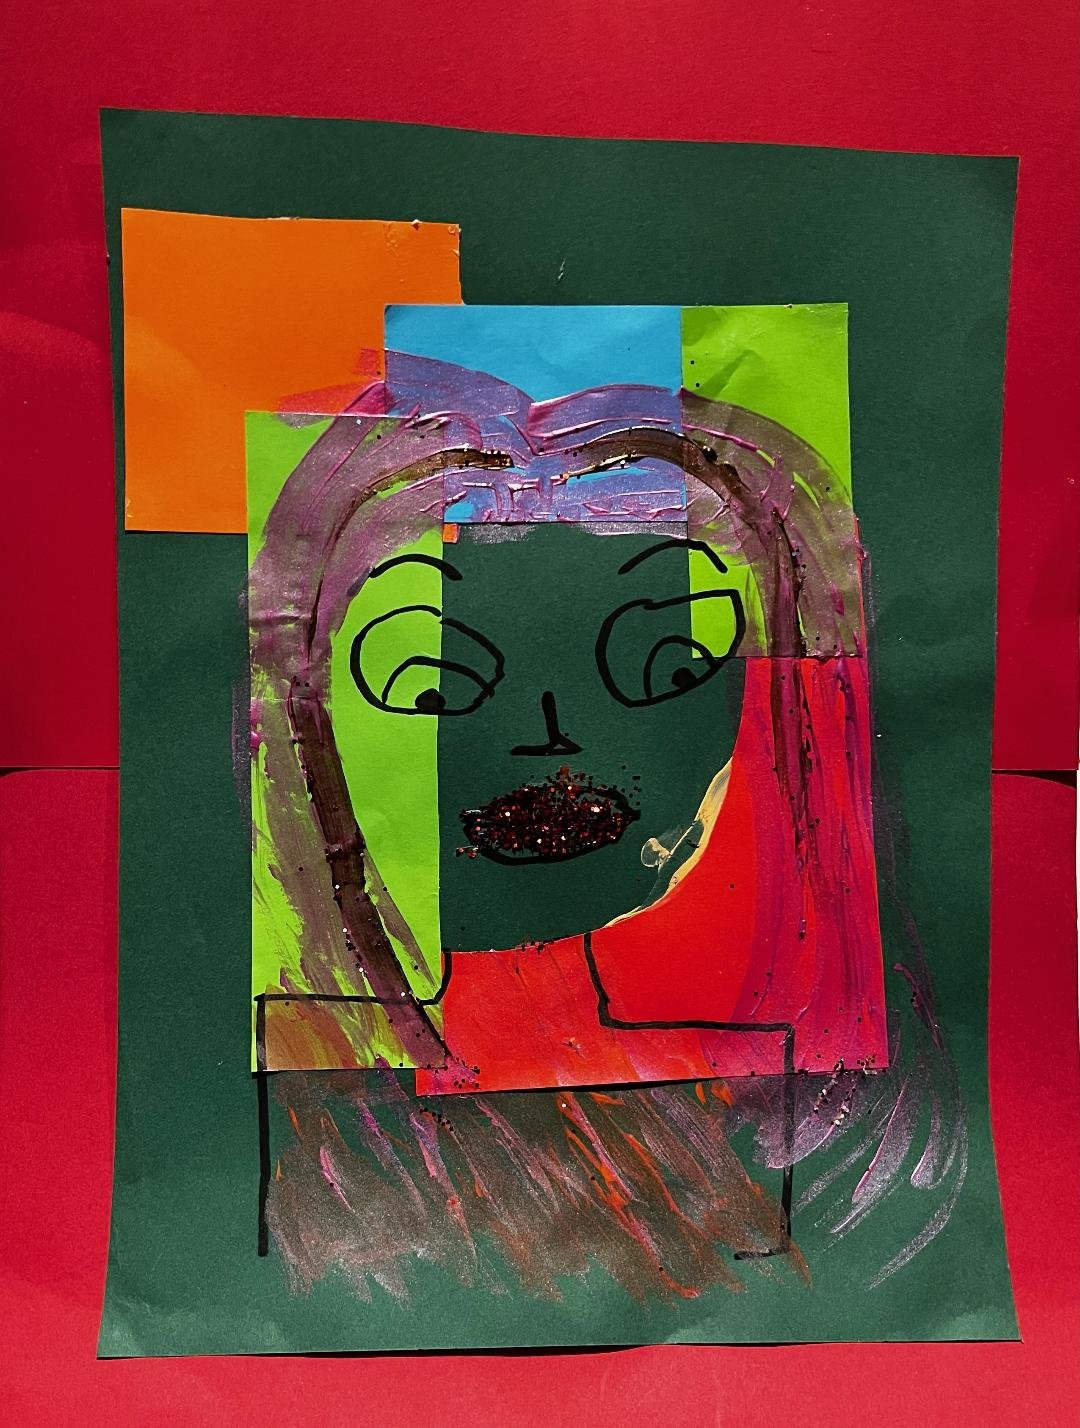
Morgan’s Pop portrait

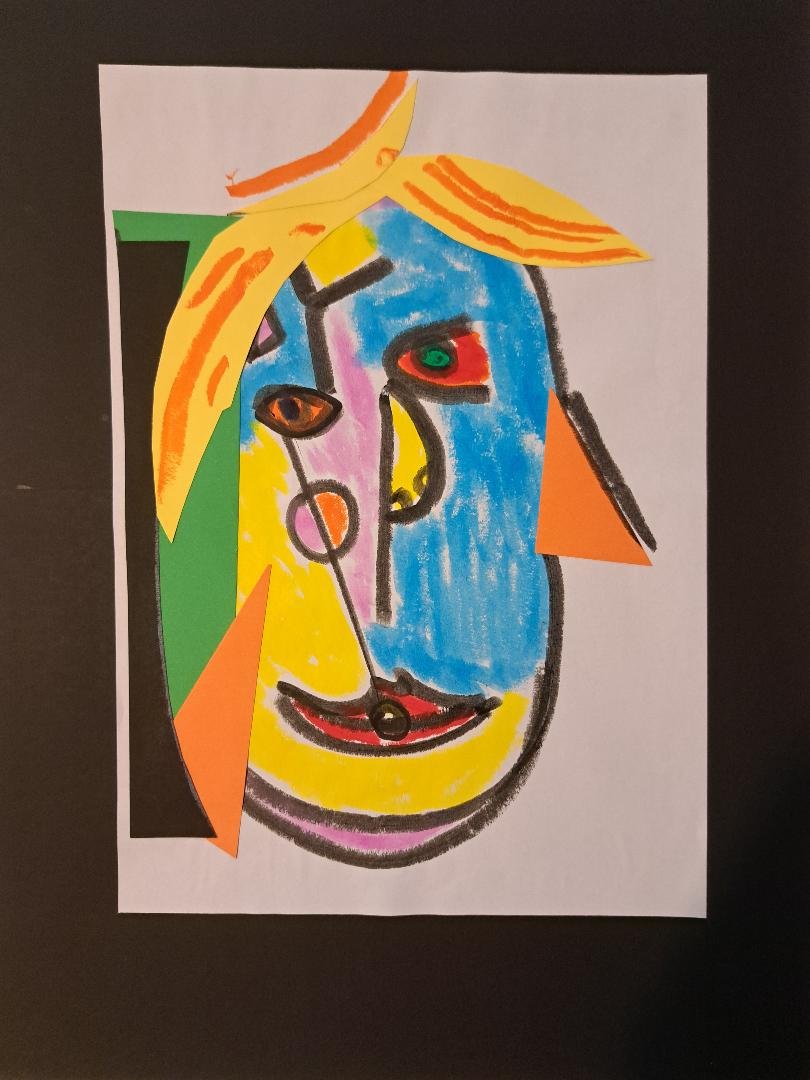
Morgan’s Picasso portrait

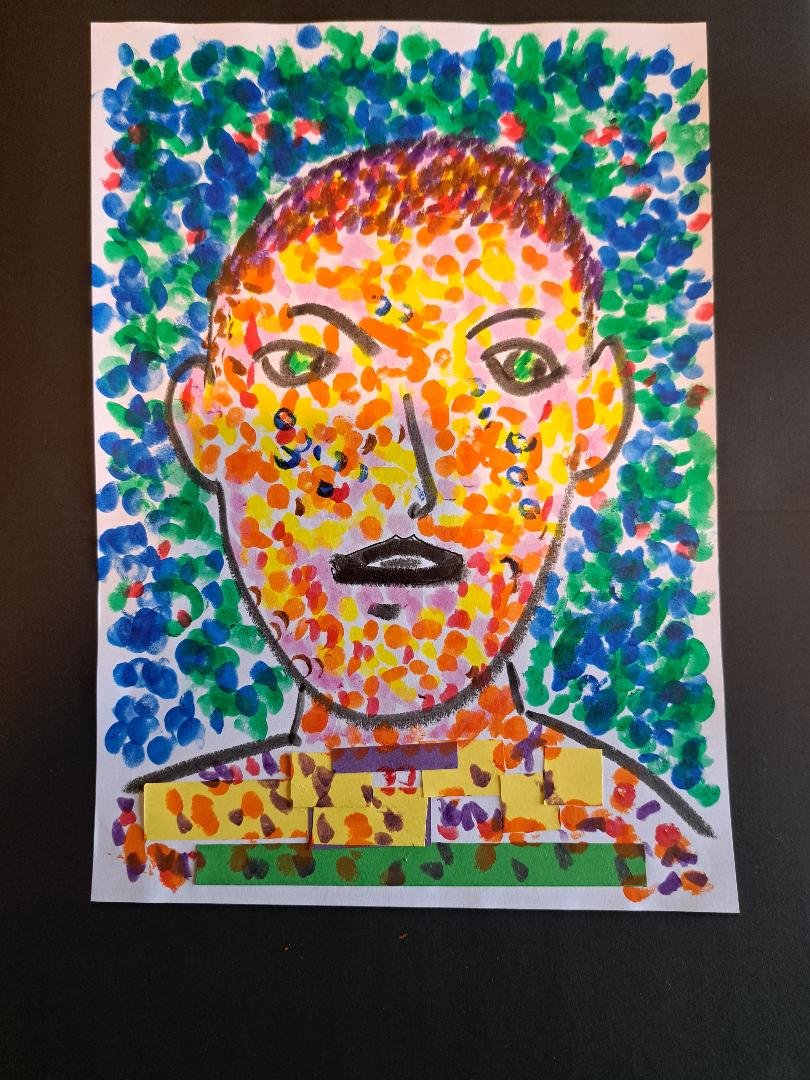
Morgan’s Pointillist portrait

Scott’s Pop portrait

Scott’s Picasso portrait


Scott’s extra portrait below:
Scott made this after making the Picasso portrait because he was so inspired.

Scott’s Pointillist portrait
John -Angus’s
Pop portrait

John -Angus’s
Picasso portrait

John - Angus’s
Pointillist portrait


Shaun’s Pop portrait Shaun’s Picasso portrait Shaun’s Pointillist portrait
Shaun joined in by making a portrait too as well as helping with the sessions.
Shaun is Friendz Meet-ups Programme Development Worker
for Down’s Syndrome Scotland.
Shaun supported all 3 sessions before, during and after each session.
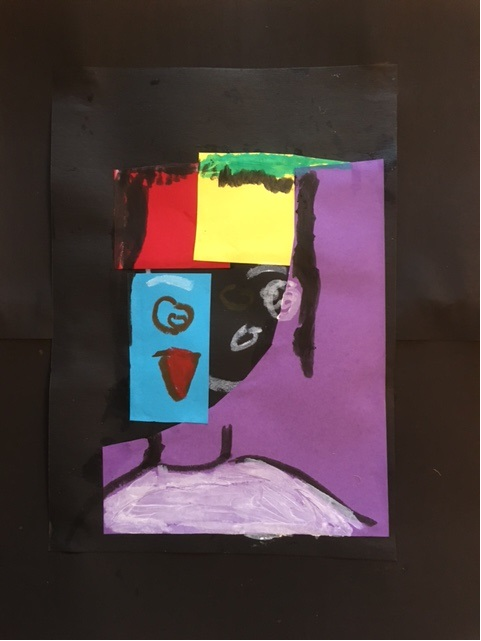
Pop Portrait >
Pop Portrait >

Pop Portrait
What a great first session we had on Thursday last week. The members made brilliant pop portraits which I hope to show here very soon and I’m going to give a summary of the session next week.
The steps to follow to do the Pop portrait on You Tube video:
To do this project, we used colour & black card, paint sticks of various colours including black and white, glitter of different colours, glue and scissors.
The steps we took:
We chose a colour or black card for the base.
Drew a shape of a head (upside egg shape).
Chose 4 different colour cards that were warm or cool tone and contrasting, and cut 3 rectangle and a square shape the size of the palm of our hand.
Placed the card on the base and stuck in over some of the line drawing for the head.
Used paint sticks to draw on the features of the face, hair and neck and clothes over the colour shapes and used black and white for contrast.
Coloured in some of the colour shapes, hair, and background and drew in a pair of glasses if we wanted.
Then chose where the glitter were to go and put glue on first then sprinkled glitter on.
To complete we took 2 pieces of black card and glued the long end of each to make an A3 size mount. We then put glue in all four corners at the back of our portrait and pasted our portrait onto the mount to make our portrait complete.
We can then sign our portrait on the lower half to complete it.
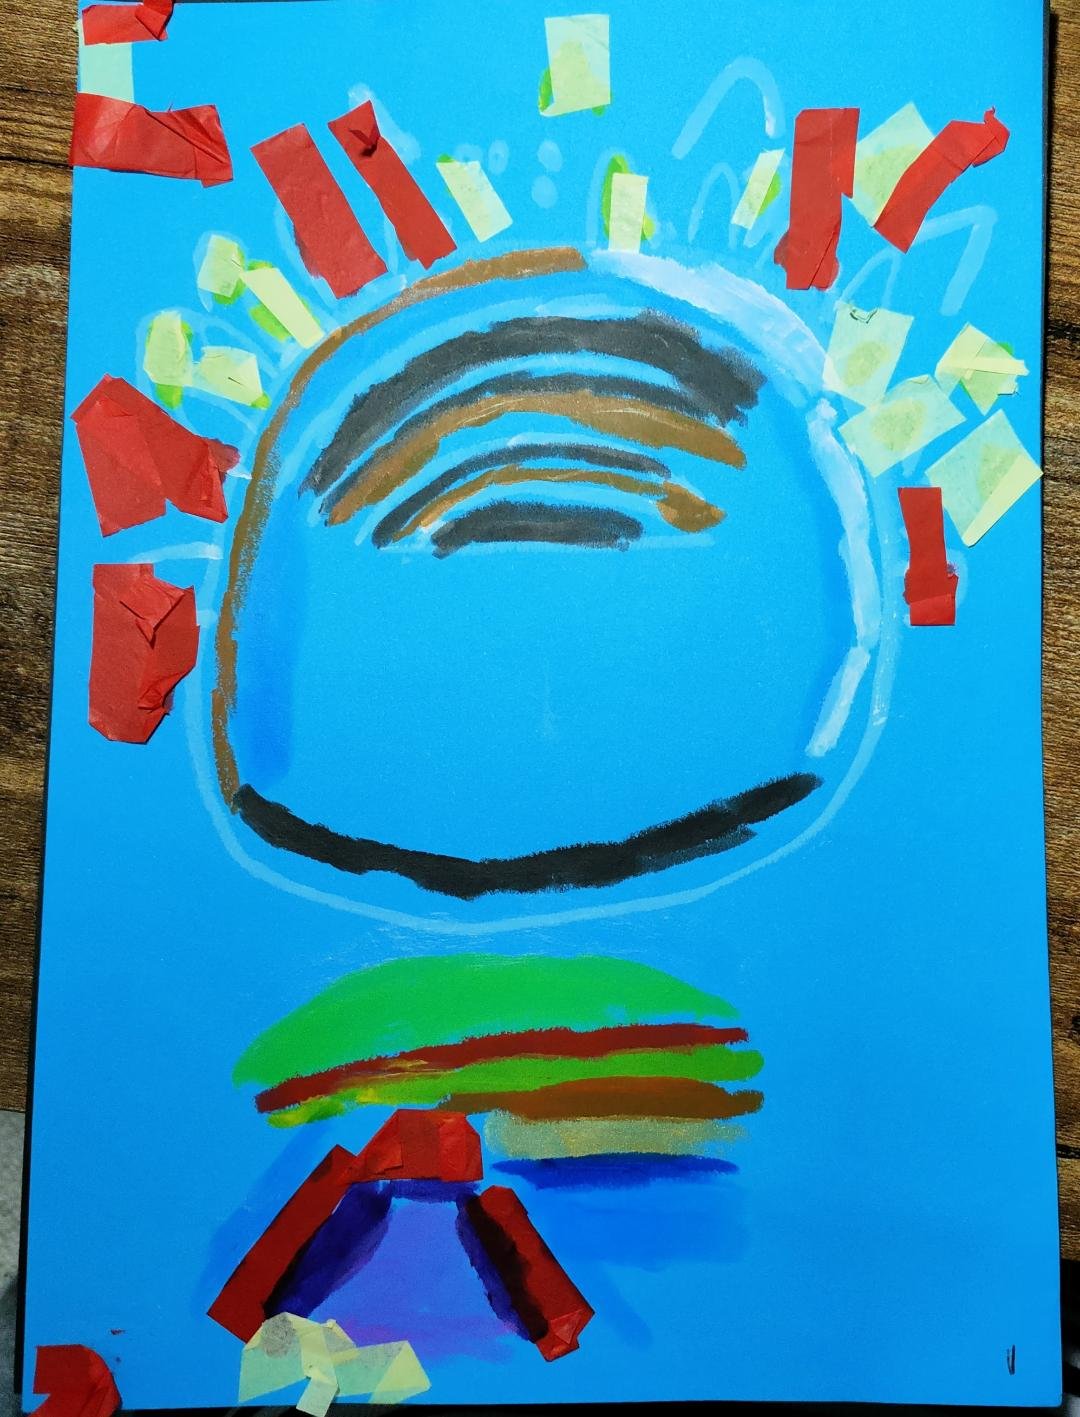
Picasso Portrait >
Picasso Portrait >

Picasso Portrait
How to do this:
The steps to follow on You Tube video:
To do this project, we used the some materials as the Pop portrait but used a different approach-
Colour & black card, paint sticks of various colours including black and white, glitter of different colours, glue and scissors.
The steps we took:
We chose a colour or black card for the base.
Drew a shape of a head (upside egg shape).
We drew in lines in the face to connect features to make them abstract, and added a second nose on the side of the face!
Cut on long rectangle shape of black card for the side of the face.
Chose and cut a few different colour cards including black that were warm or cool tone and contrasting, to fit parts of the portrait, then pasted these on.
Used paint sticks to colour in selected abstract features of the face, using the same colour in various parts of the portrait to create a balance of colour, then chose contrasting colours to sit next those colours. This would create a balances abstract portrait.
Drew in a pair of glasses if we wanted.
Chose colour glitter and put glue on first then sprinkled glitter on.
To complete we took 2 pieces of black card and glued the long end of each to make an A3 size mount. We then put glue in all four corners at the back of our portrait and pasted our portrait onto the mount to make our portrait complete.
We can then sign our portrait on the lower half to complete it.
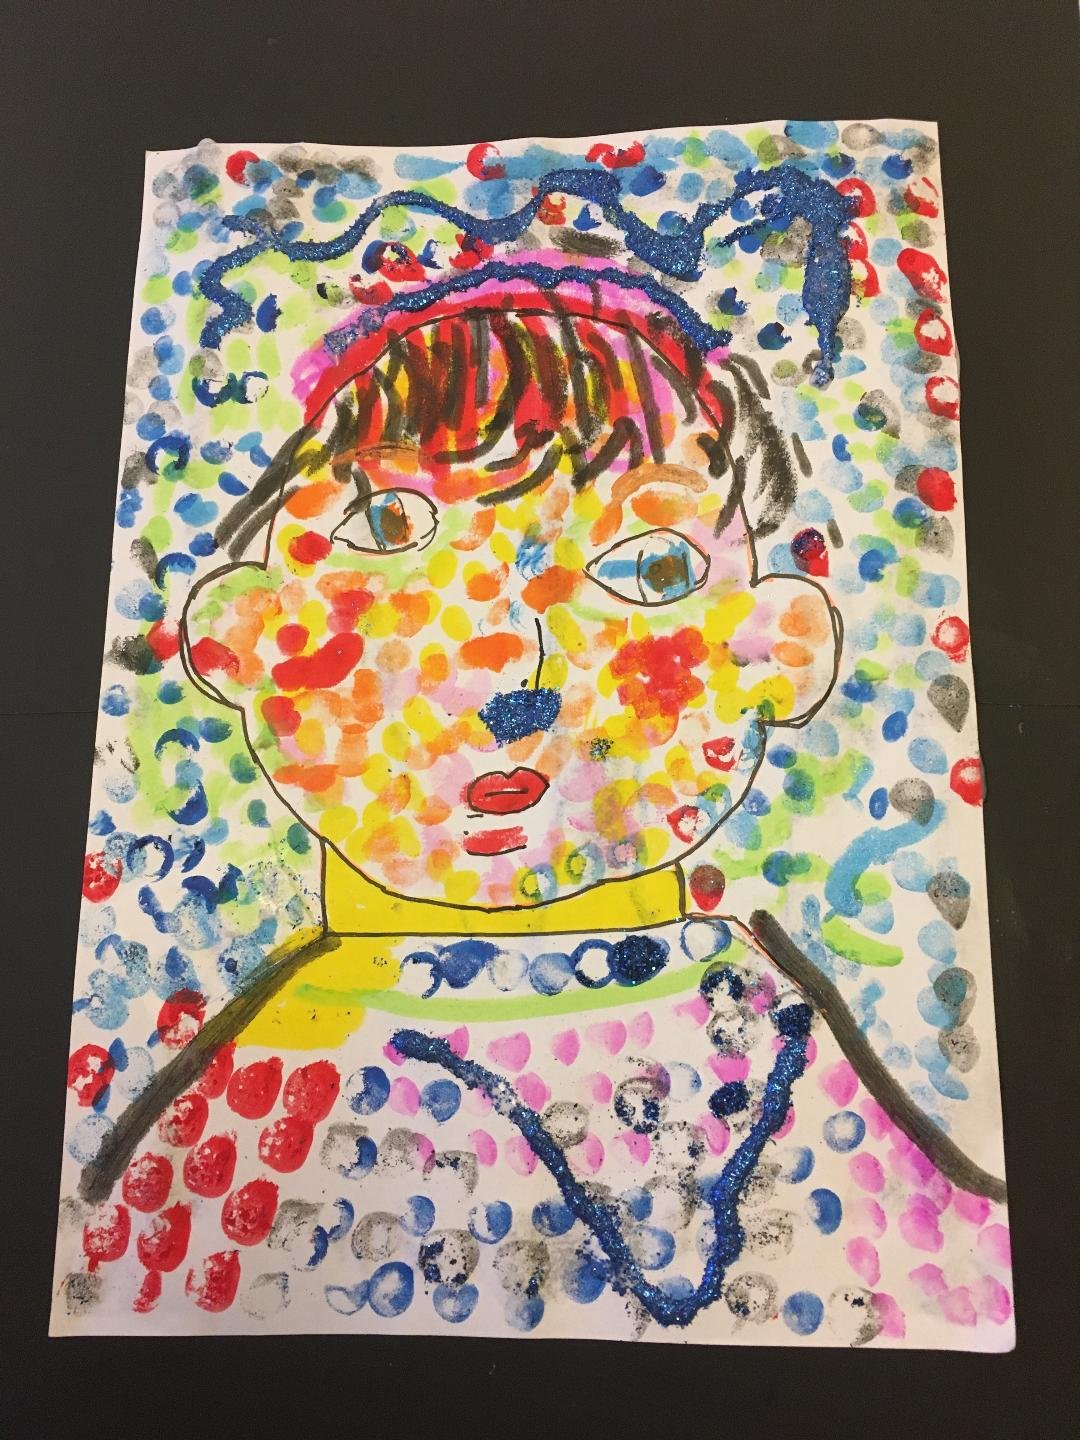
Pointillist Portrait >
Pointillist Portrait >

Pointillist Portrait
How to do this:
Steps to follow on YouTube video:
To do this project, we used just the colour paint sticks with white & black, white & black card, glitter of different colours, and glue.
The steps we took:
We chose a white or light colour base.
Drew a shape of a head (upside egg shape) and added the features of the face and upper body.
Used 2 paint sticks together in the hand with 2 different but similar warm colours for the face and dobbed on but with circular movements up to the lower forehead.
Used 2 different colours of our choice for the hair and dobbed on but with small circular movements as well.
Finally 2 different cool colours for the background and use the technique of dobbing on.
Used a red, blue and or green marks in the face and background the contrast the colours and balance the colour.
Drew in a pair of glasses if we wanted.
Chose colour glitter and put glue on first then sprinkled glitter on.
To complete we took 2 pieces of black card and glued the long end of each to make an A3 size mount. Then put glue in all four corners at the back of our portrait and pasted our portrait onto the mount to make our portrait complete.
We can then sign our portrait on the lower half to complete it.