Modroc mask.
Modroc mask.
Short YouTube video showing how to make your Modroc mask.
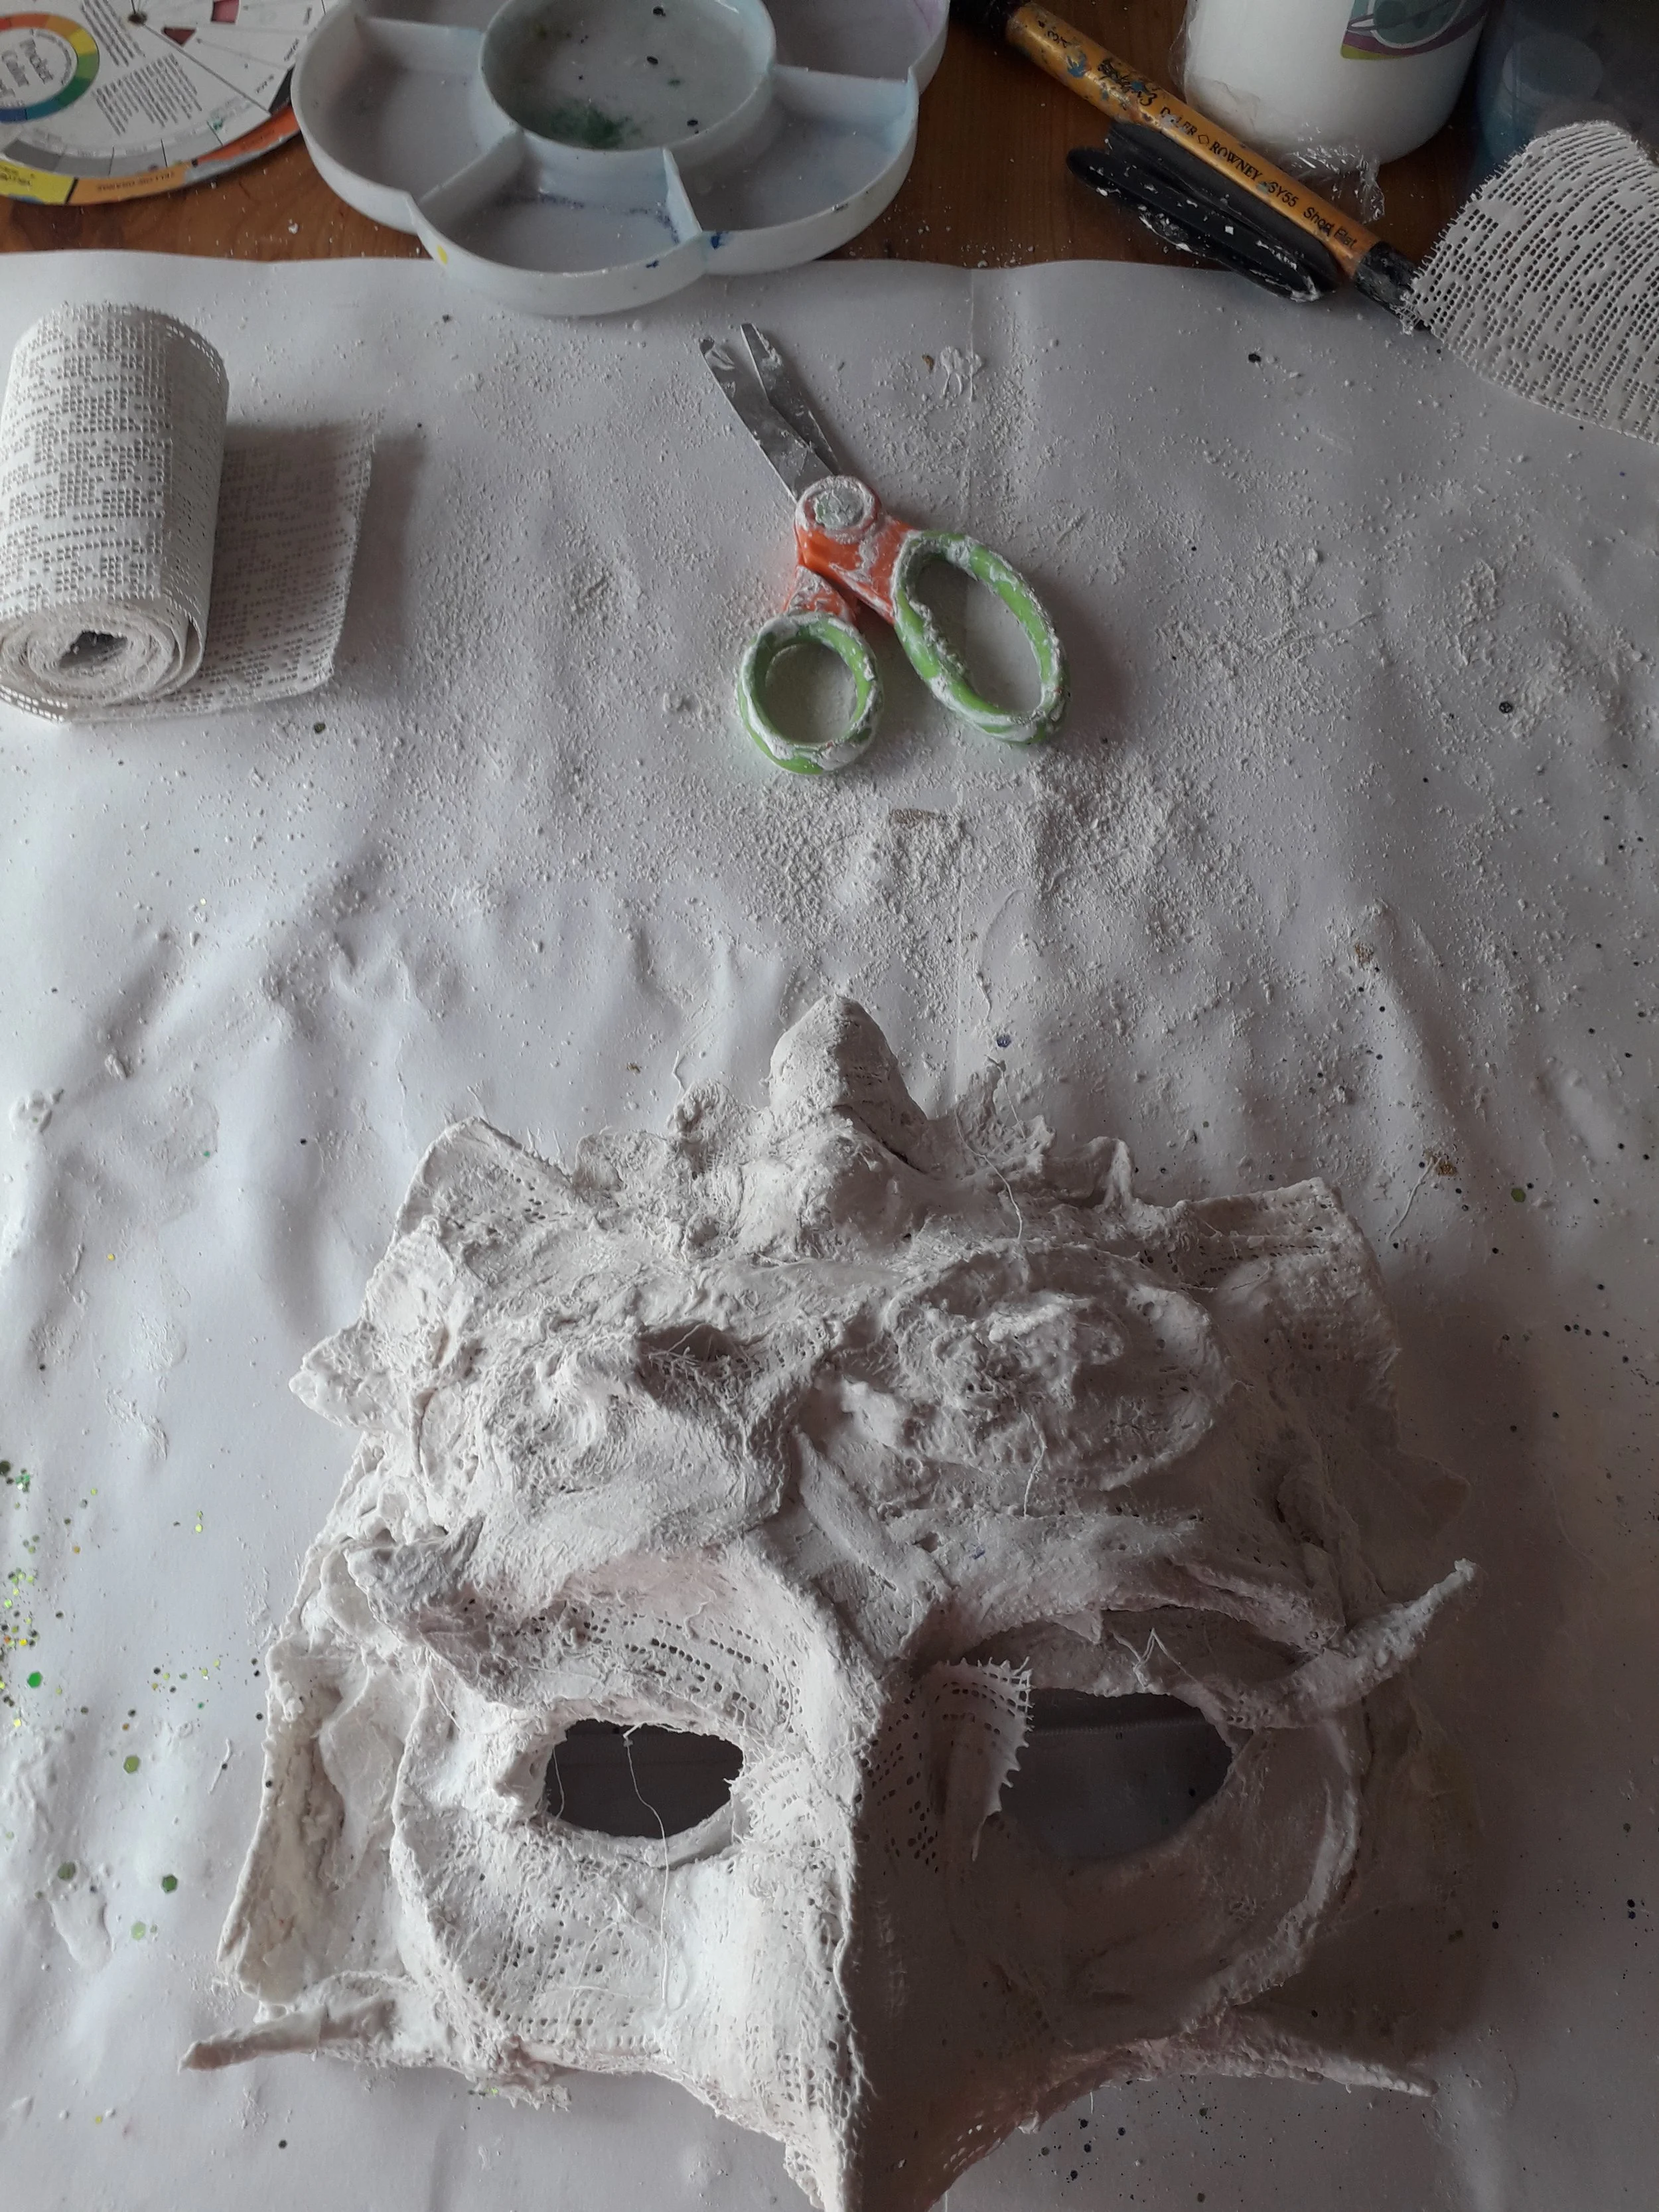
Step 1:
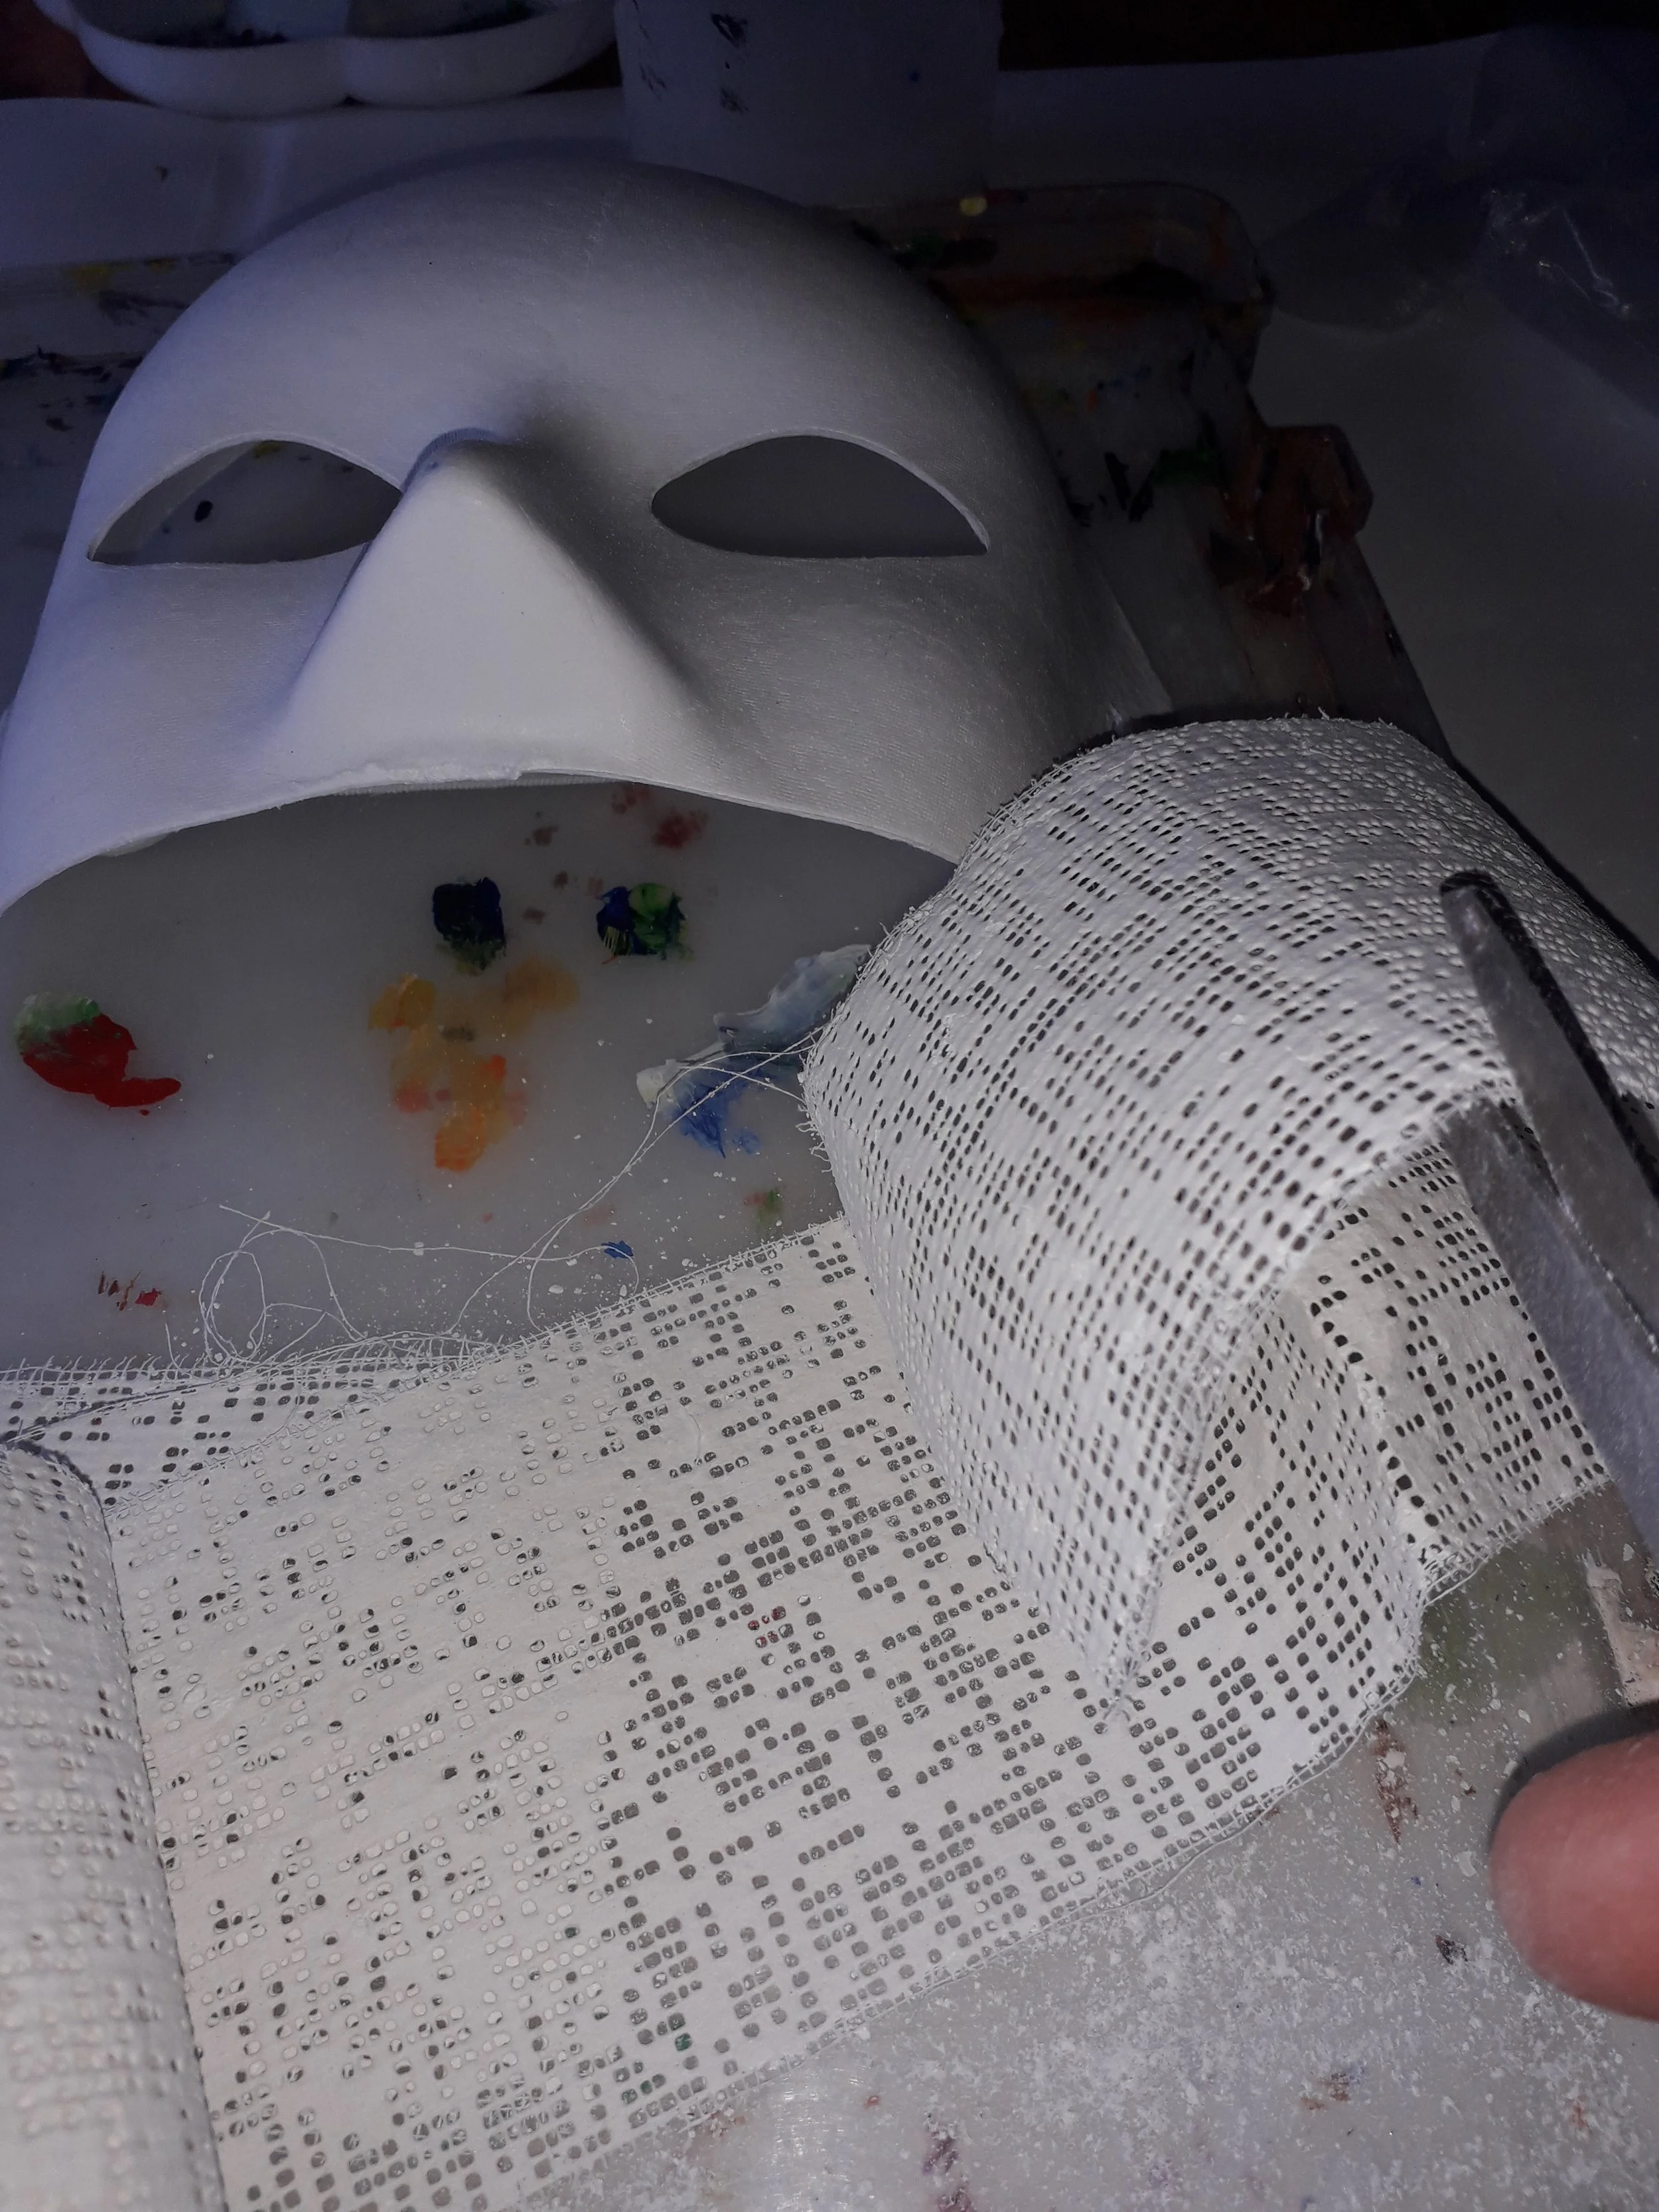
Cut square or strips pieces of modroc with scissors.
Step 2:
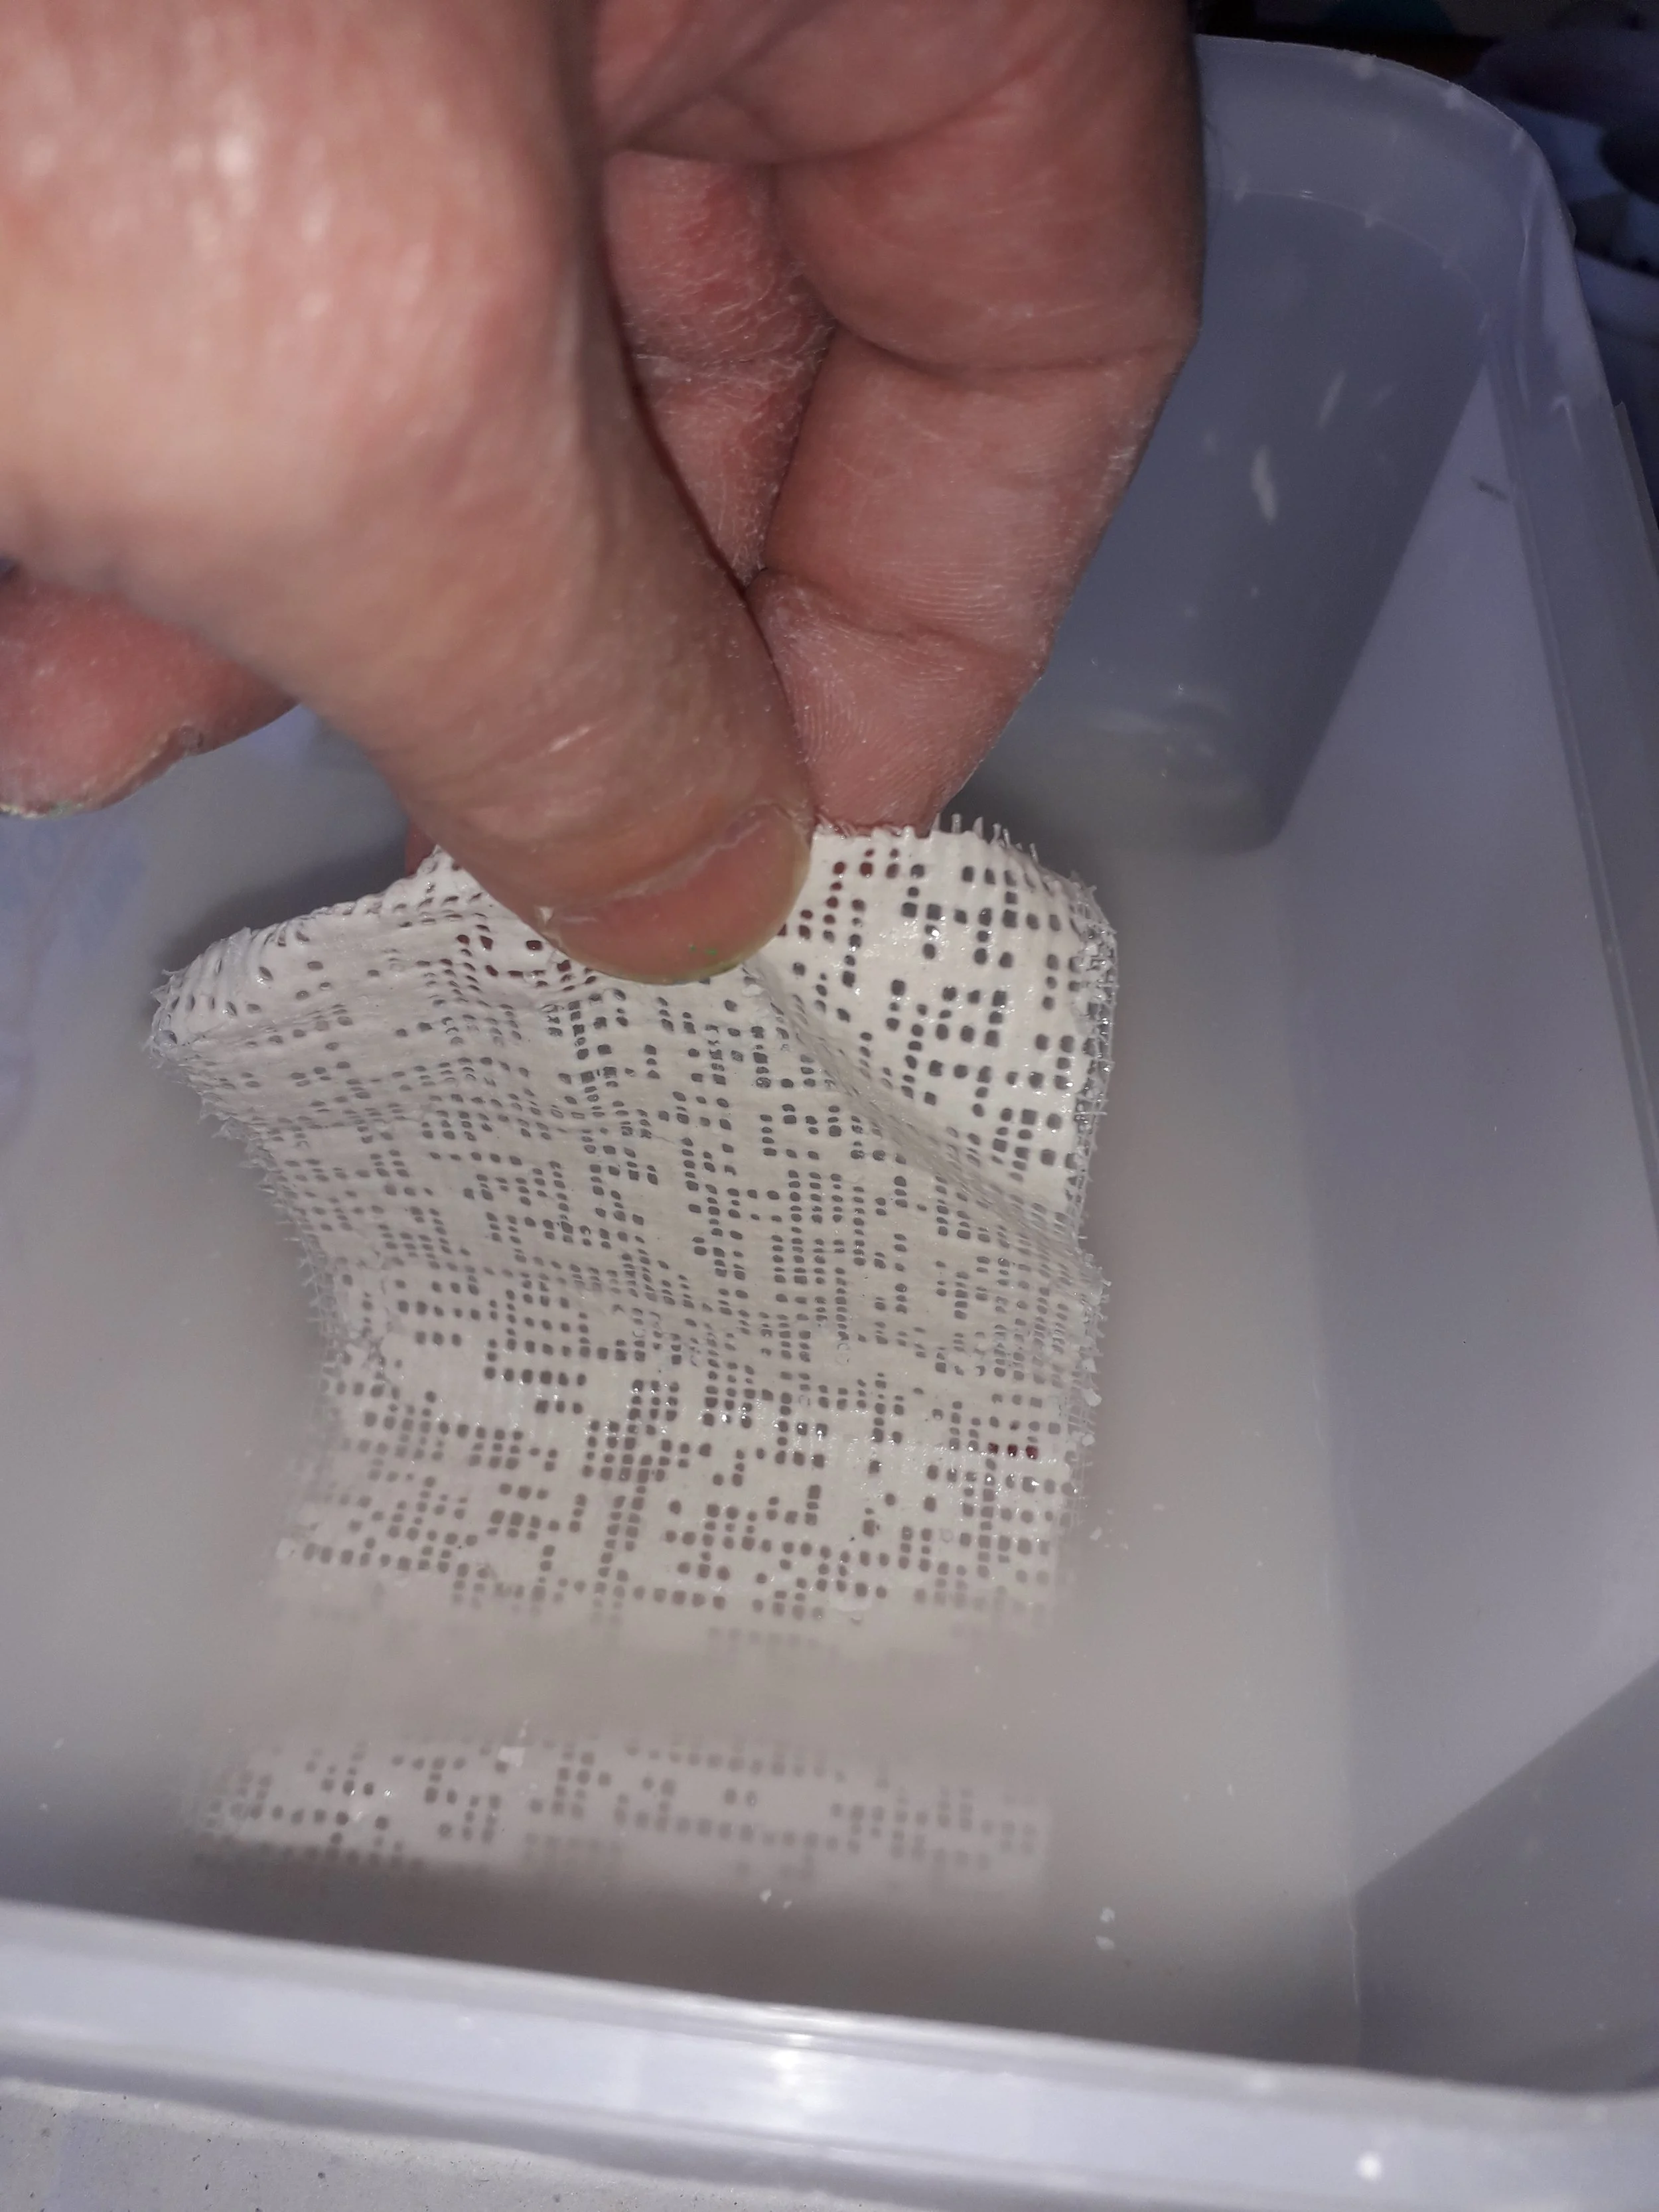
Dip one piece of modroc into a tub of water a time and lay or scrunch onto the mask as needed.
Step 3:
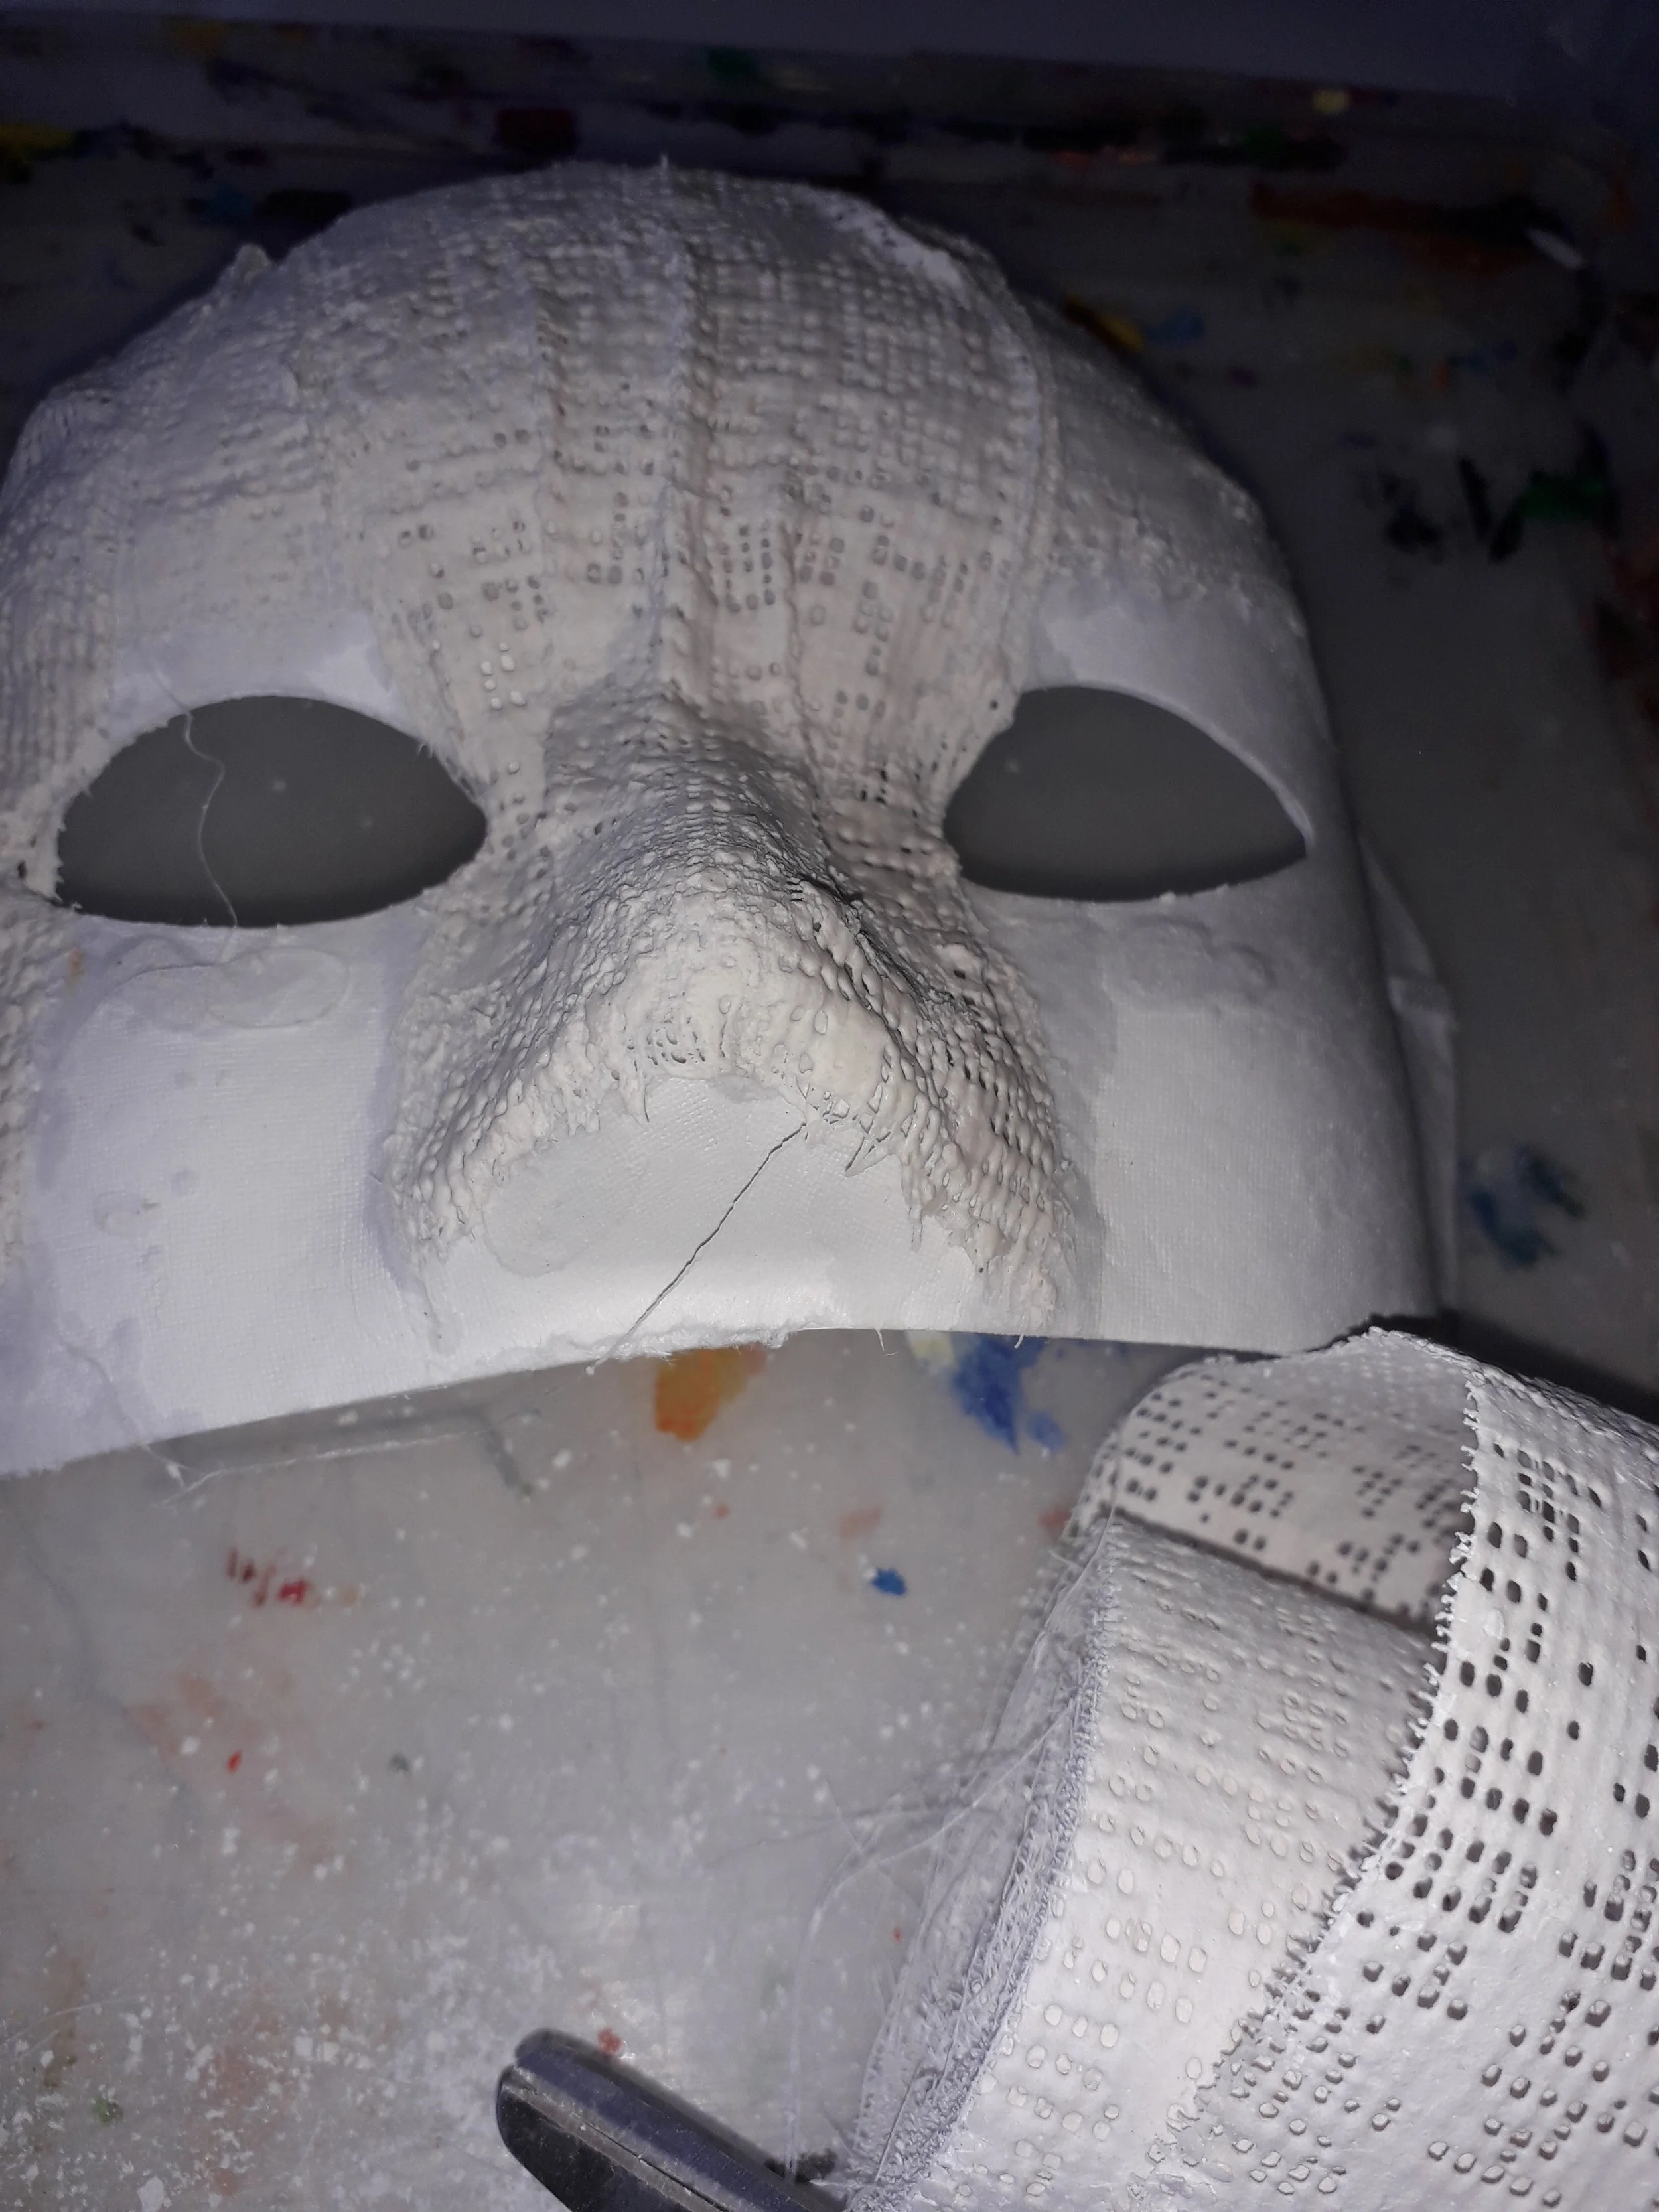
Place the modroc on to the mask where needed.
Rub over the modroc to smooth or to thicken if needed.
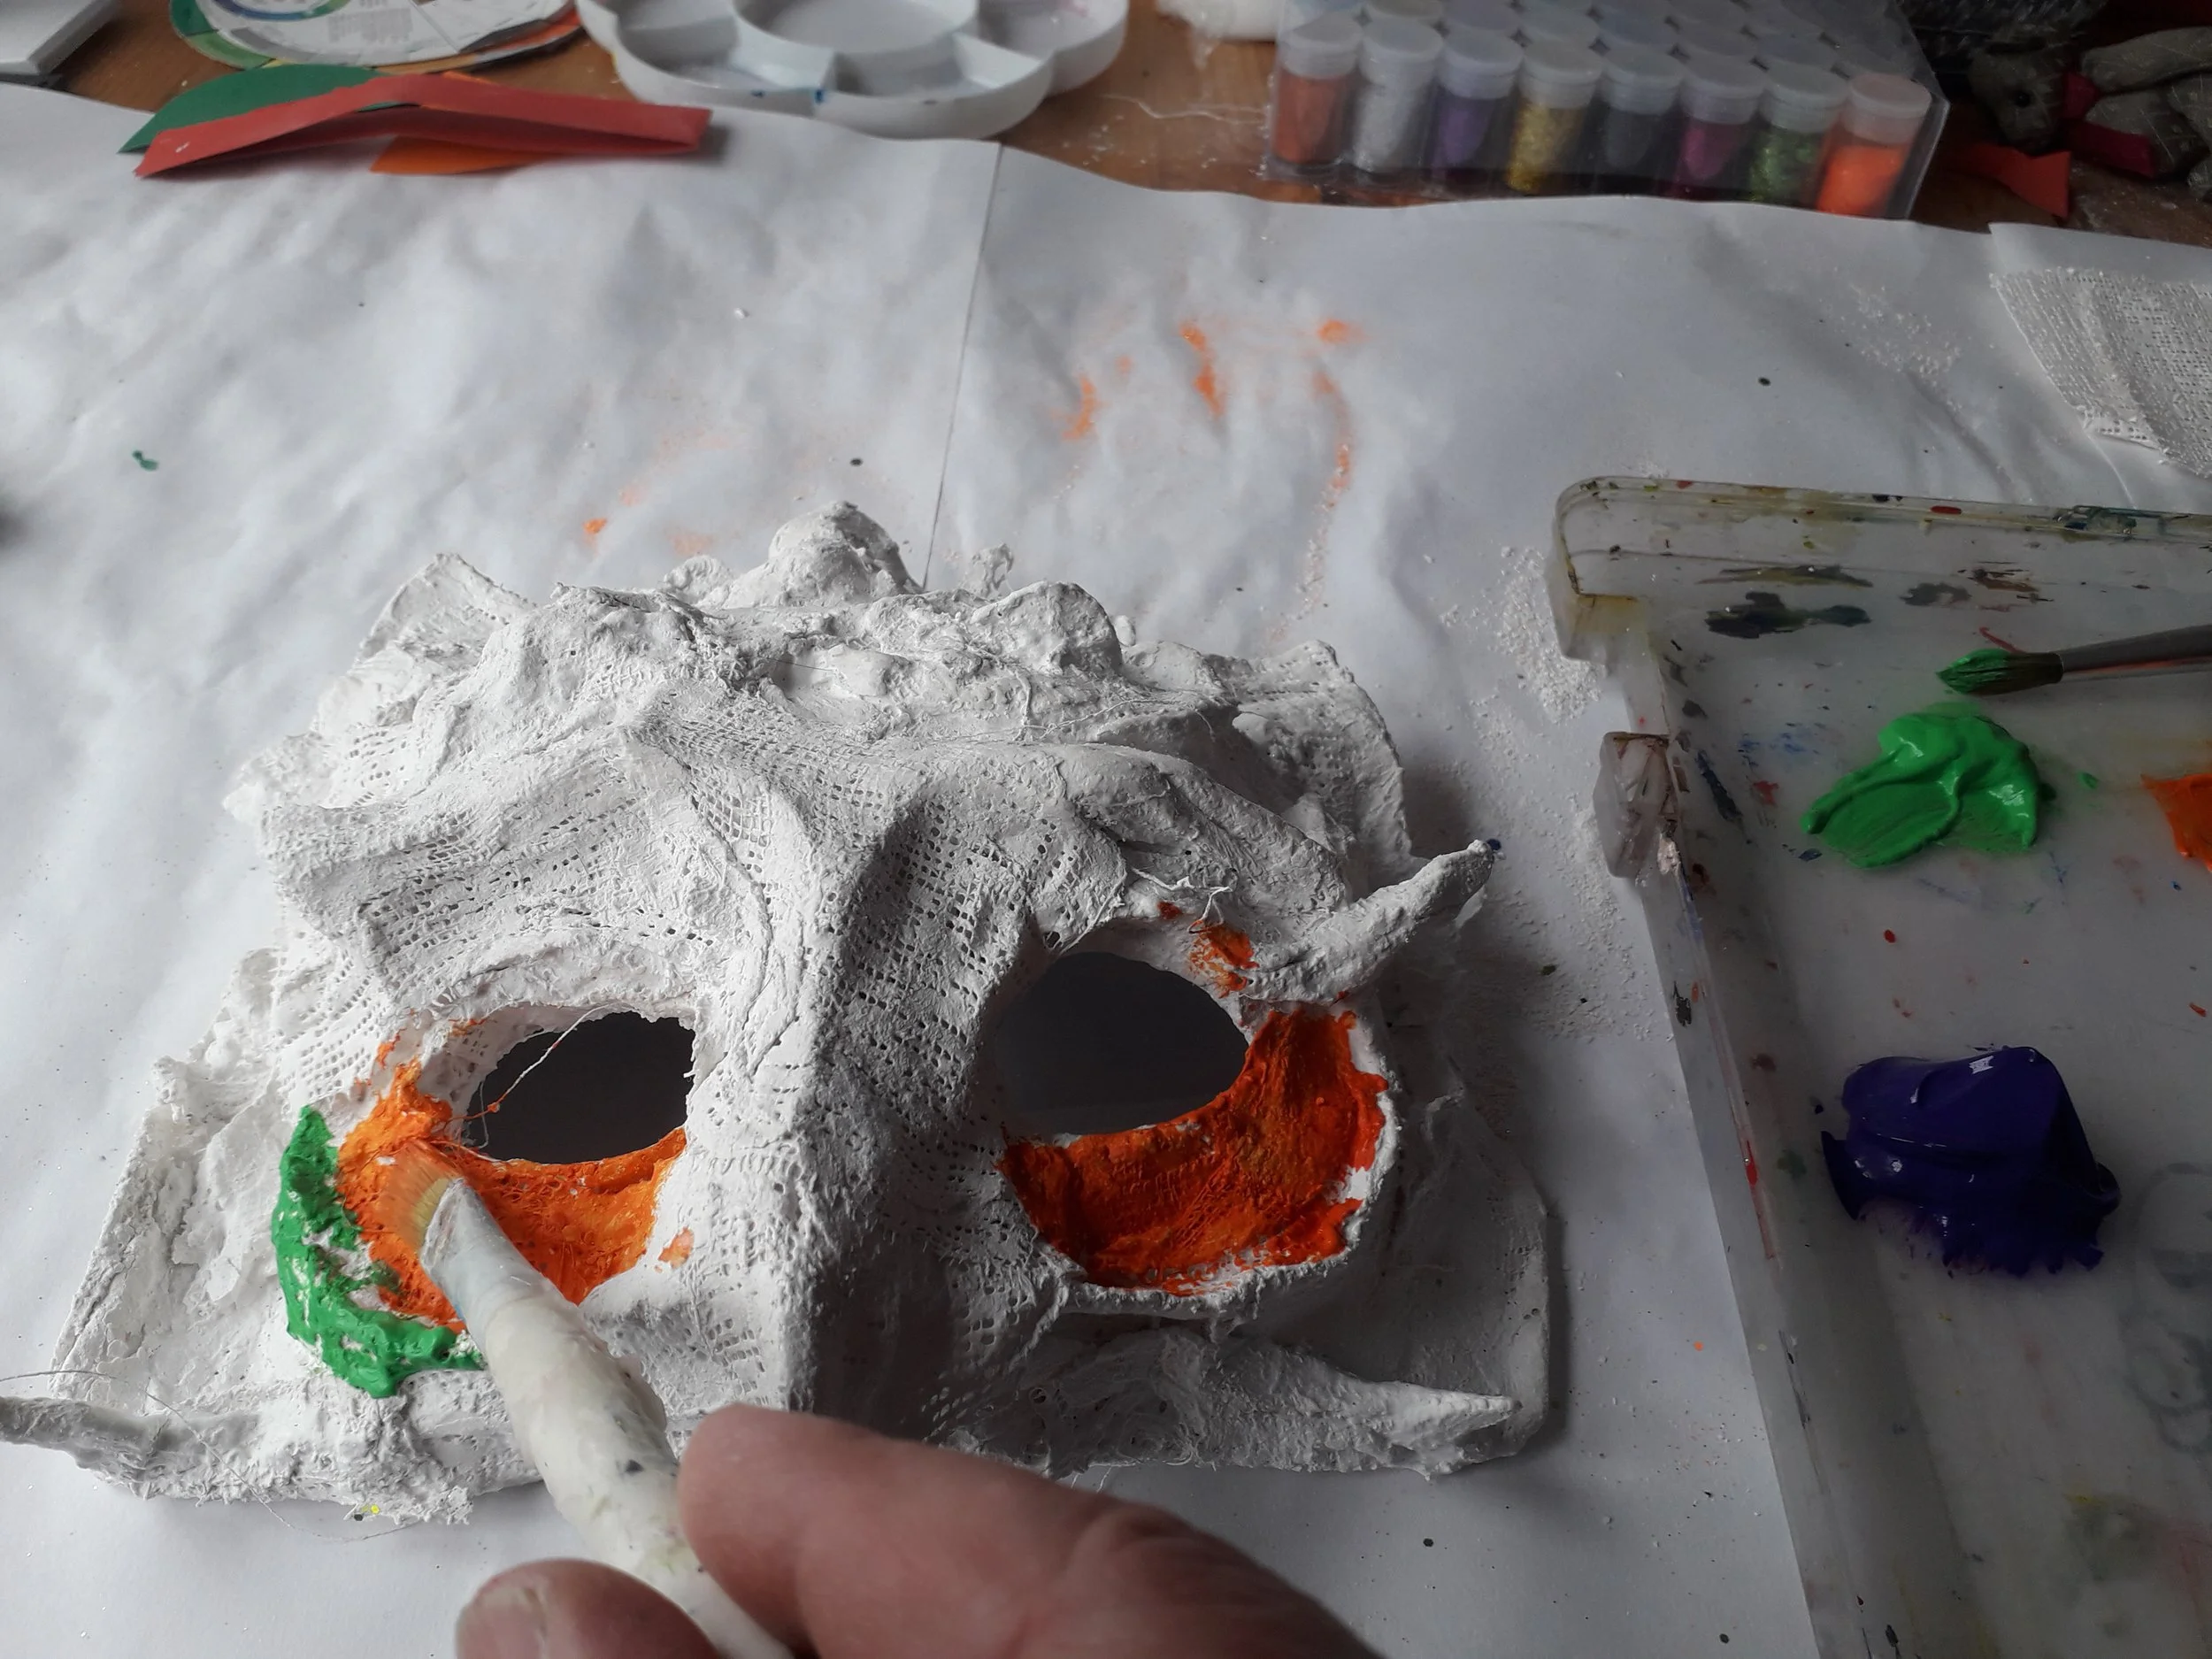
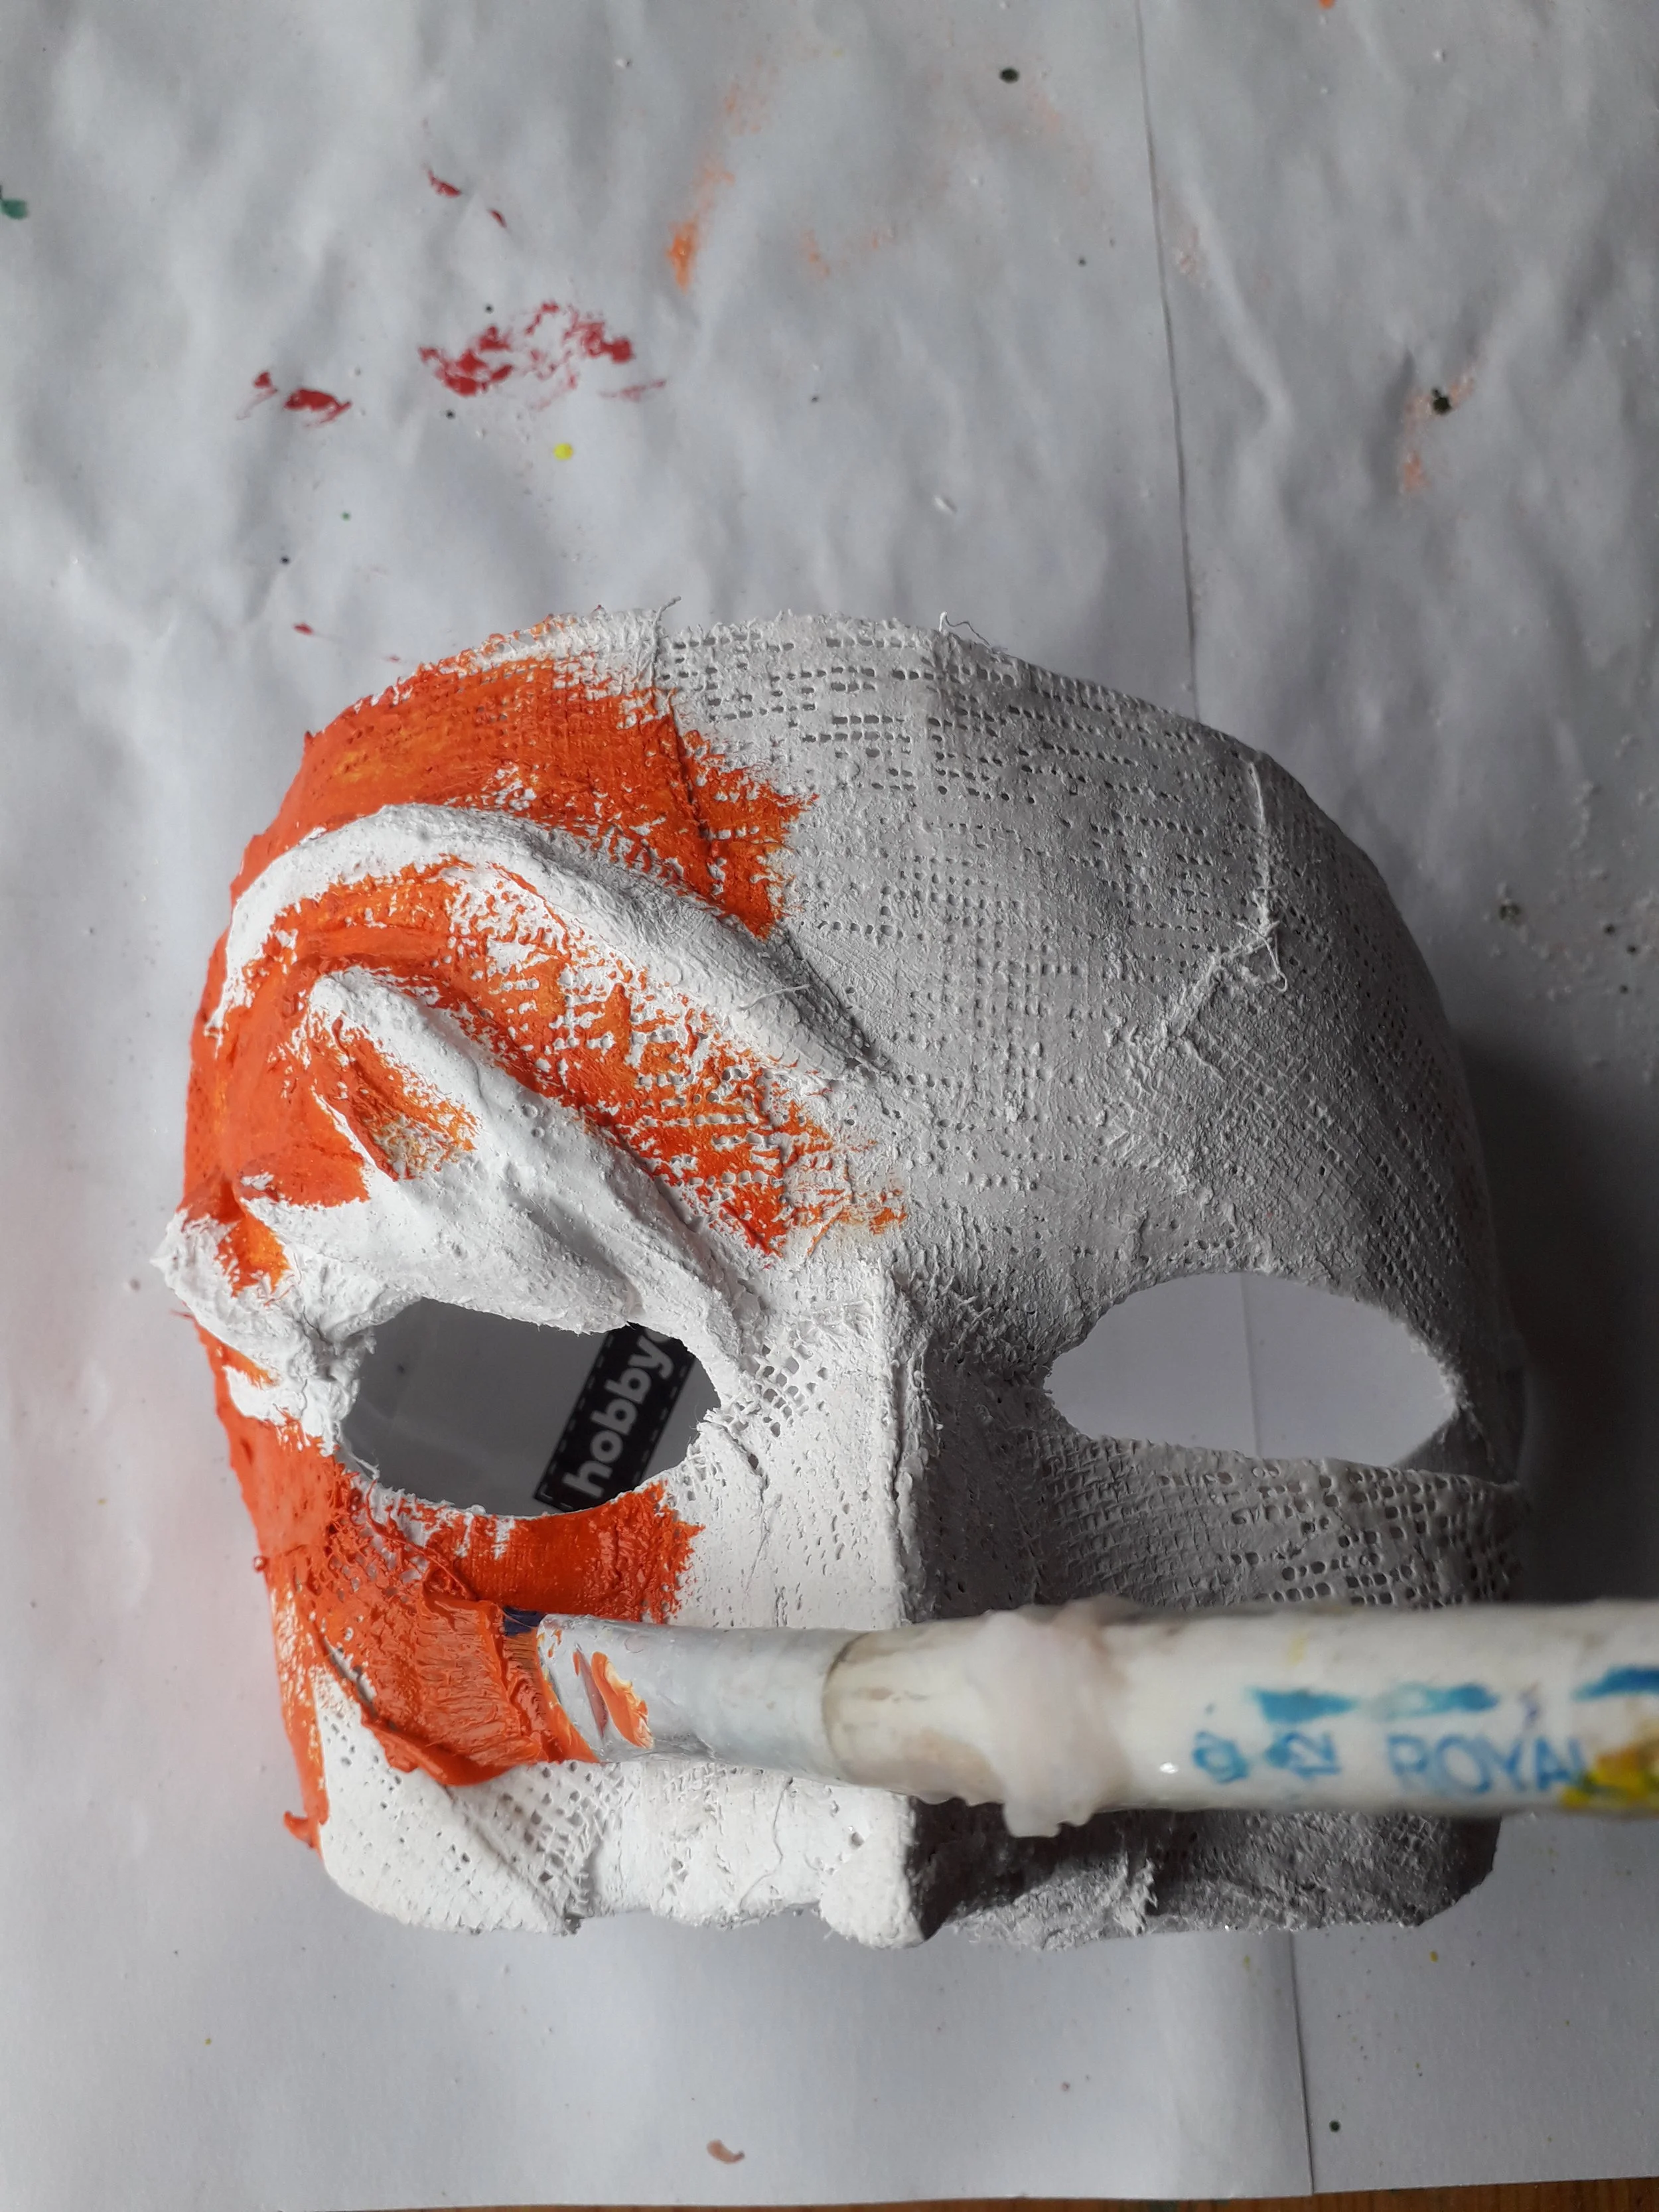
Step 6:
Paint the mask in various steps.You can use secondary colours and choose the areas you use for these colours.
Step 4:
While the modroc is still wet and moveable - move into a shape where needed.
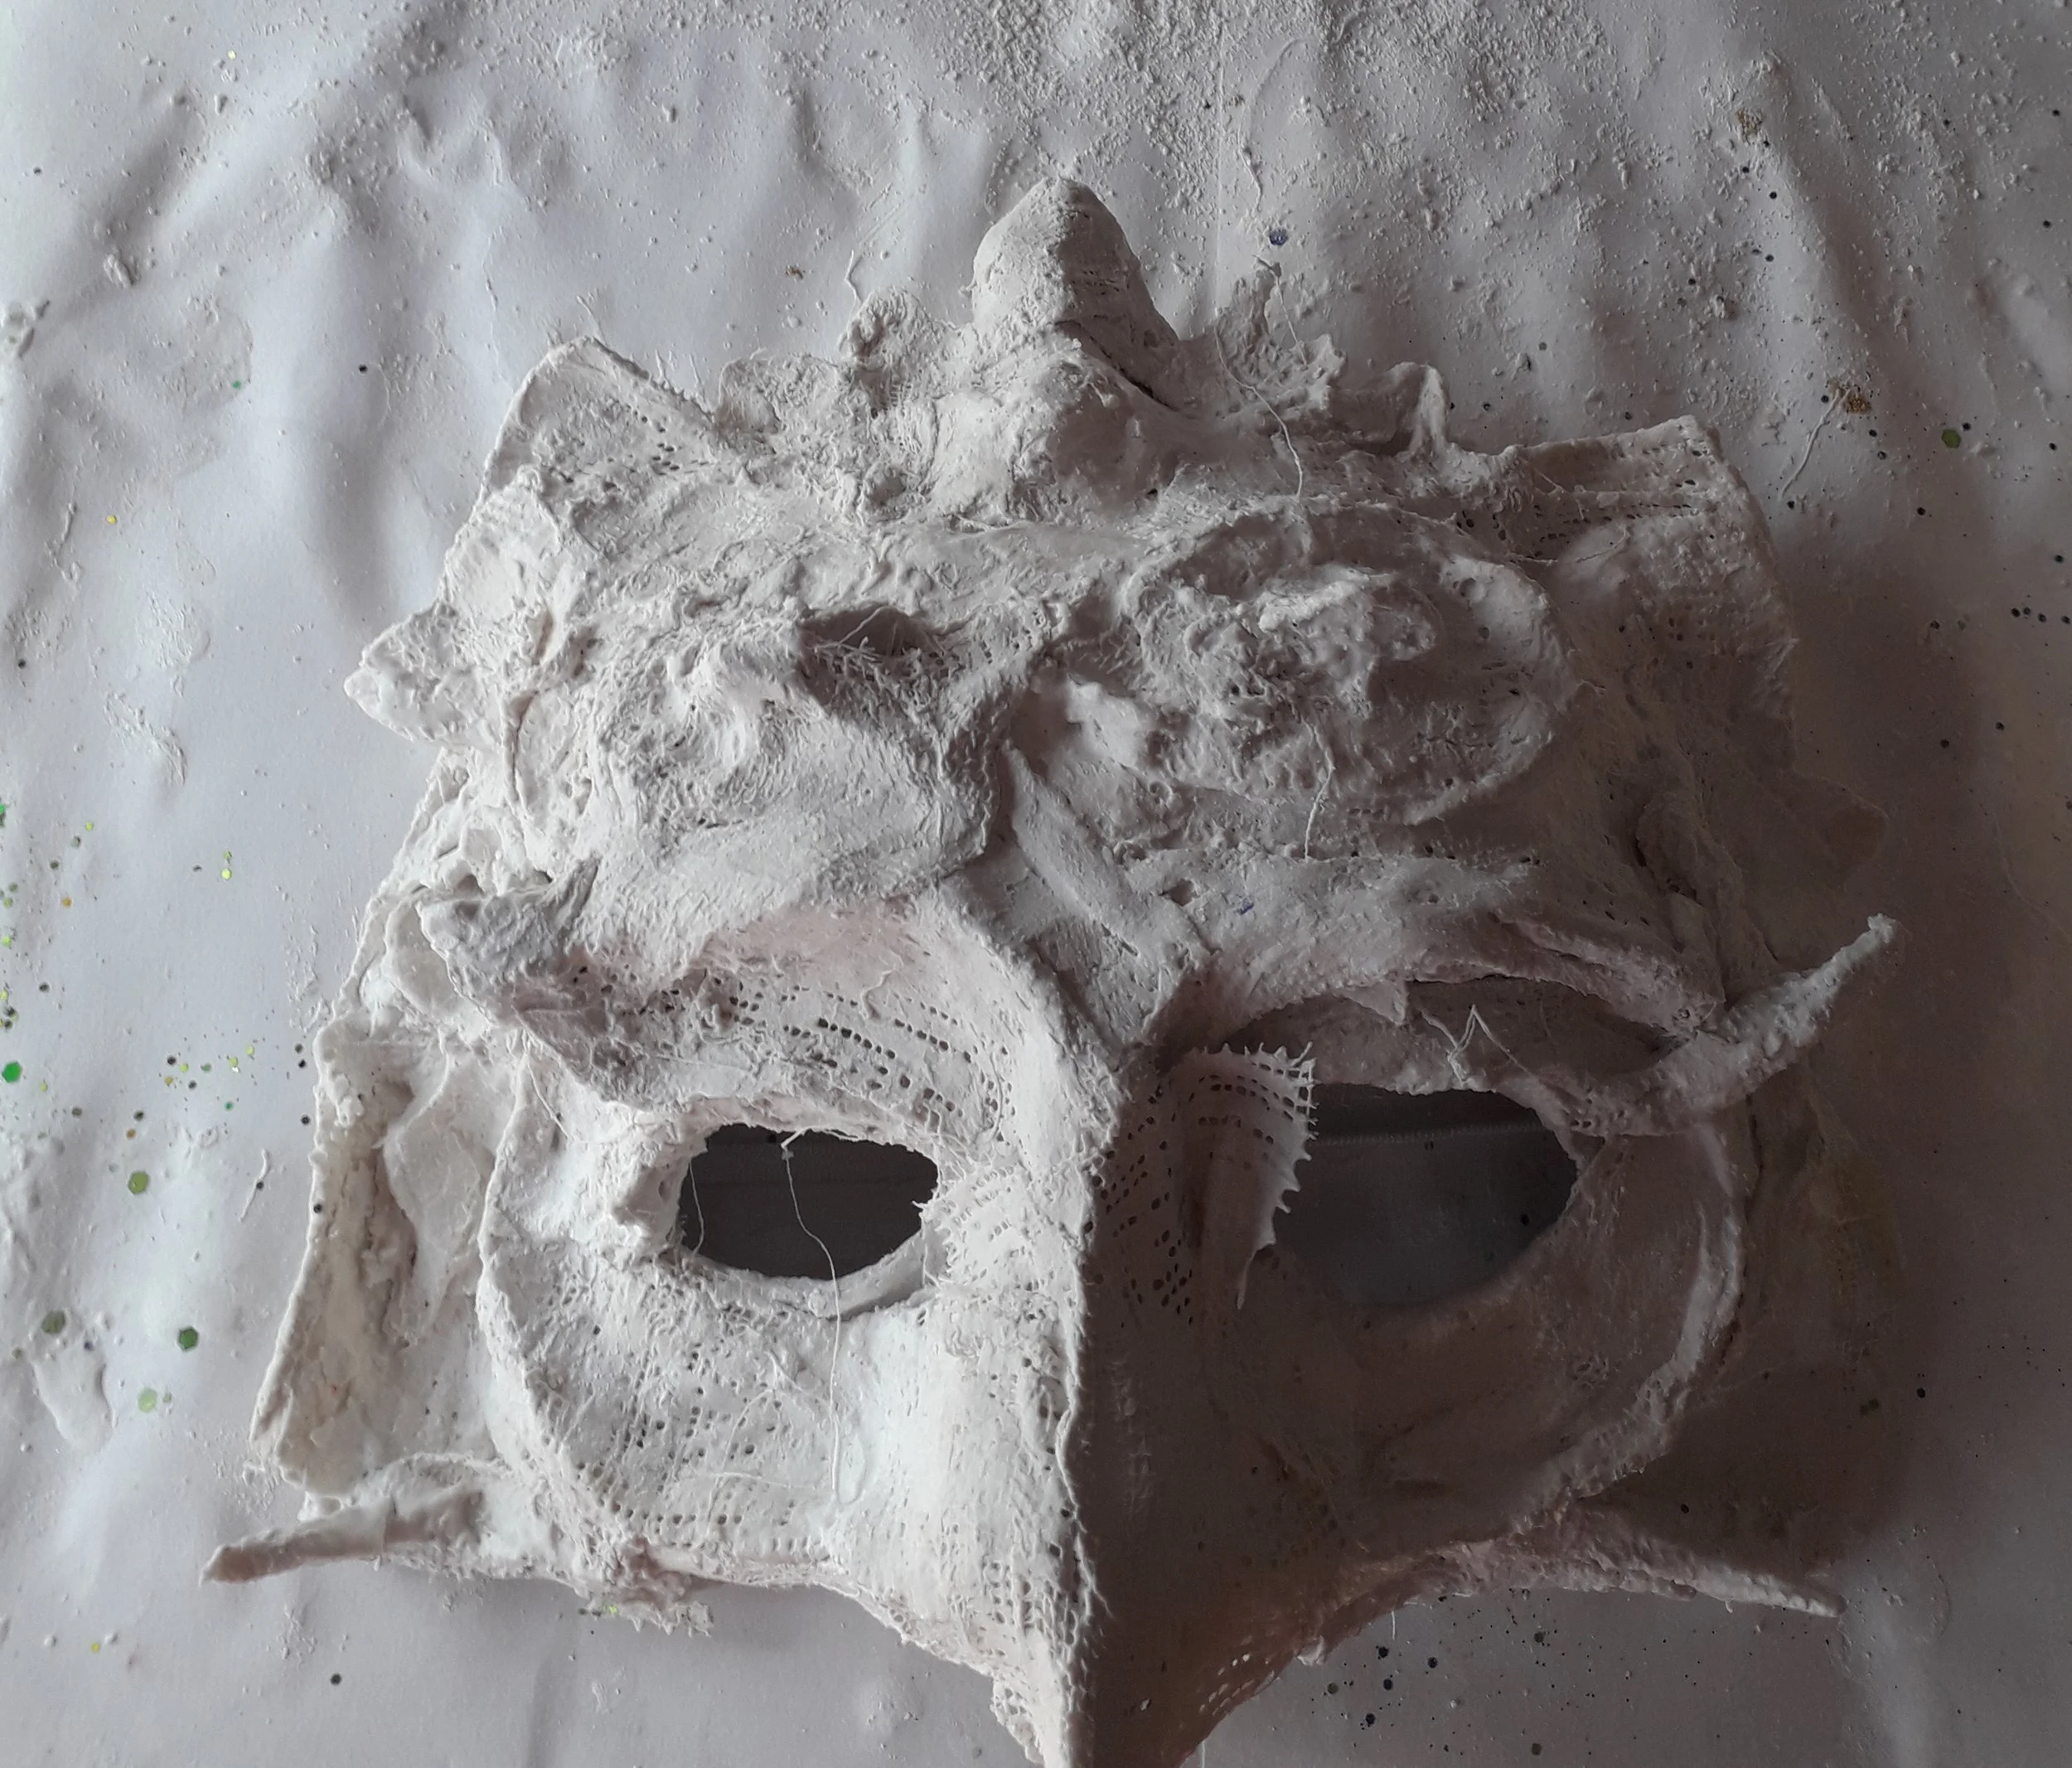
Step 5:
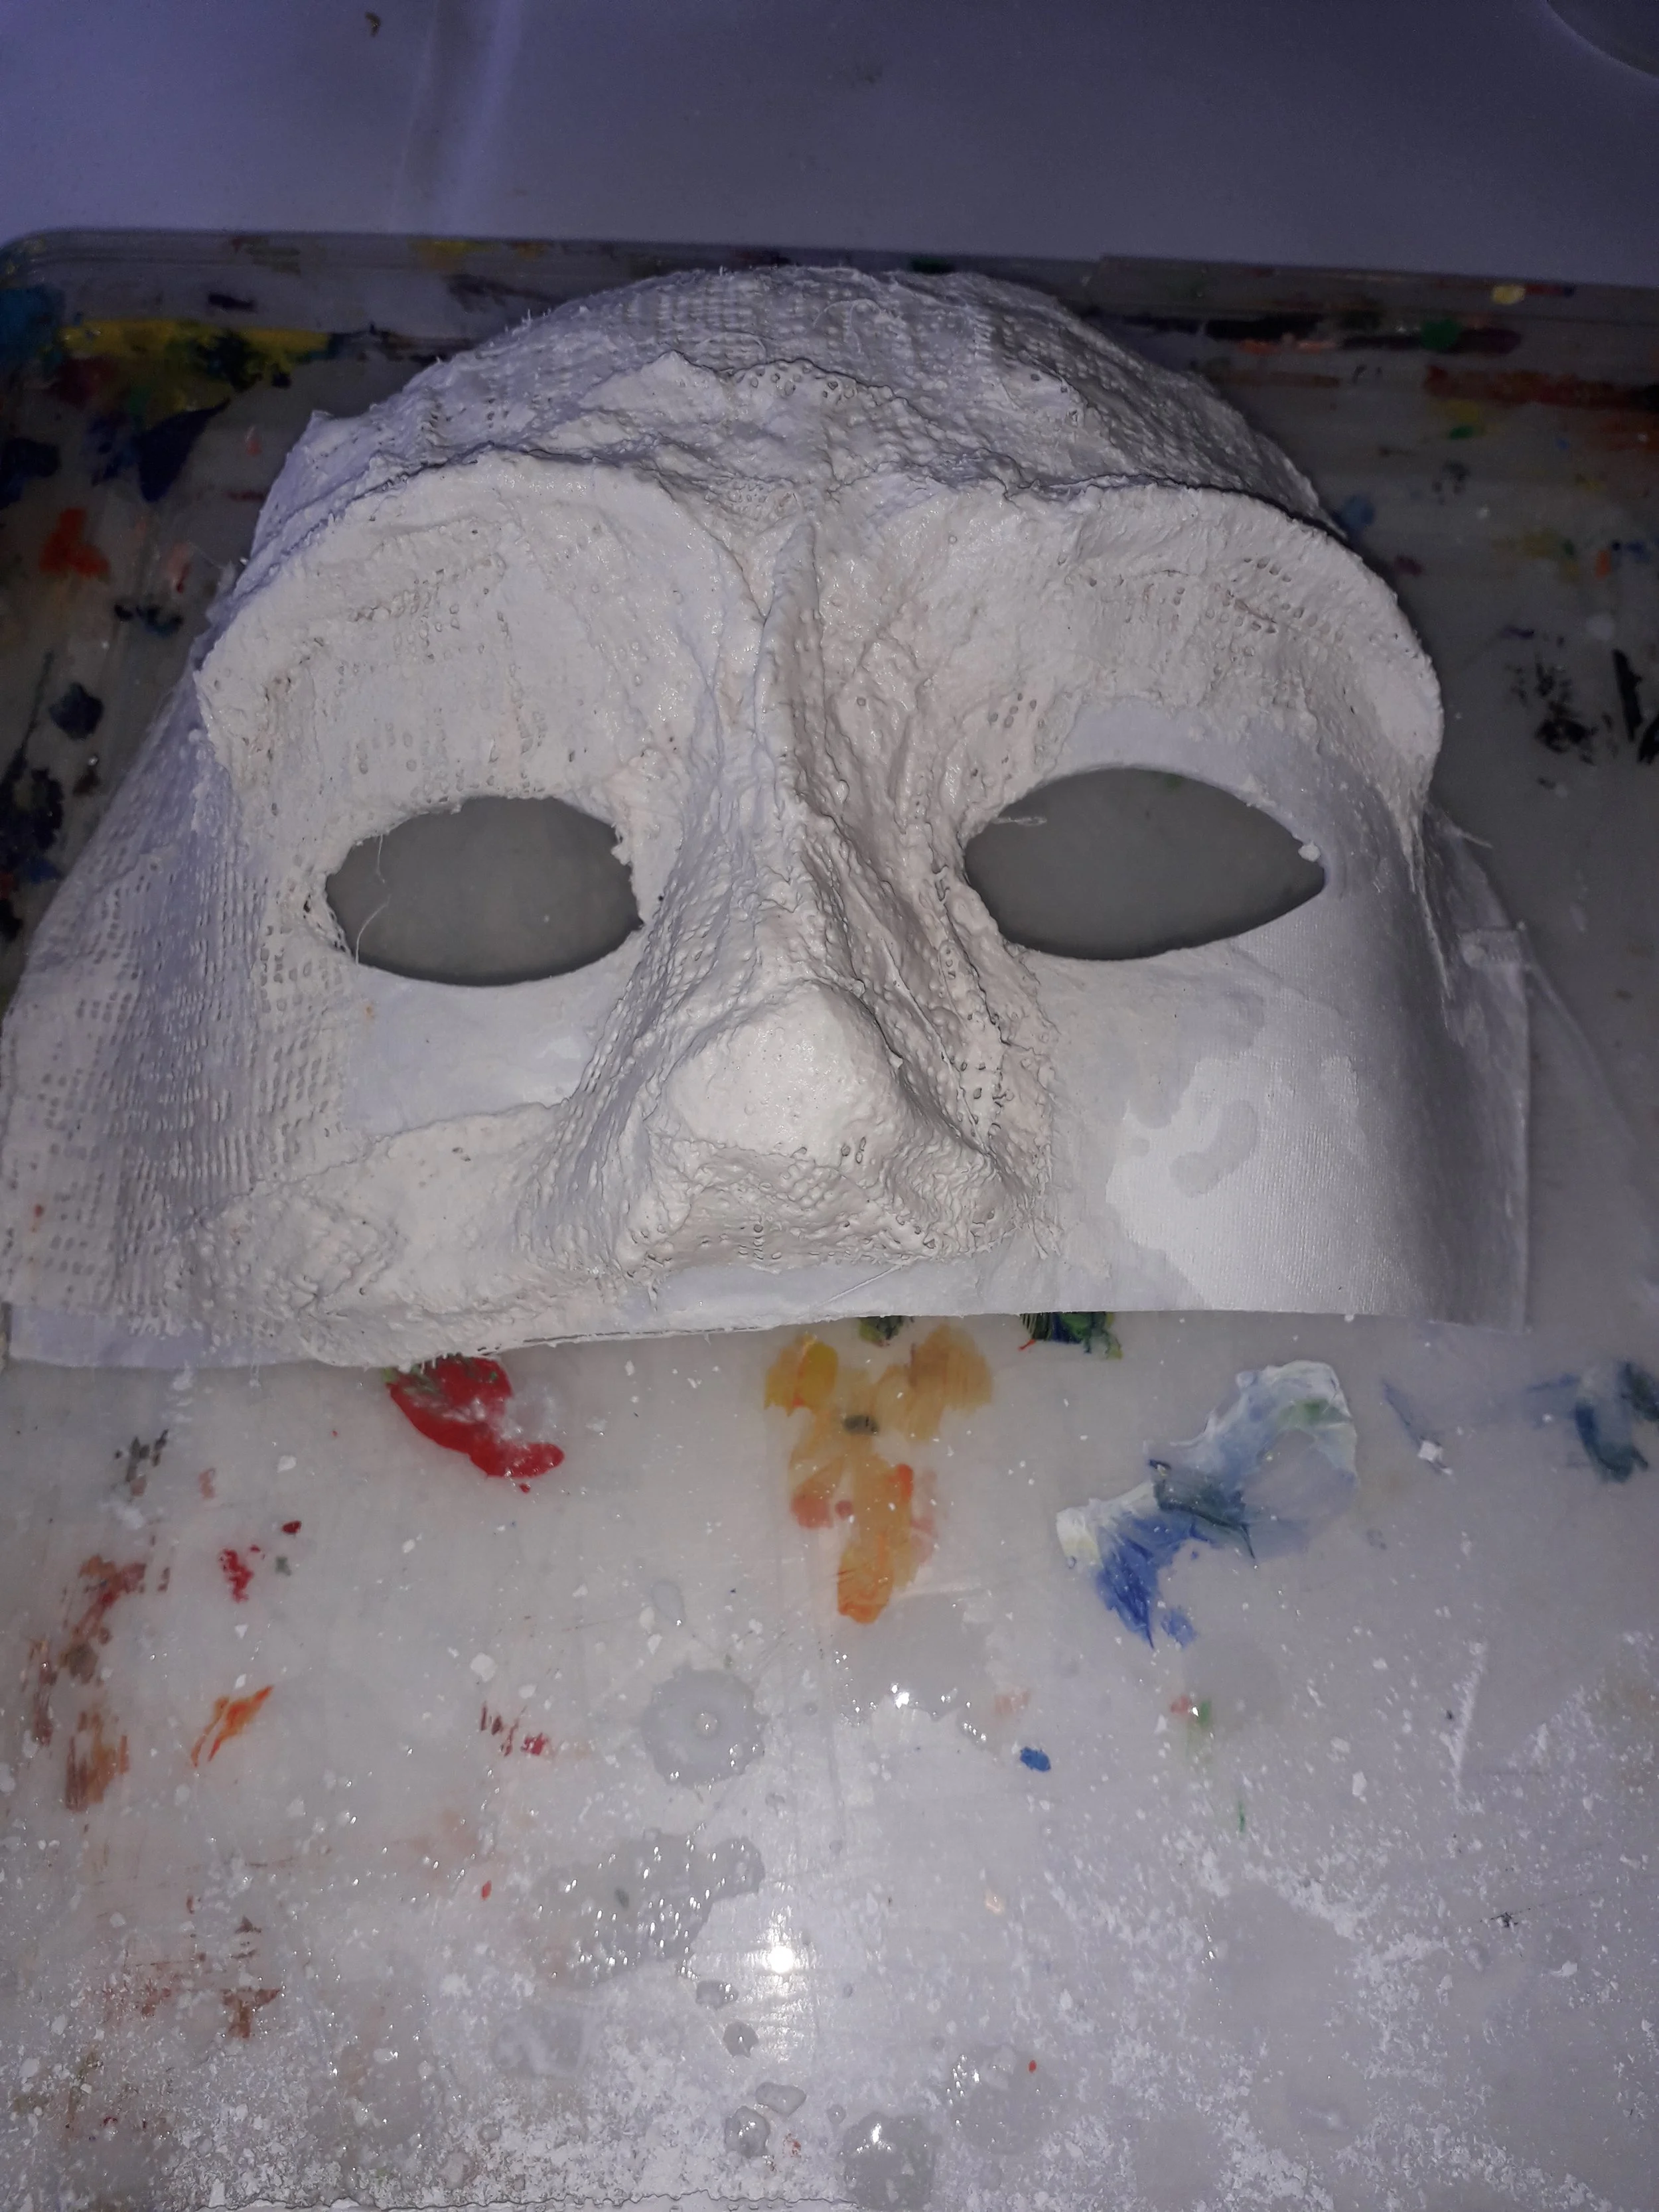
Completing the modroc on the mask with several layers showing different features.
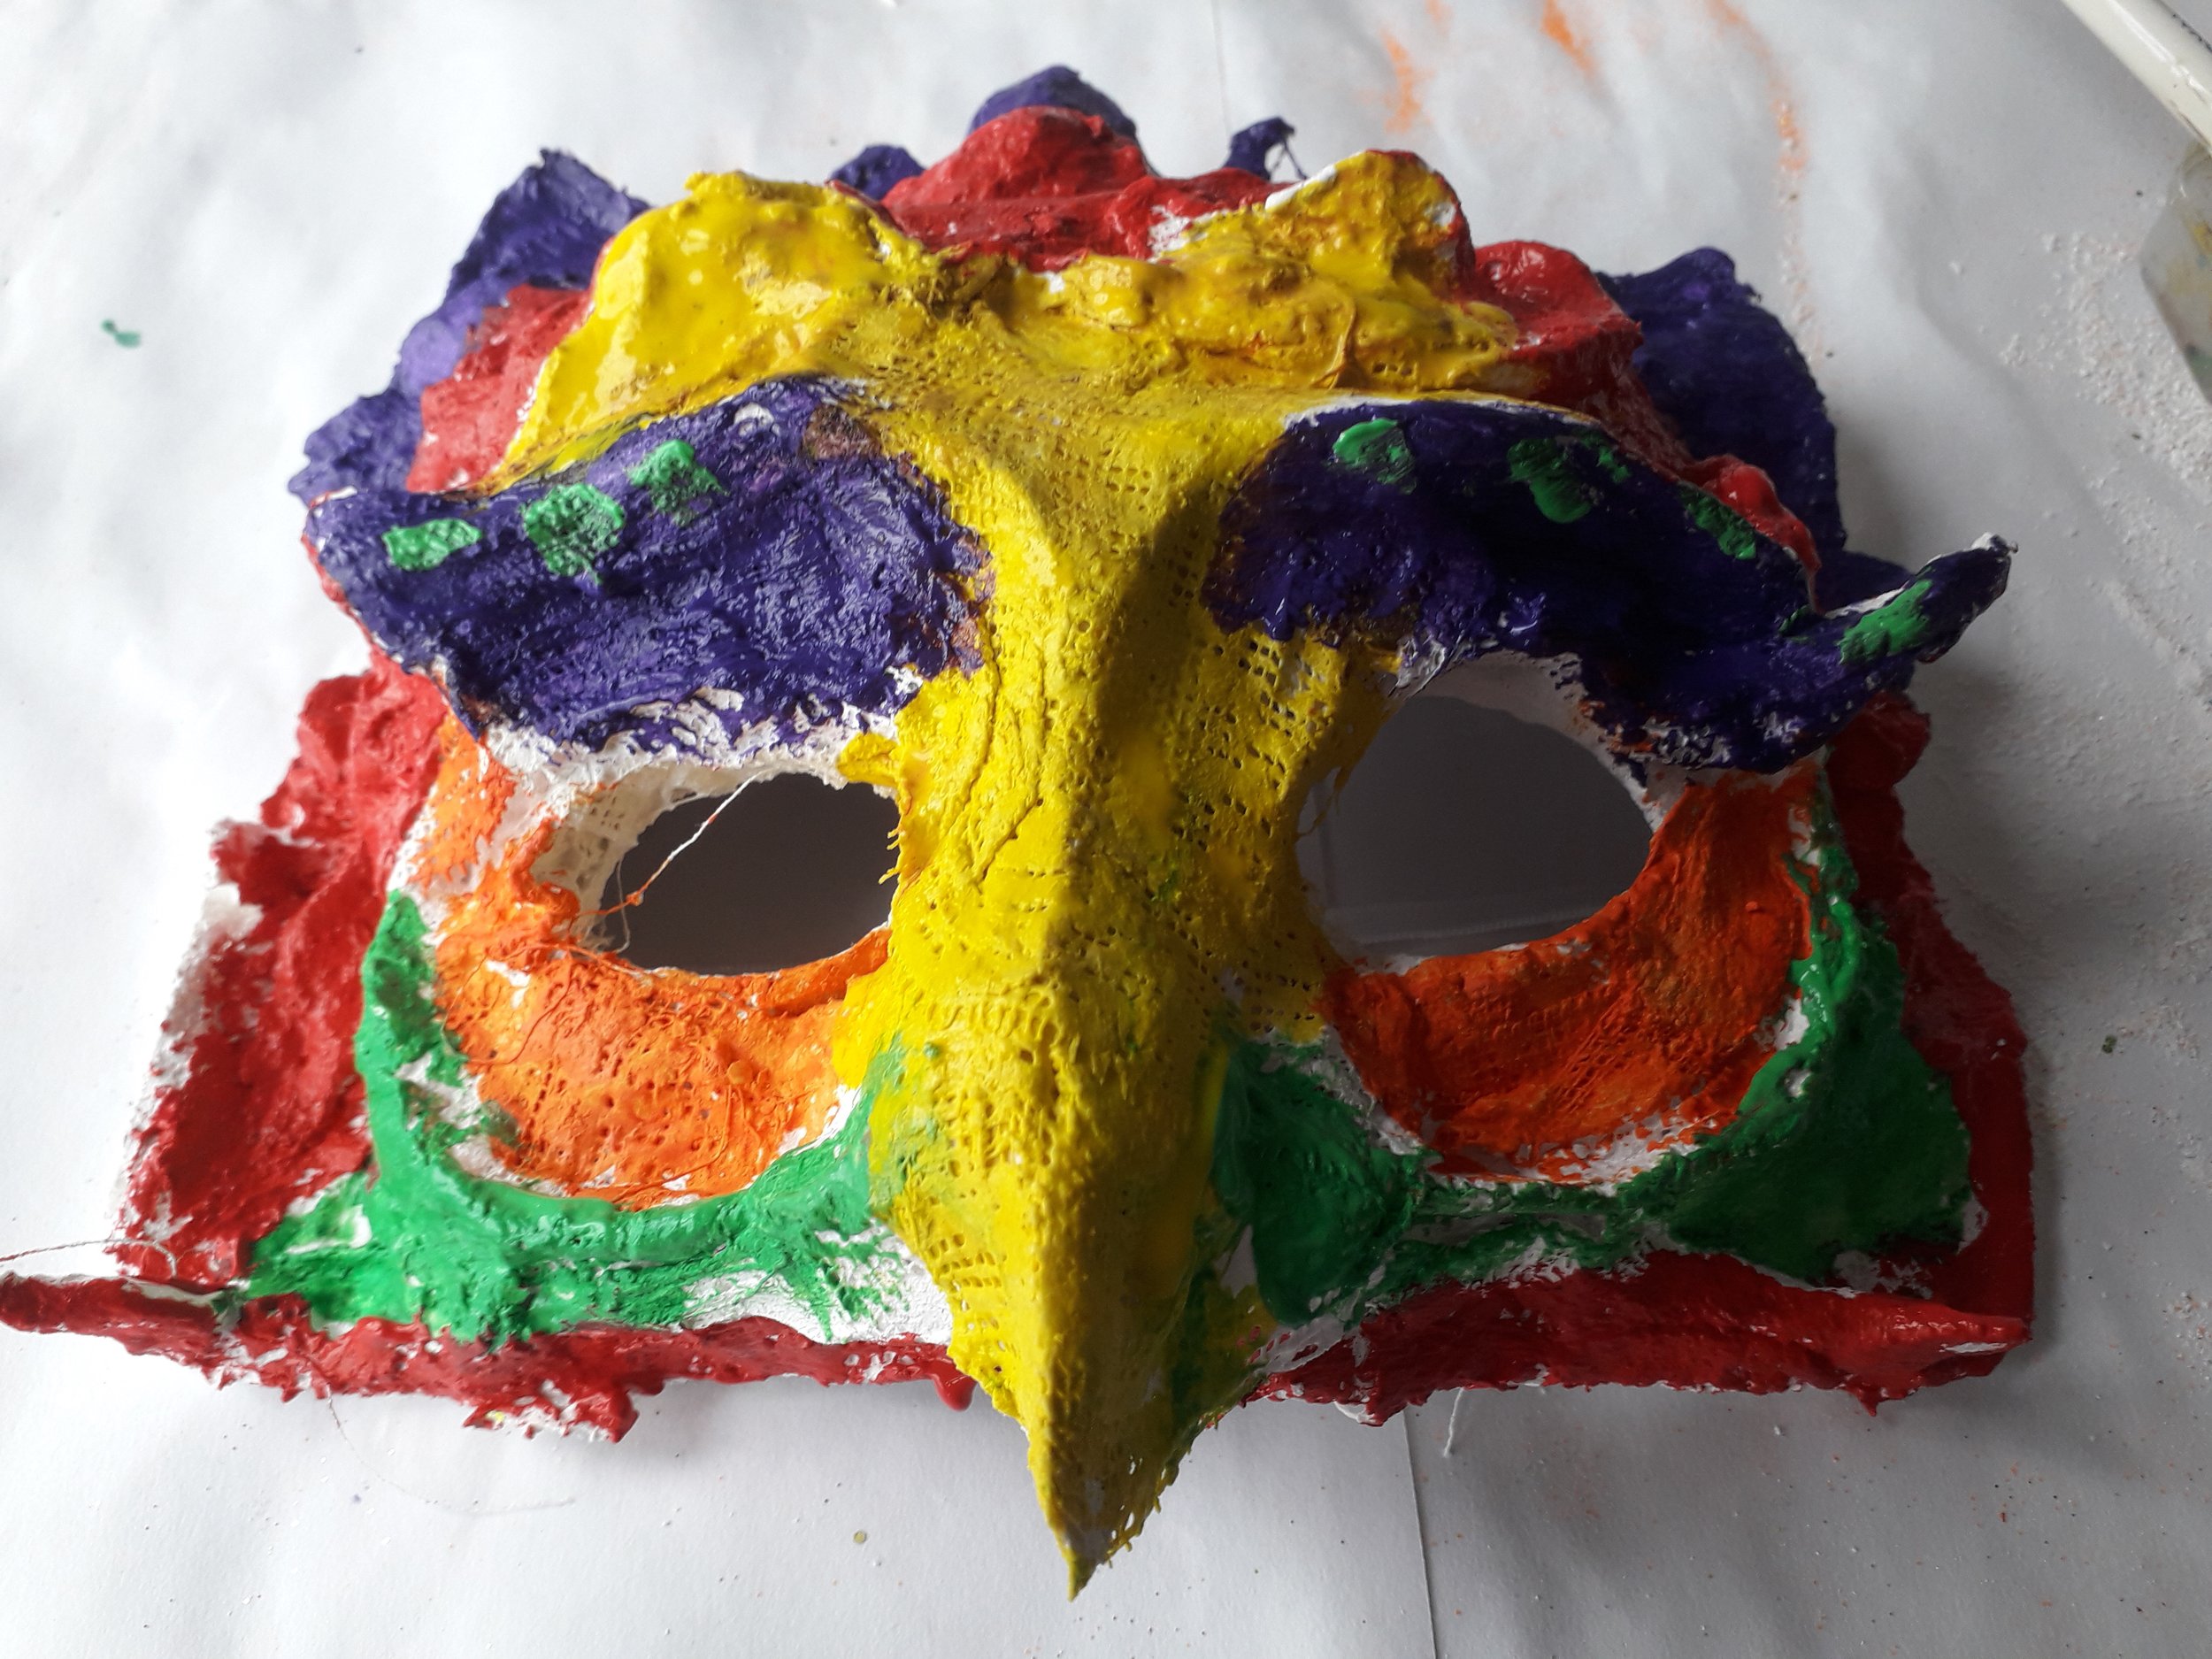
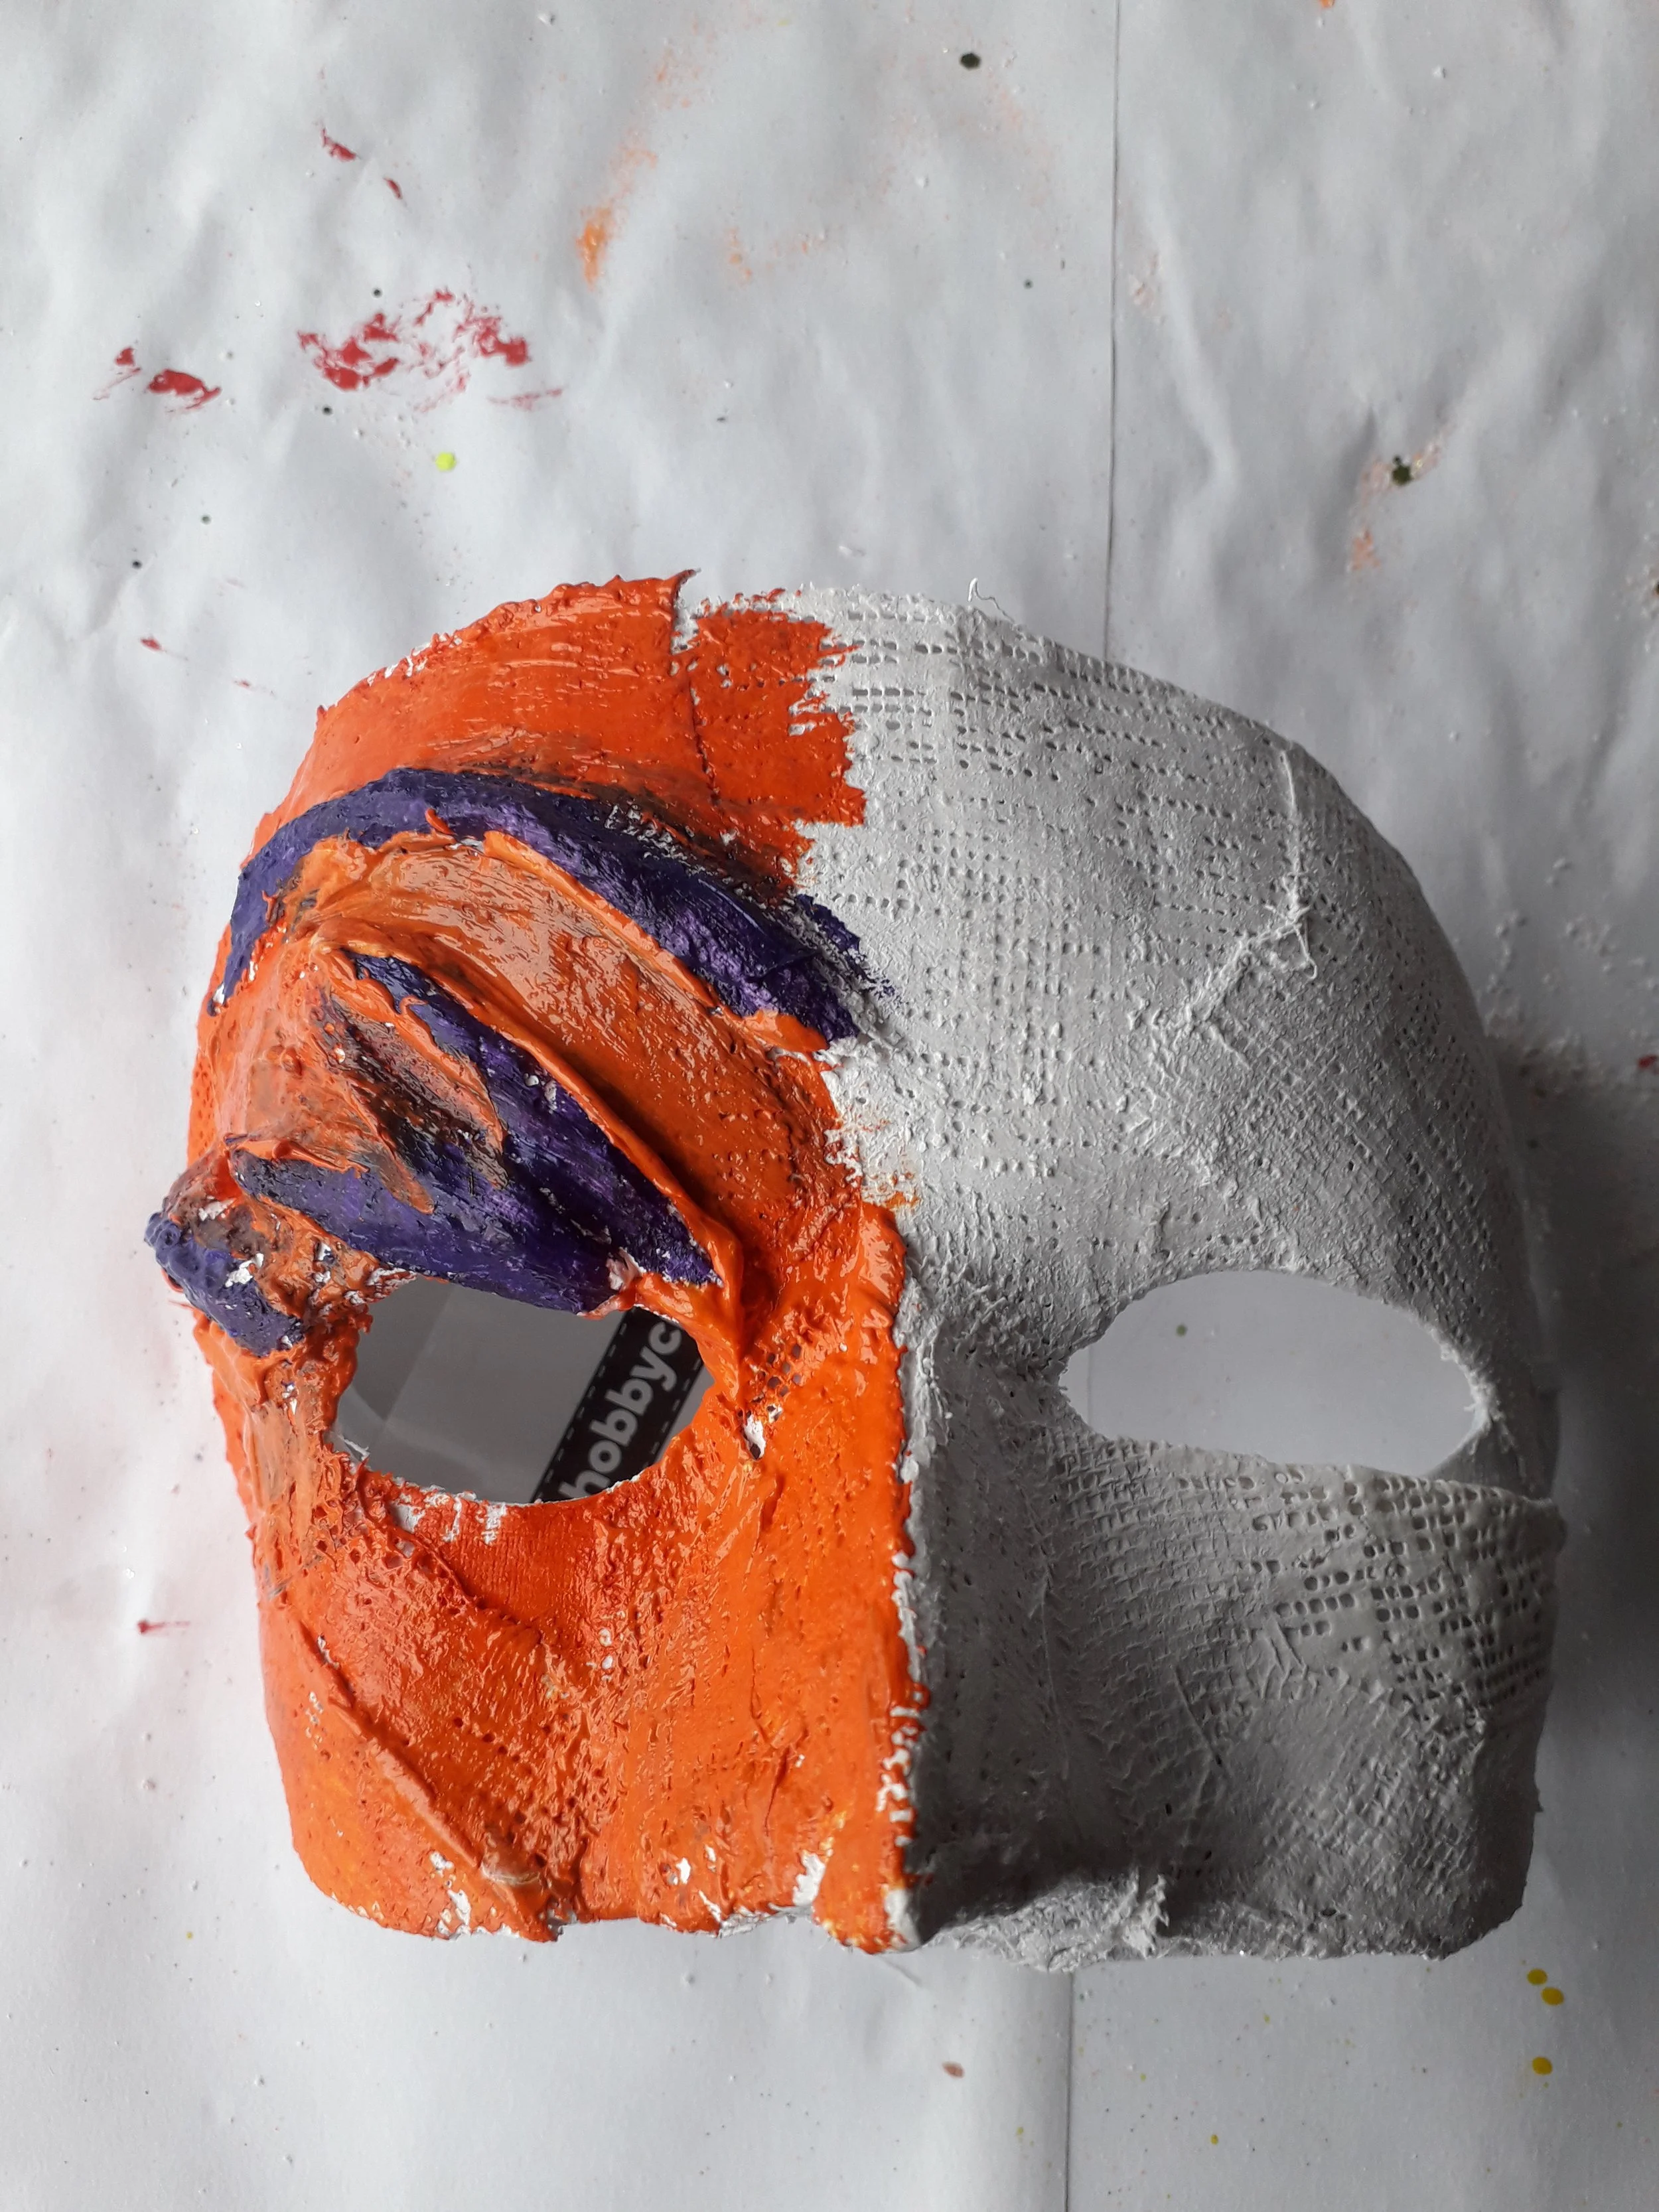
Step 7:
Fill in the rest of the mask with primary colours too.
Step 8:
Paint over the the 1st colour areas with colours that are contrasting.
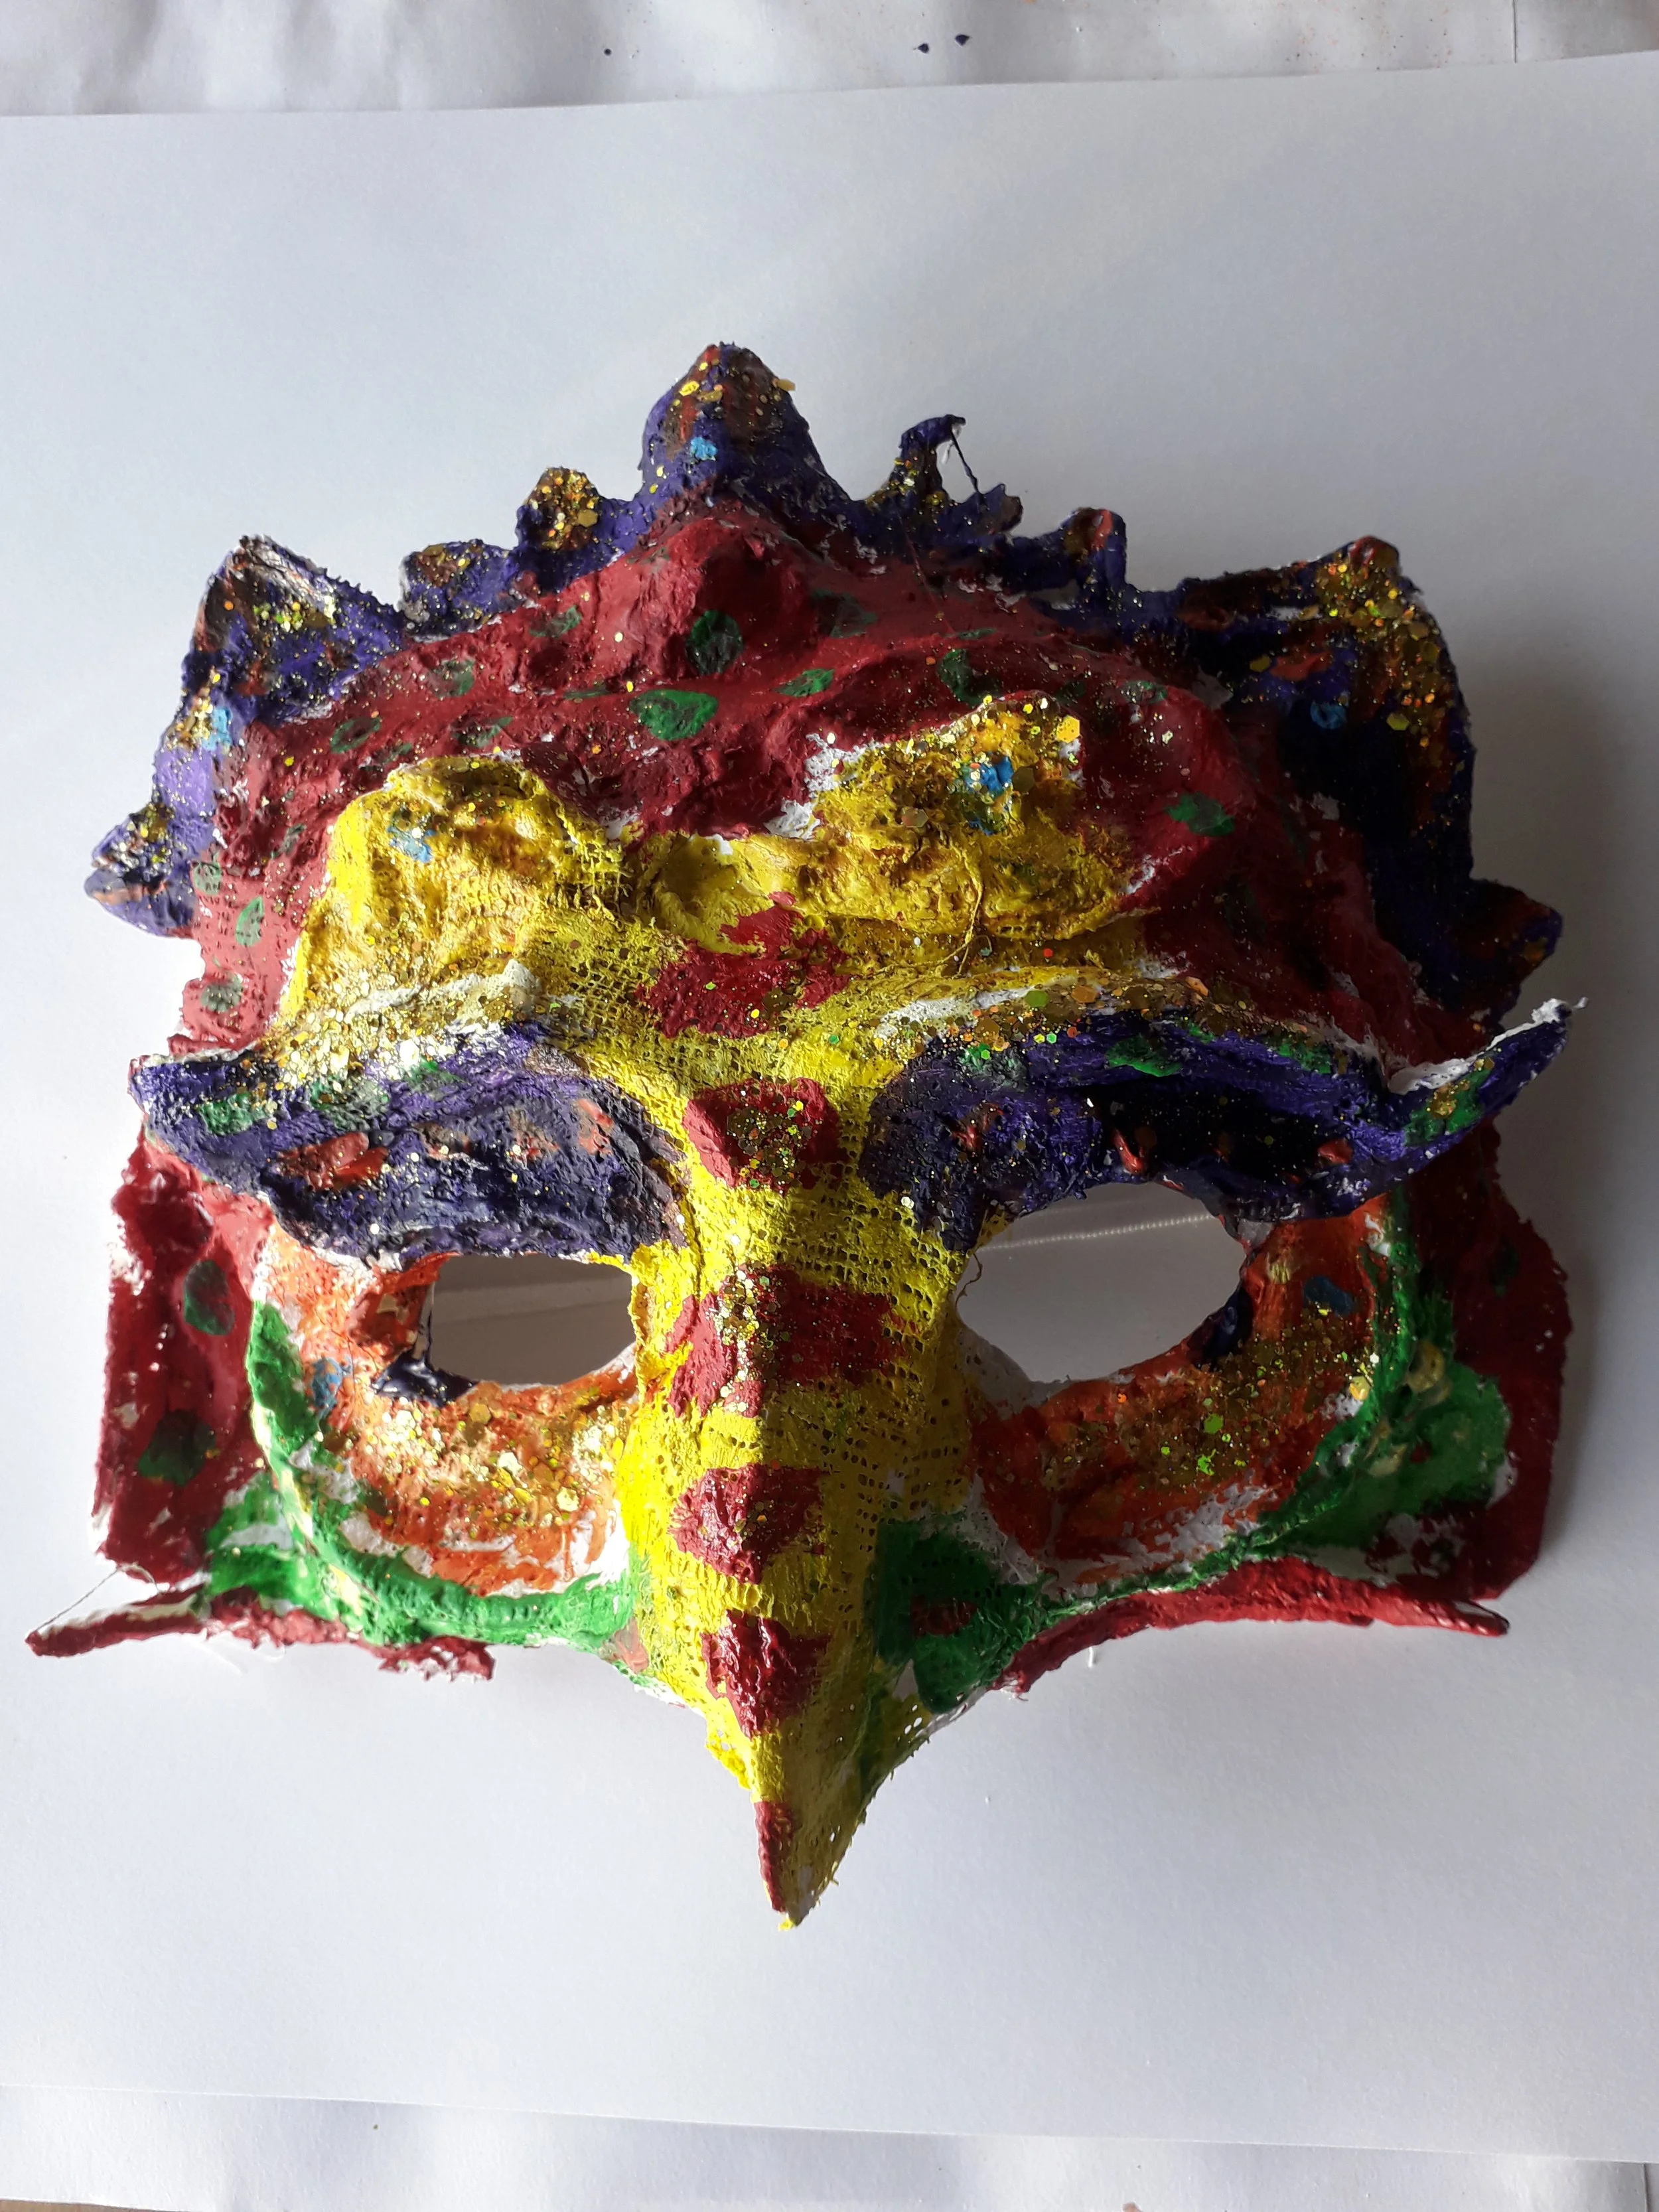
Step 9:
Complete the mask using glitter:
See here for a short video how to paint the mask:

There are so many different things that can be done to the mask that can make it look:
fun or happy,
scary or mysterious,
or it can show many kinds of emotions, or look like a creature.
The choice is yours.
The final step is painting your mask with acrylic paint, and putting feathers, and collage on it as well for extra effect.
The example for this will be ready next week here >
Modroc mask:
Making a mask with modroc.
Follow the steps below.
(Below: completed mask.)

Small modroc mask.
Small modroc mask.
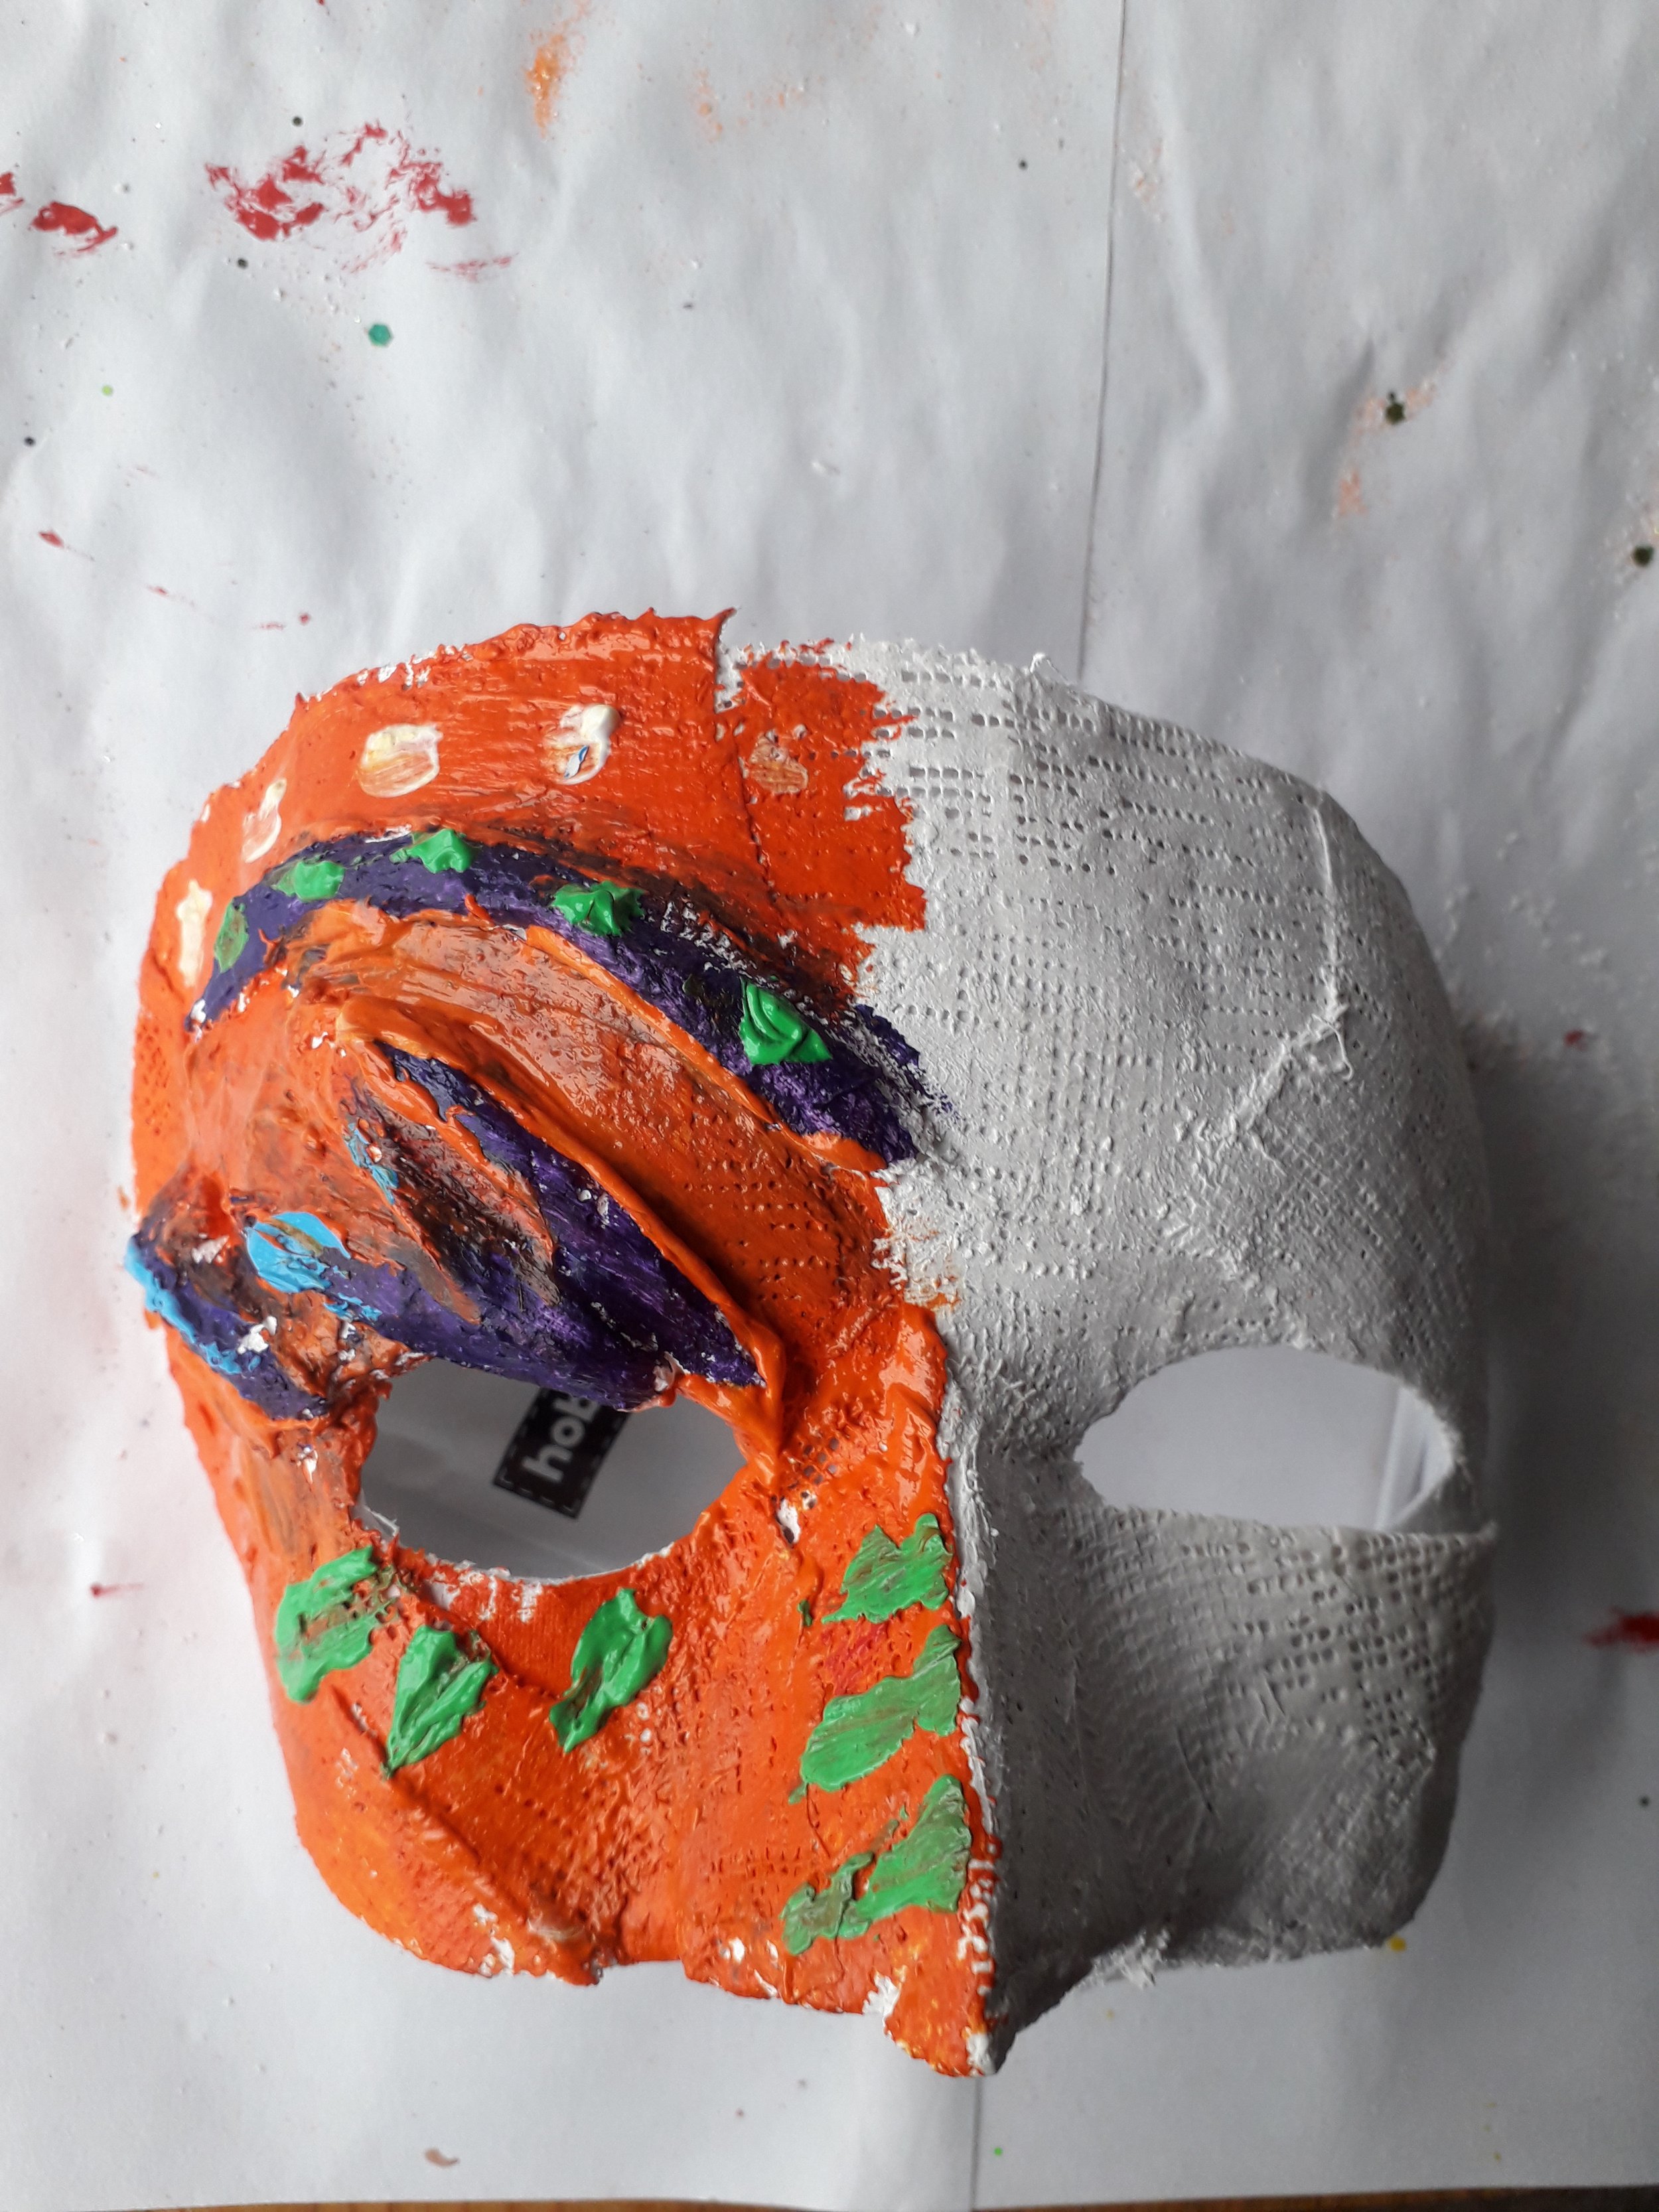
Step 4:
Add glitter or anything else to make your mask sparkle:
Please note I only completed half a mask to show the difference between both sides.
This mask template was obtained from Hobby Craft which is good for modroc projects (hence label at the back), but there are plenty of masks from other sources.
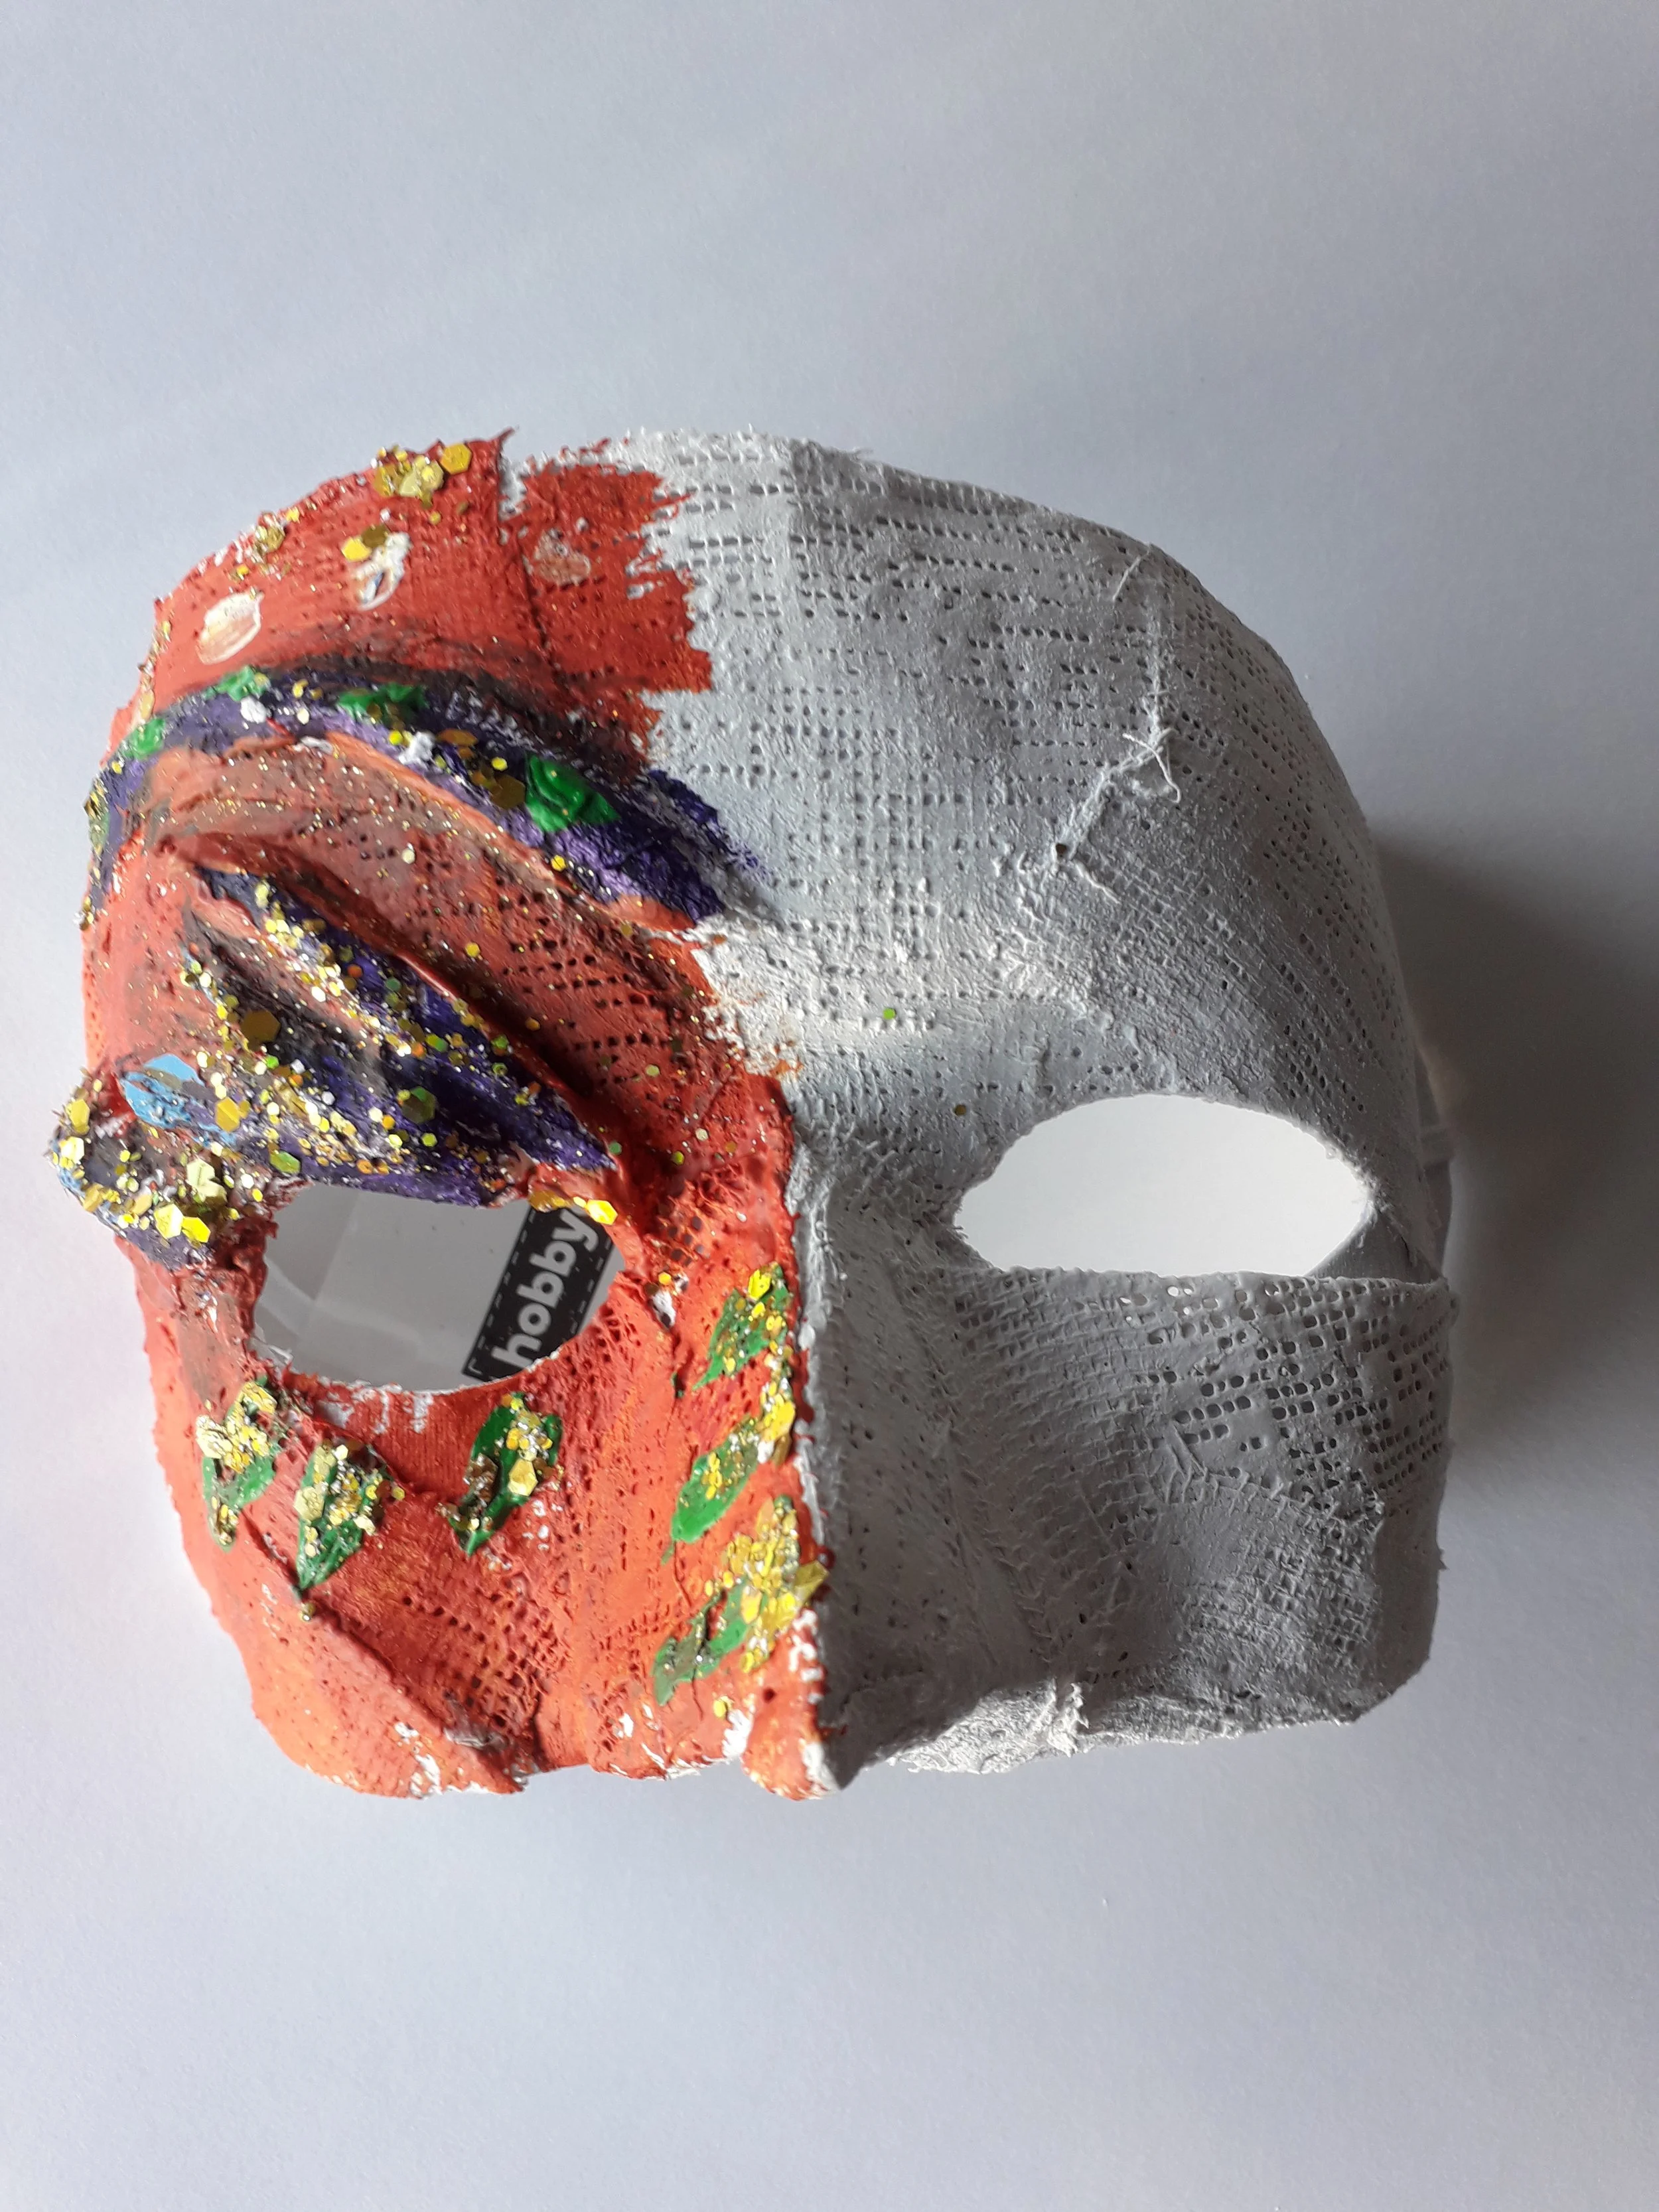
Same project but with a smaller mask and a different kind of idea on the mask.
Step 1: Background colour. Step 2: Colour features. Step 3: Add details.