Dancing Penguin
Winter theme project
Artist - Helen Johnston.
Artist - Helen Johnston.
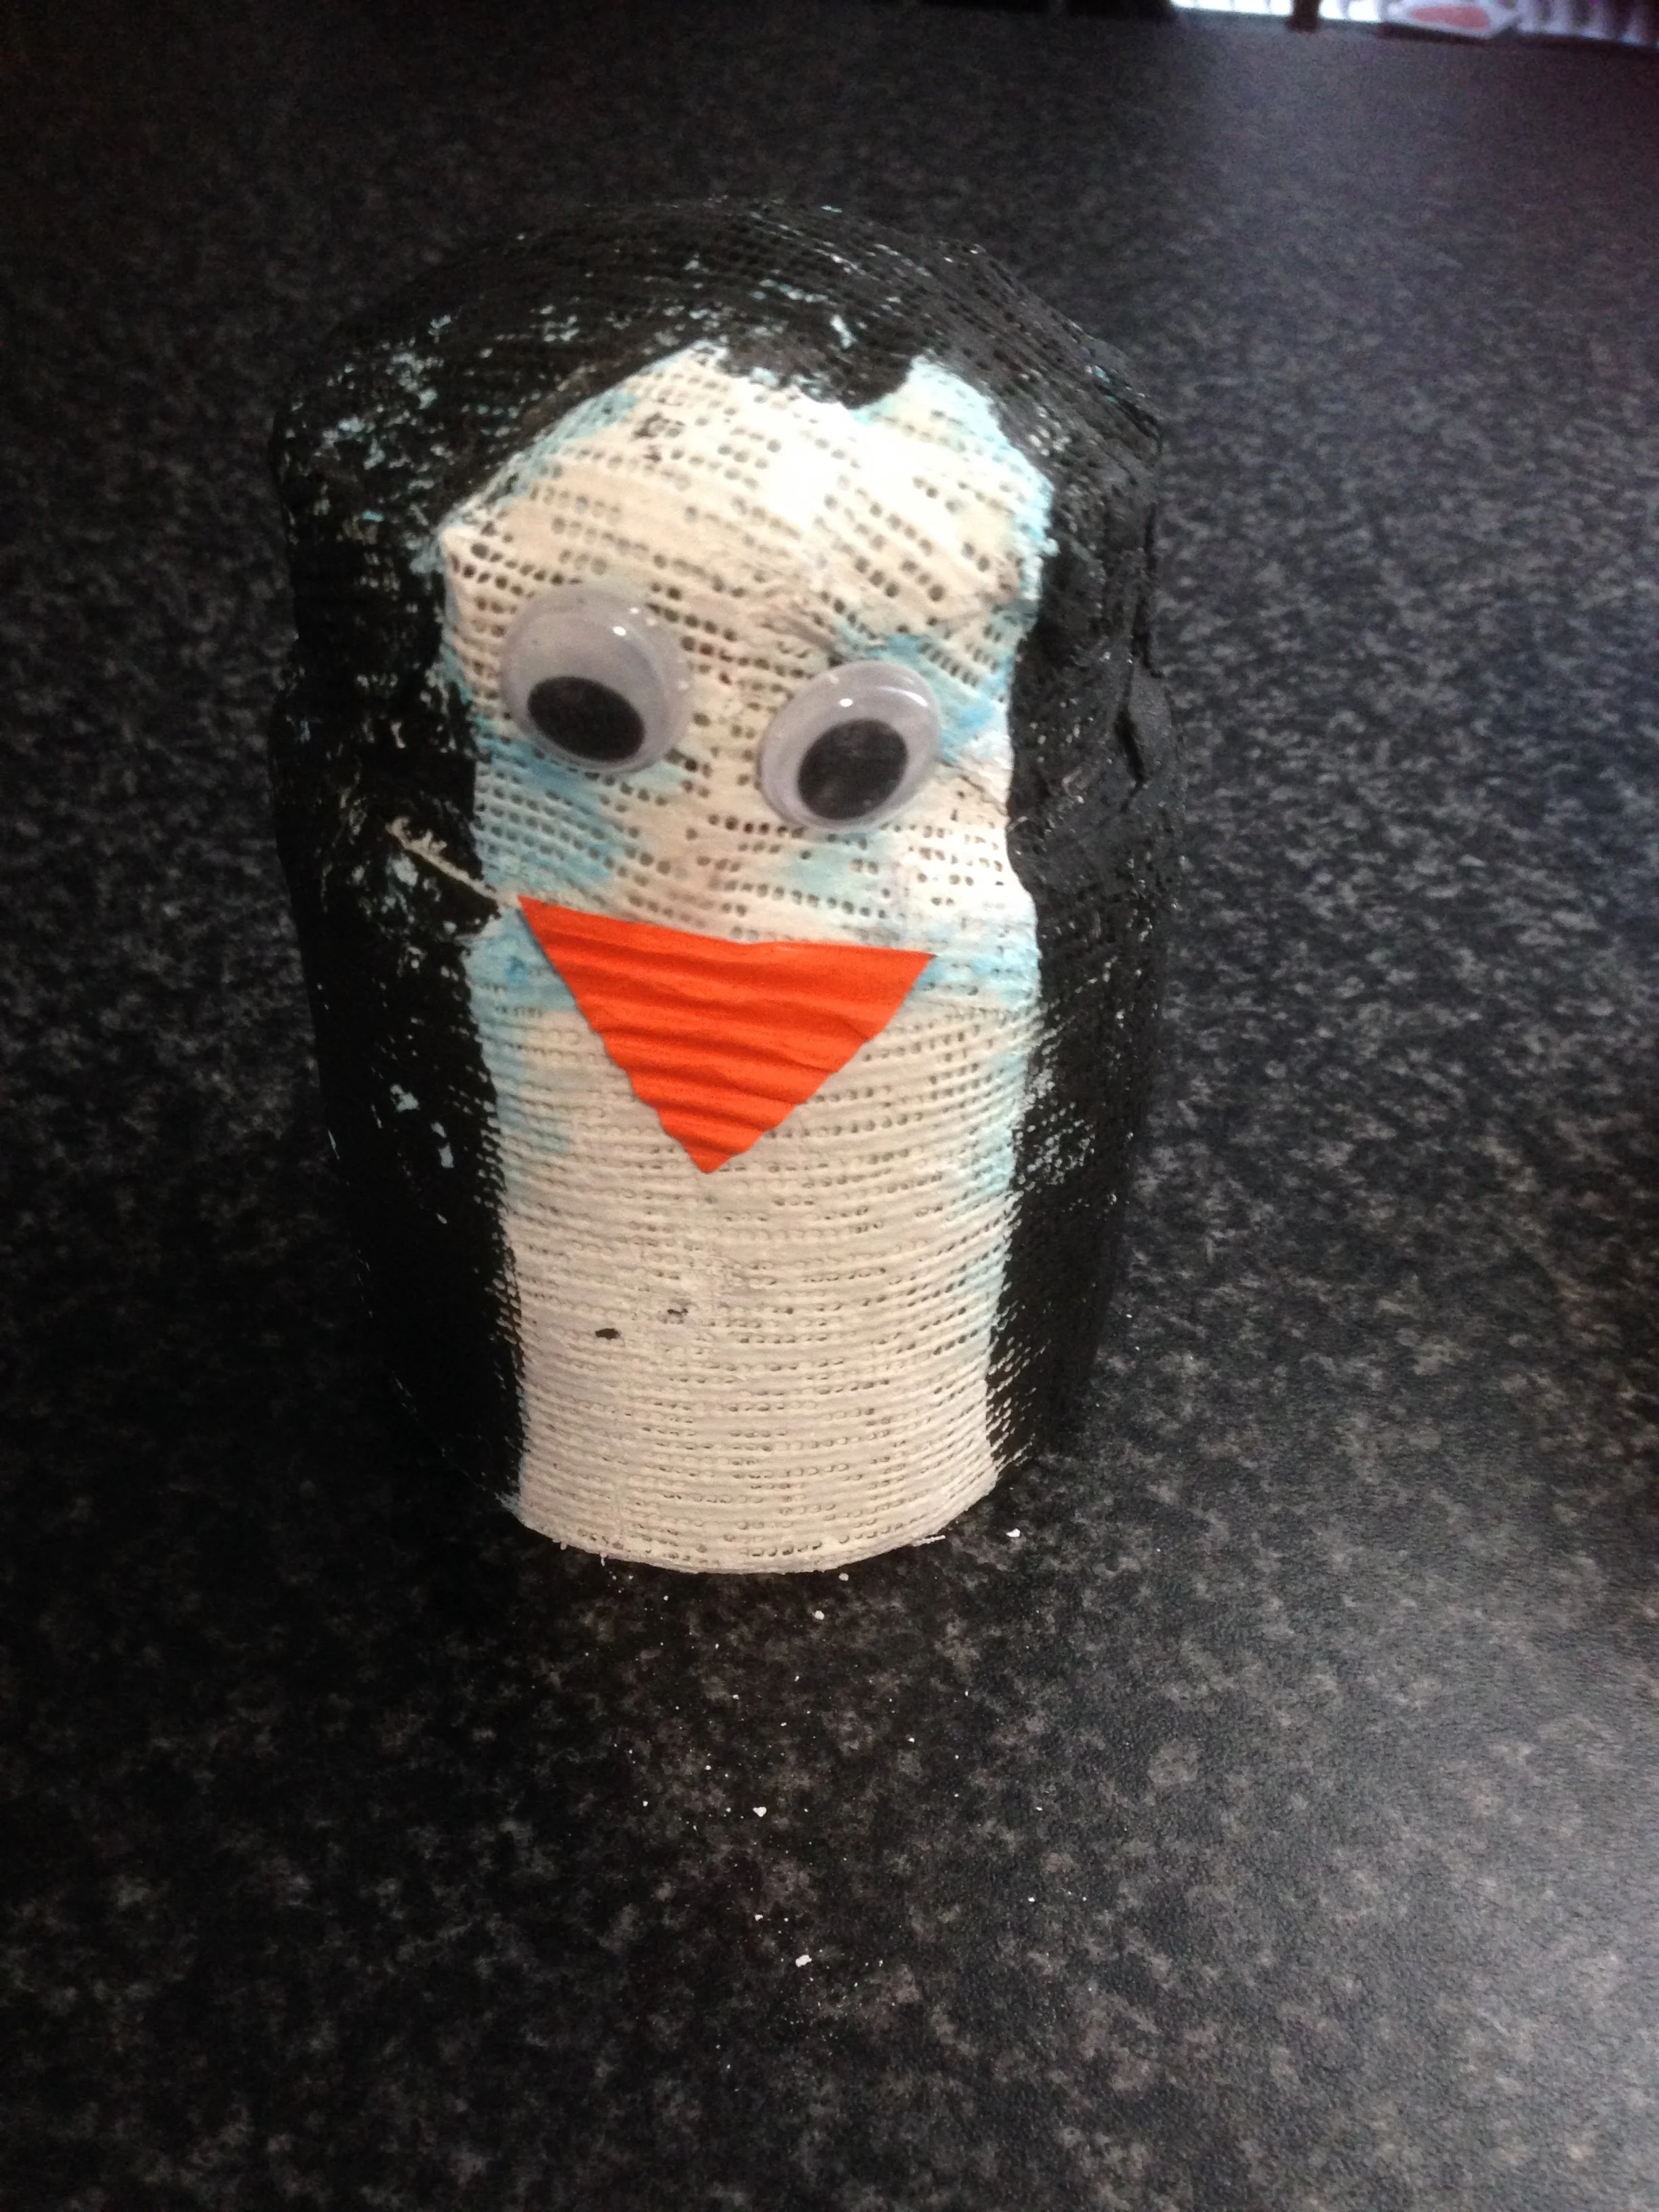
By Artist - Helen Johnston
A fantastic penguin by Helen,
Artist - Rachel Frame.
Artist - Rachel Frame.
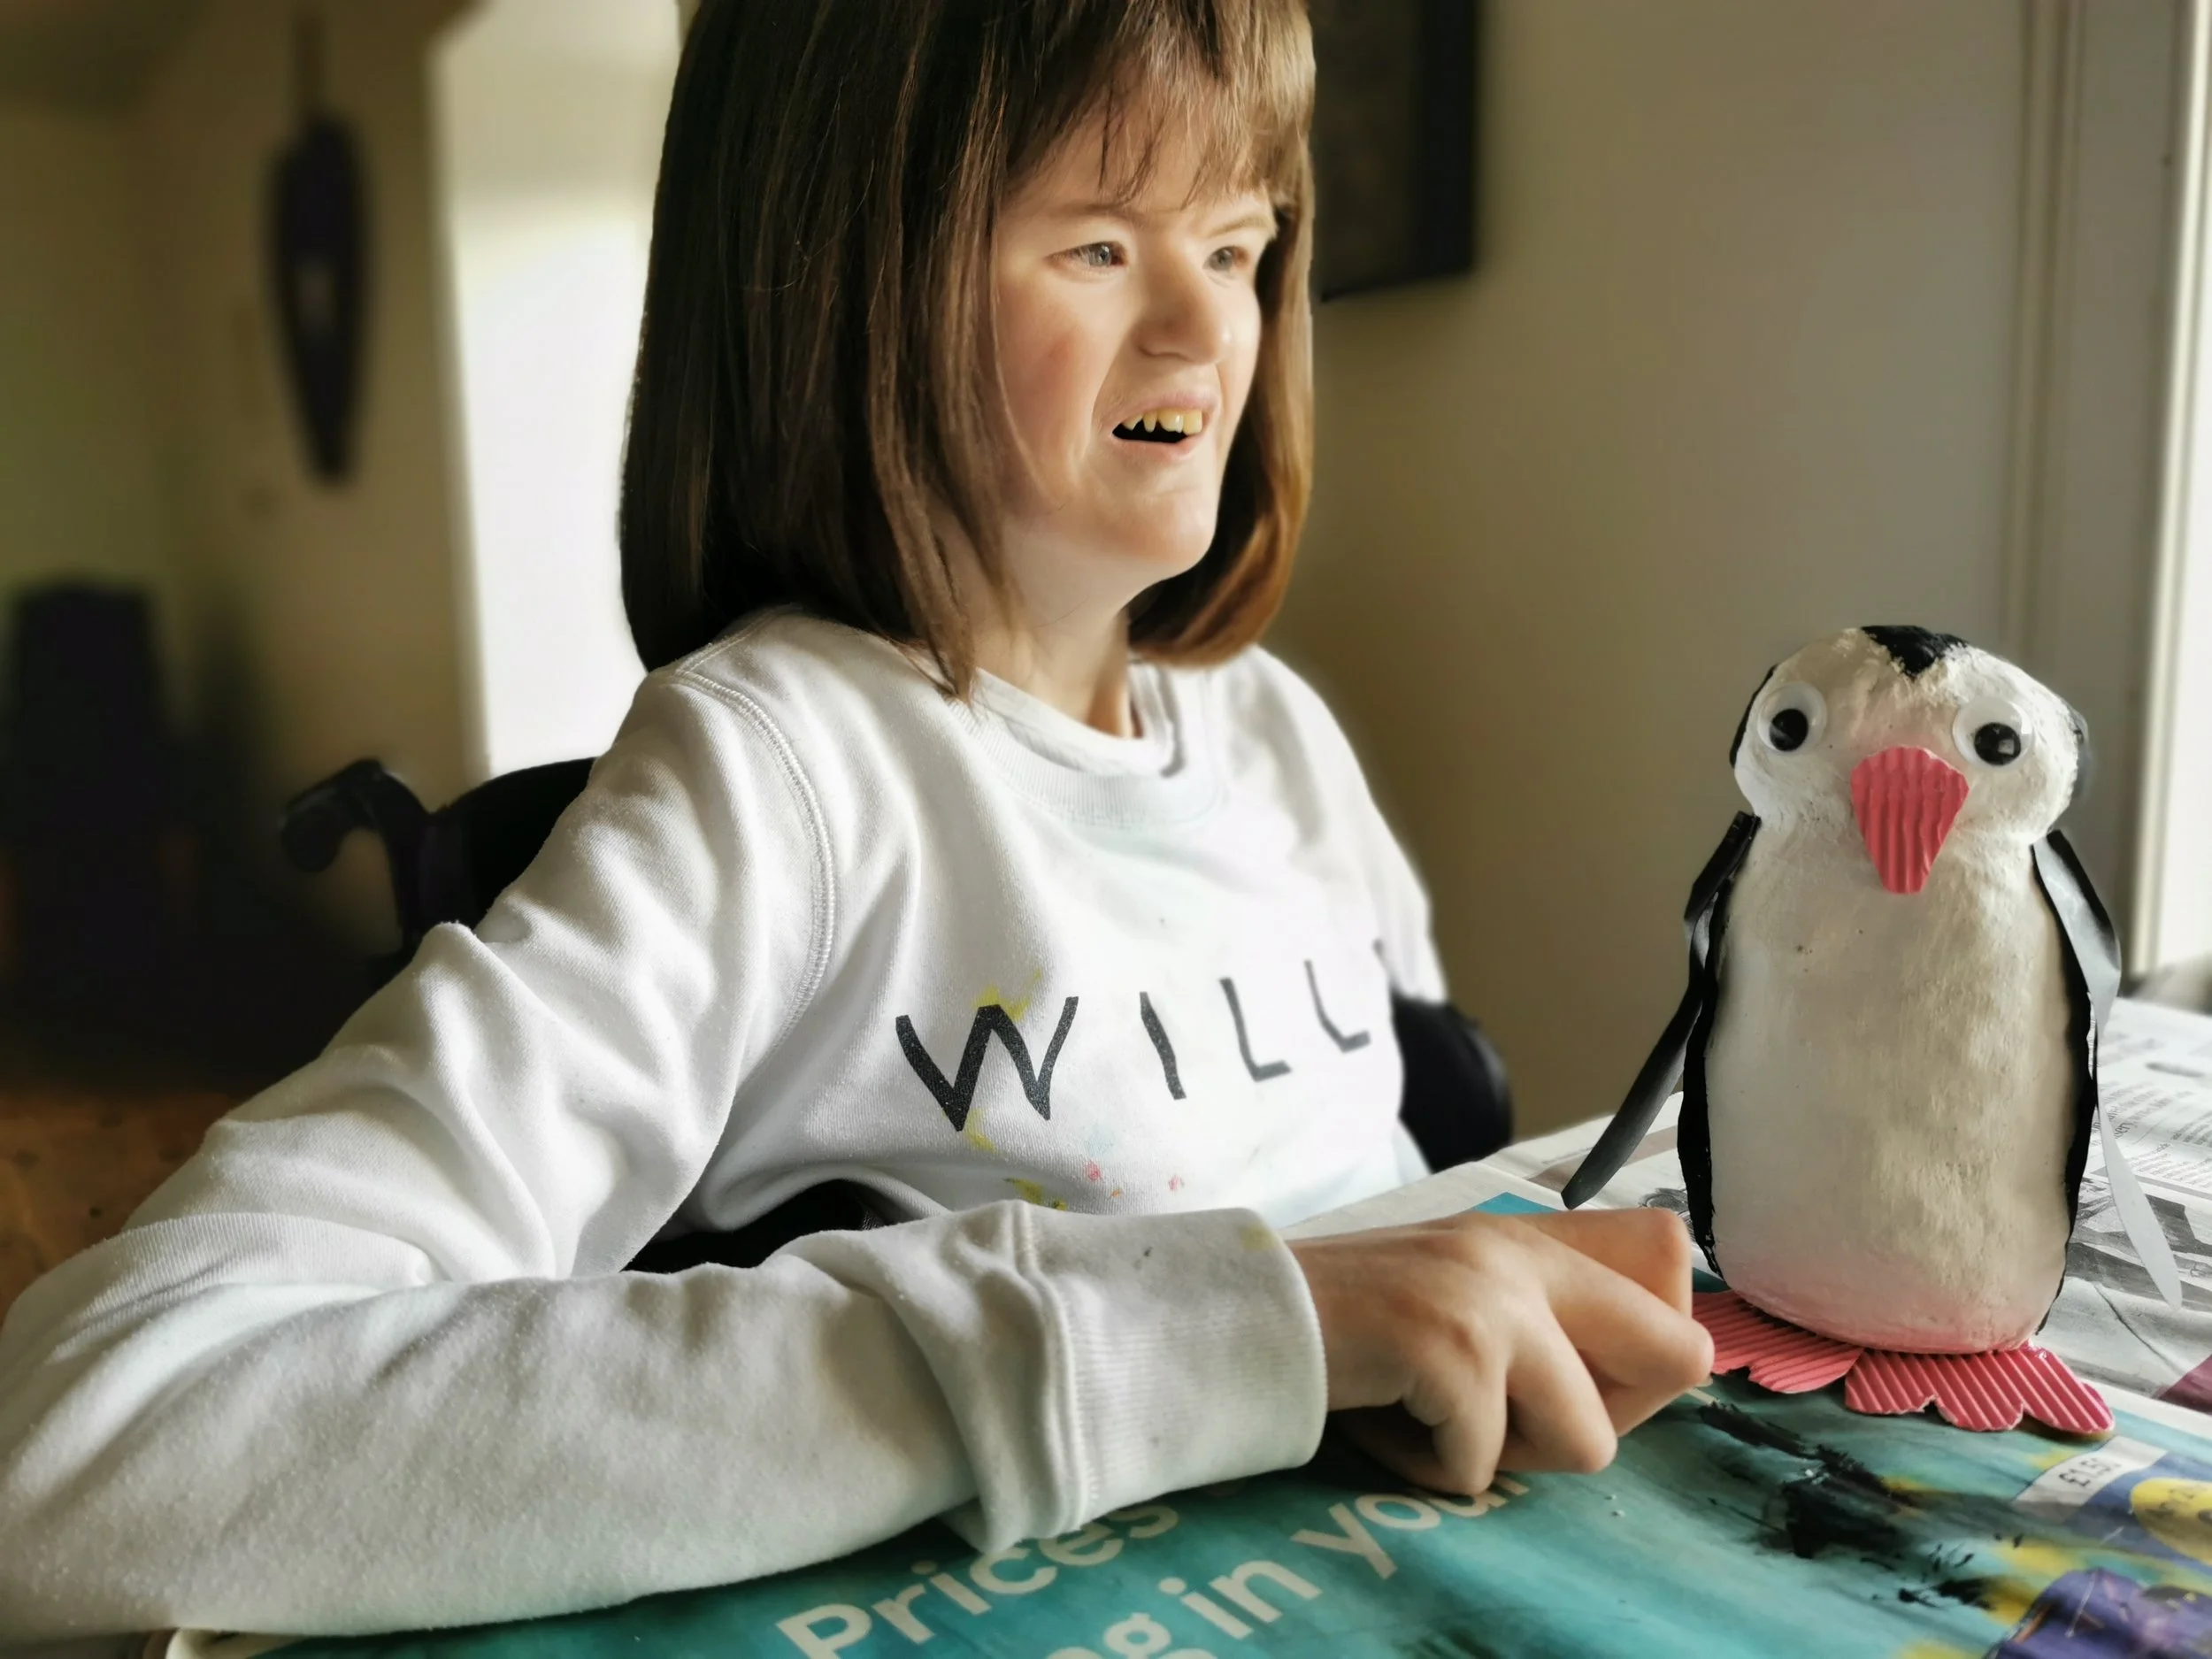
By Artist - Rachel Frame
Rachel made her fantastic Penguin featured here:
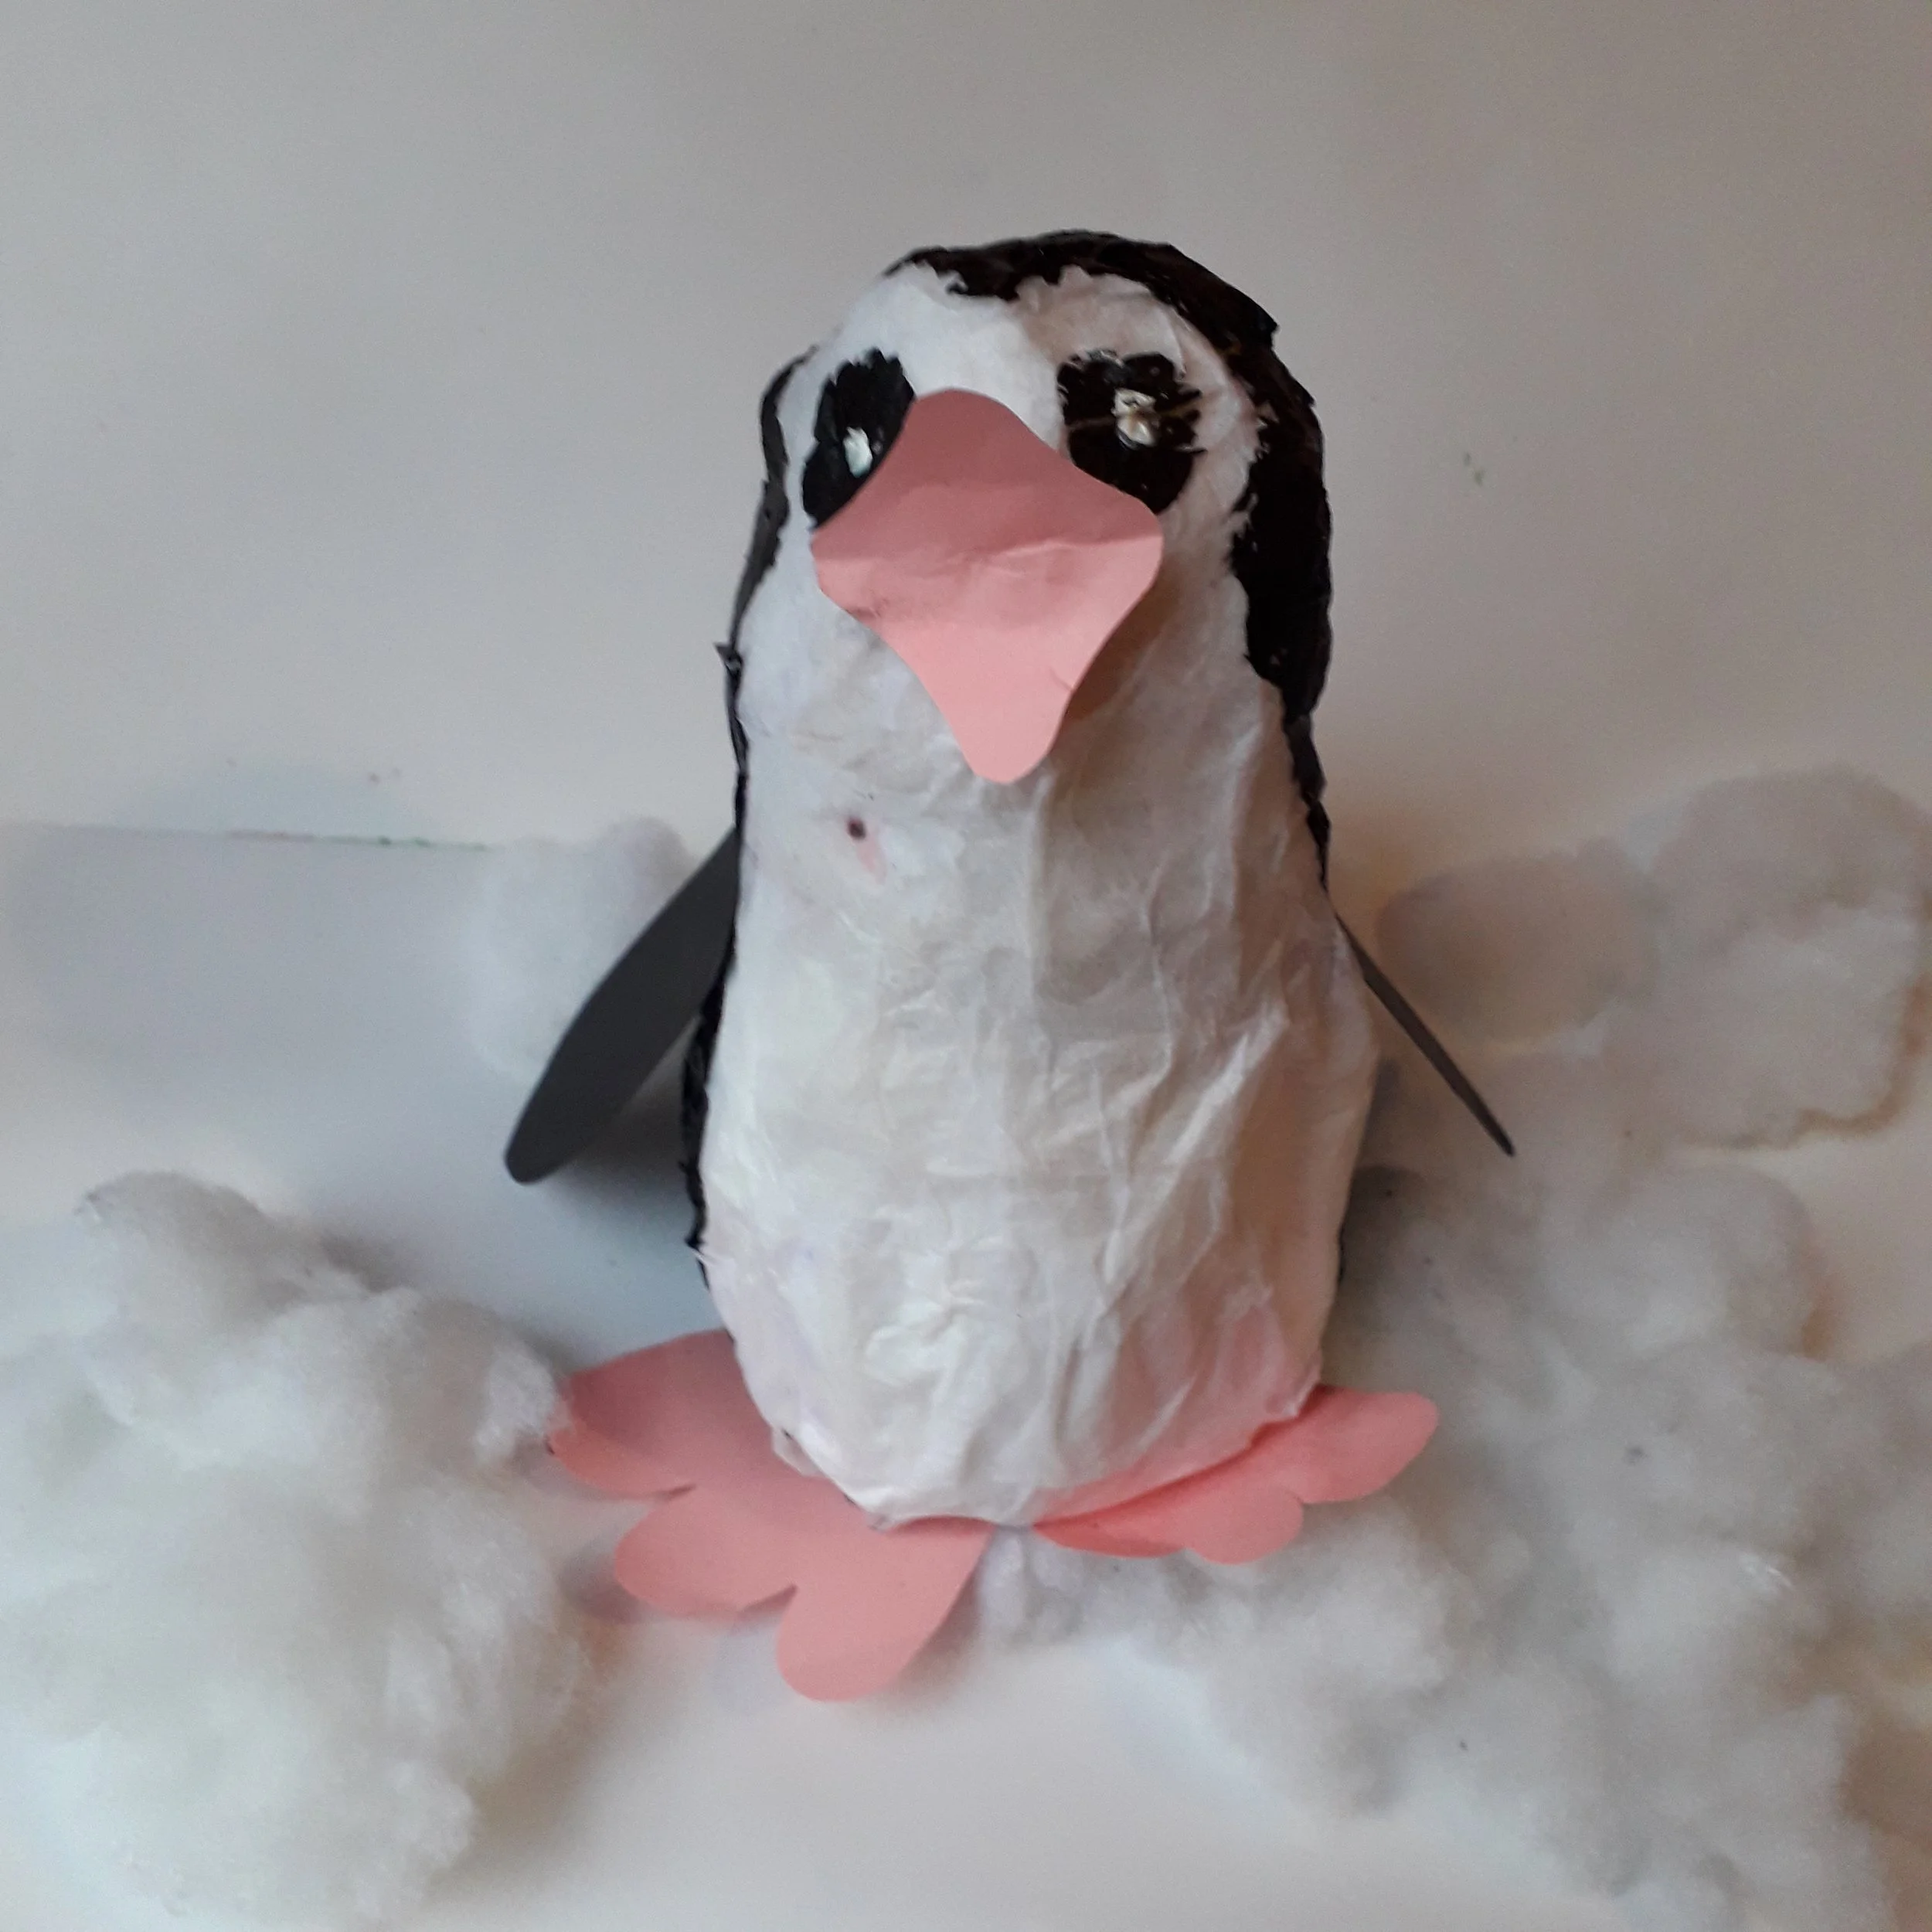
Winter theme - Penguin
Happy Penguin Dancing on an iceberg.
This is the craft work theme during November.
A model using a drink can, paper padding, collage and paint to make this happy penguin dance on ice.
We called them -
Flip, Flop and Flap!
Below: video how to make it:
Steps making the penguin:
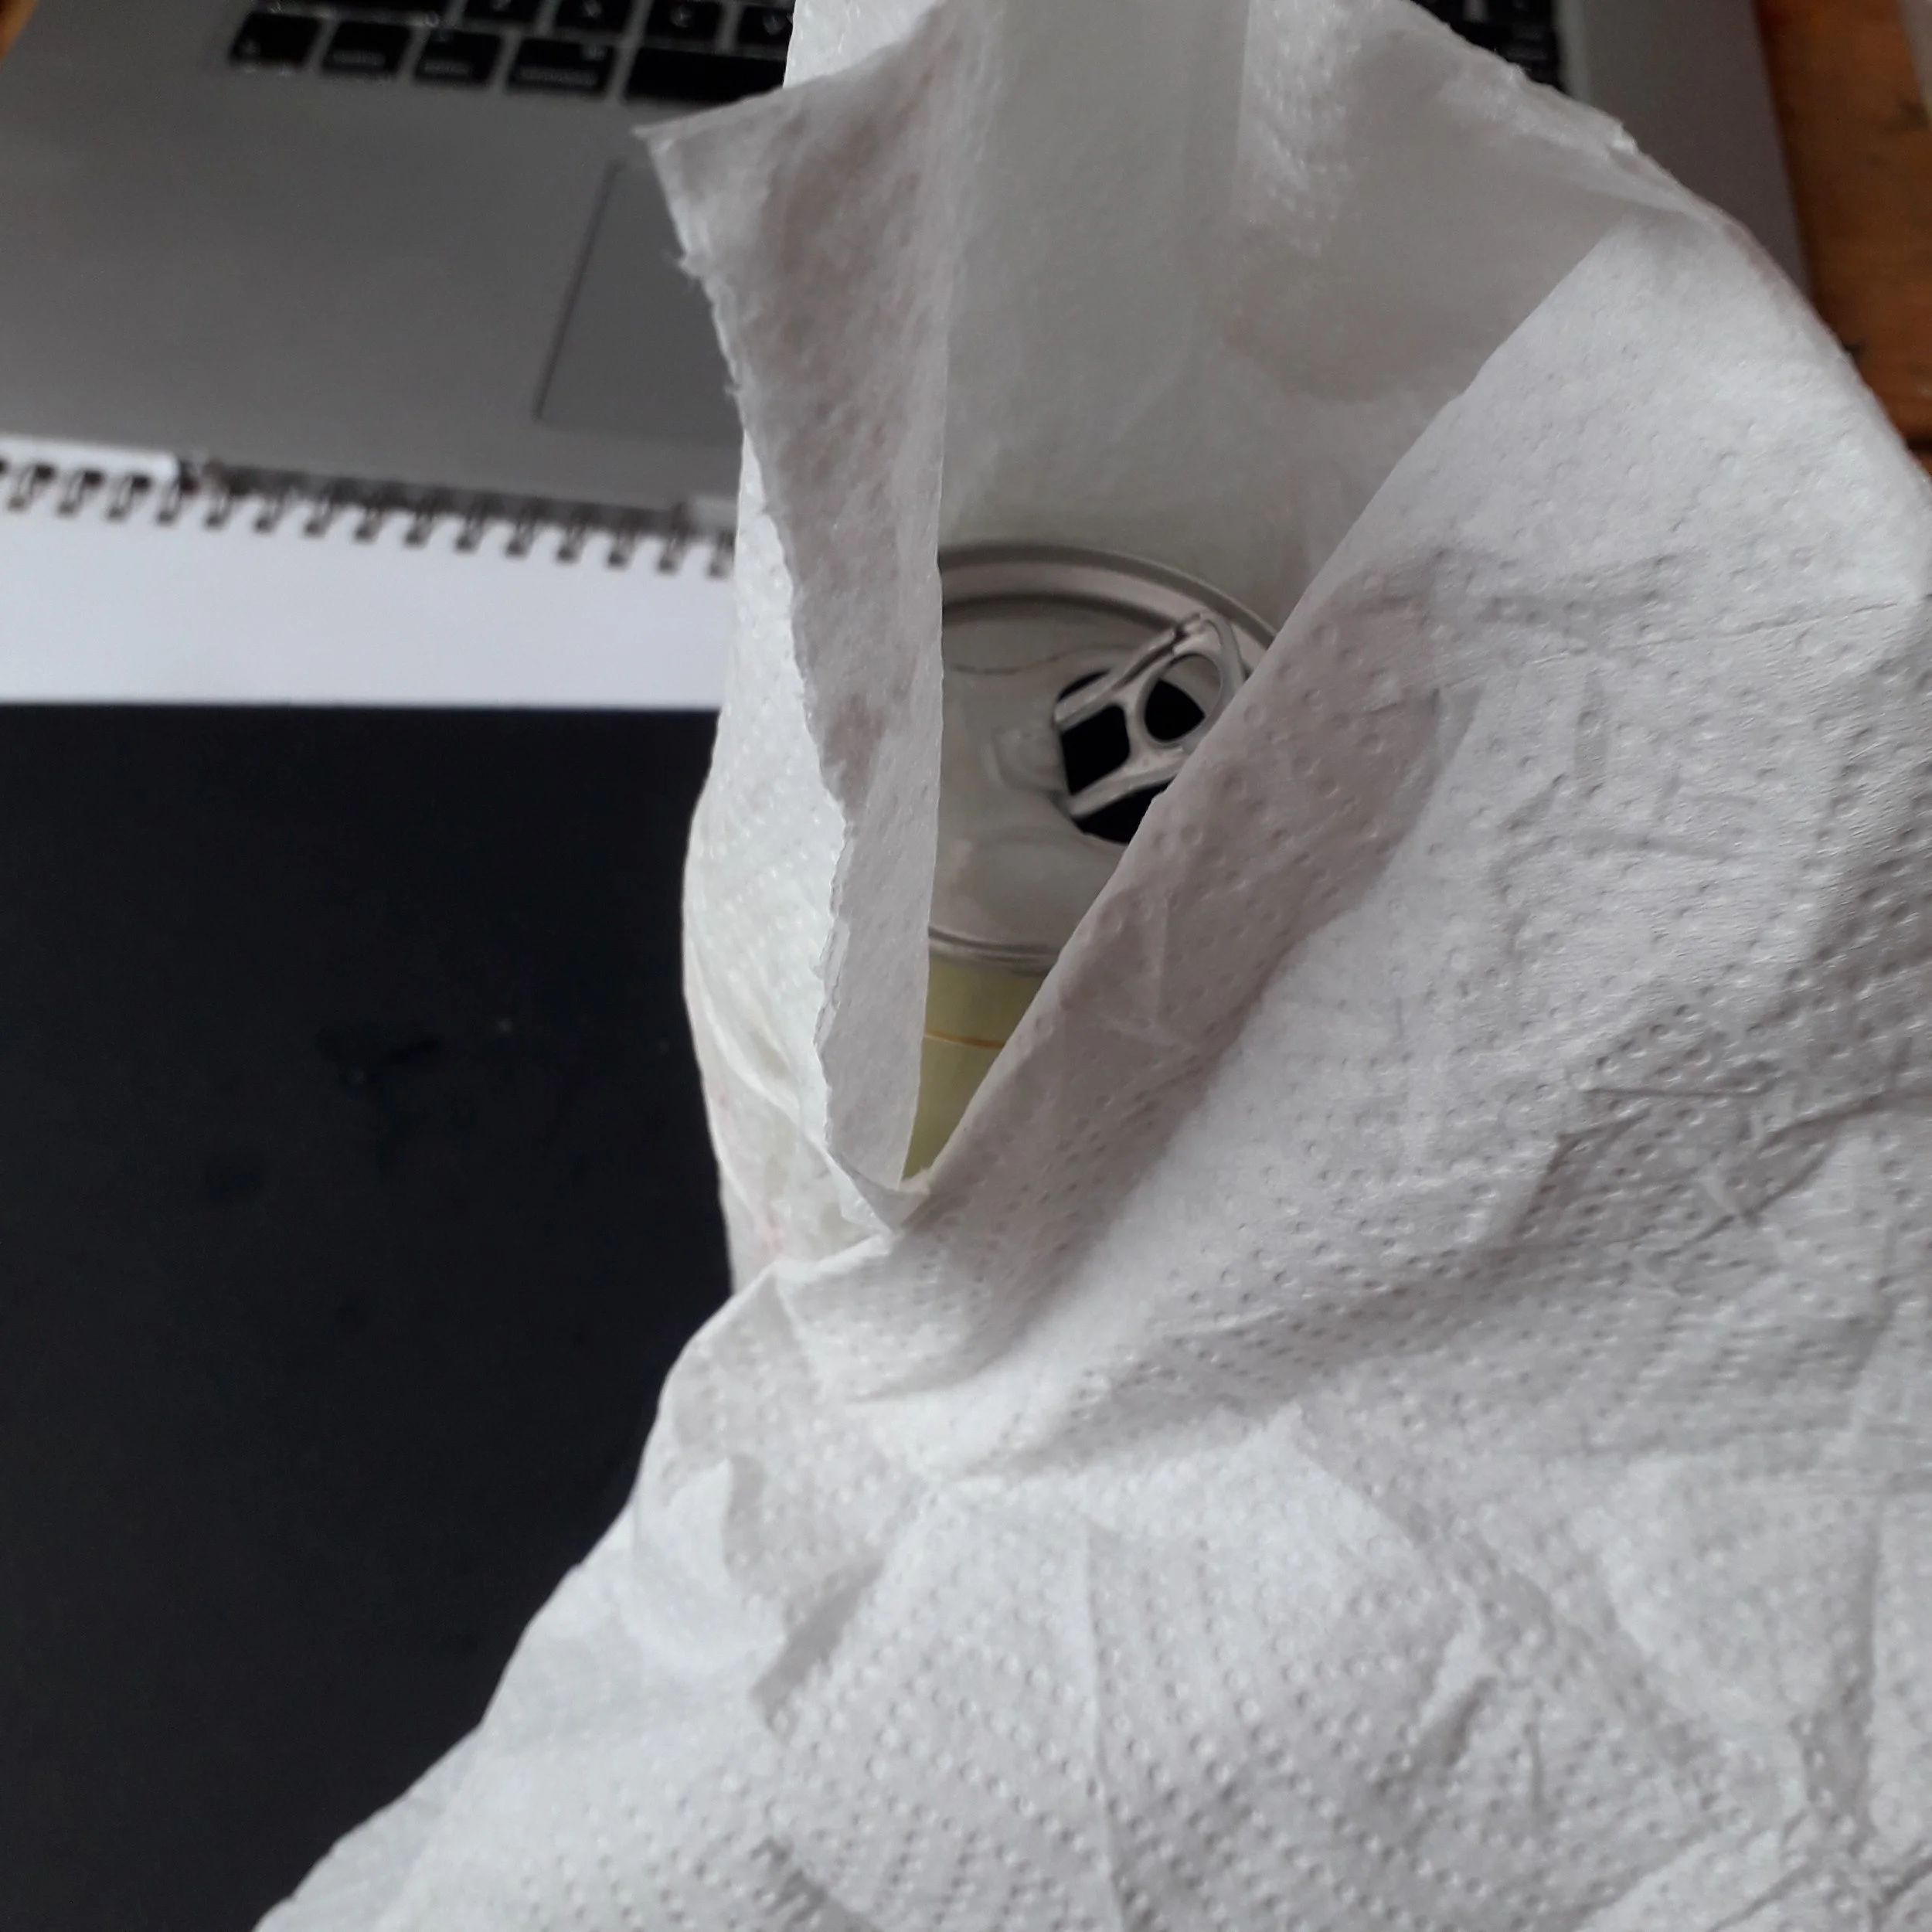
Step 1:
Take a can and glue the outside with PVA. Put paper towel over the can and fold and paste to the top and Bottom of the can.
Step 2:
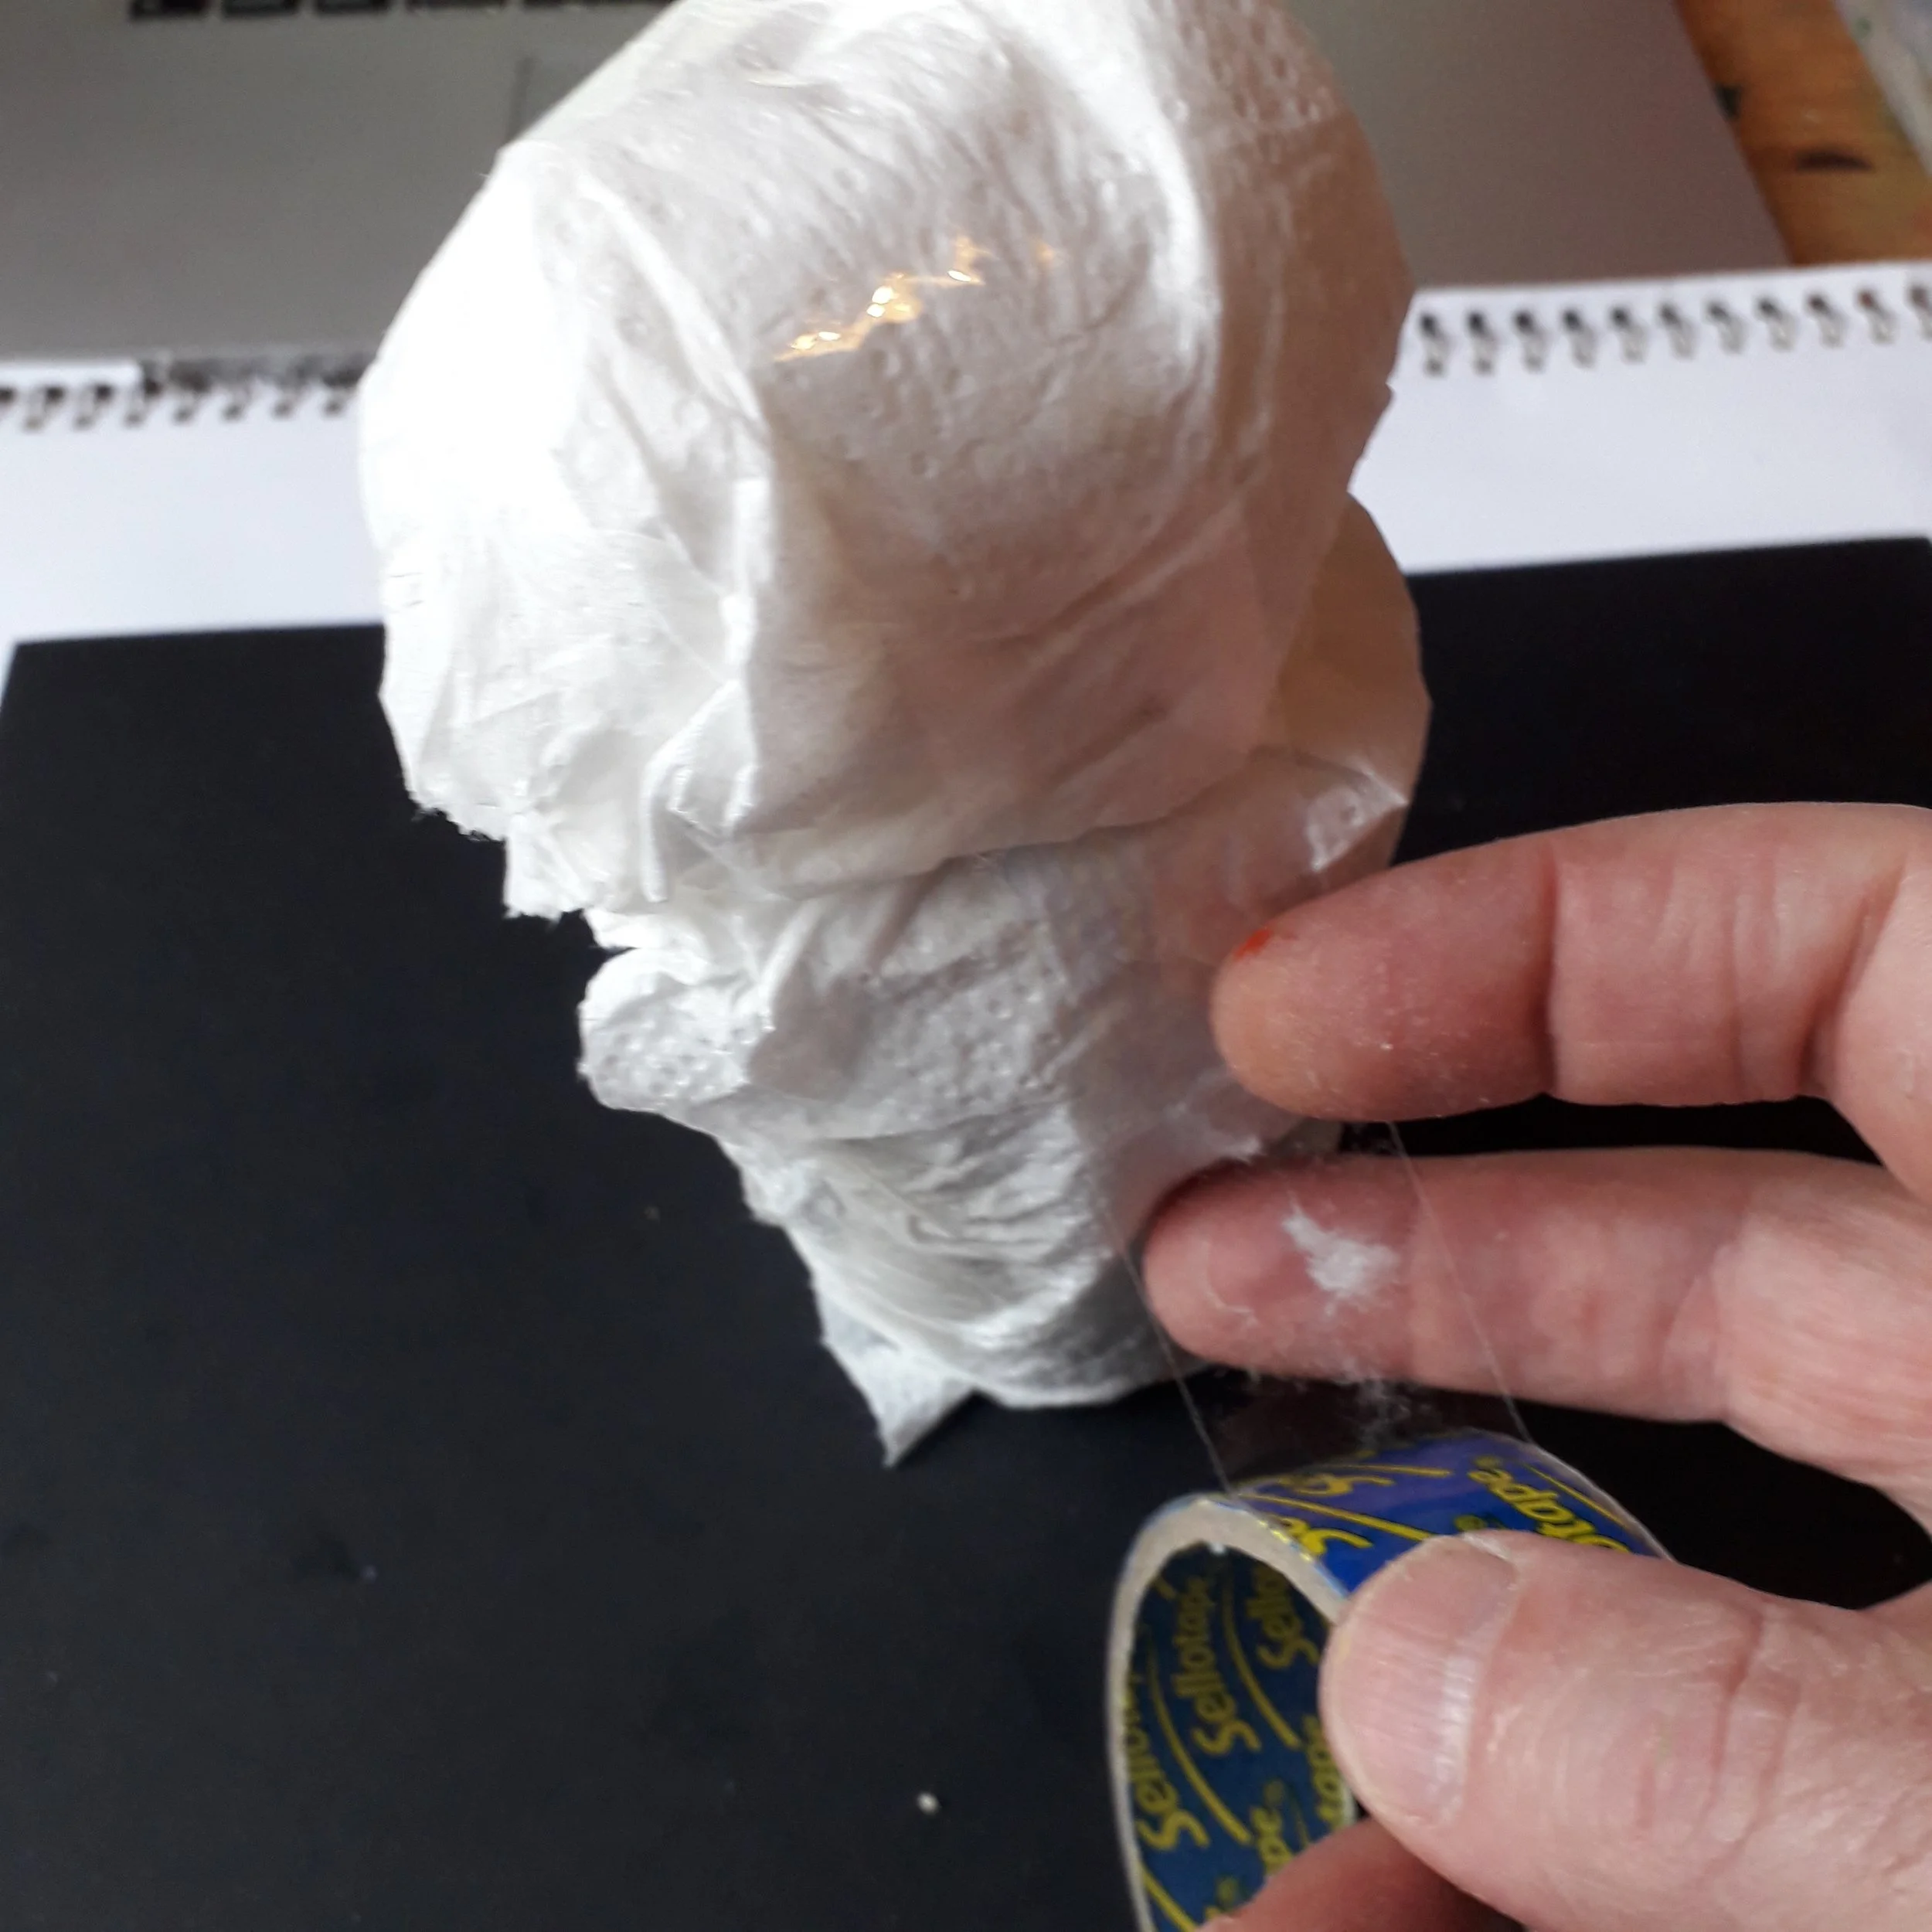
Wrap the penguin in paper towel, scrunch the paper for the head and secure using celotape our masking tape.
Step 3:
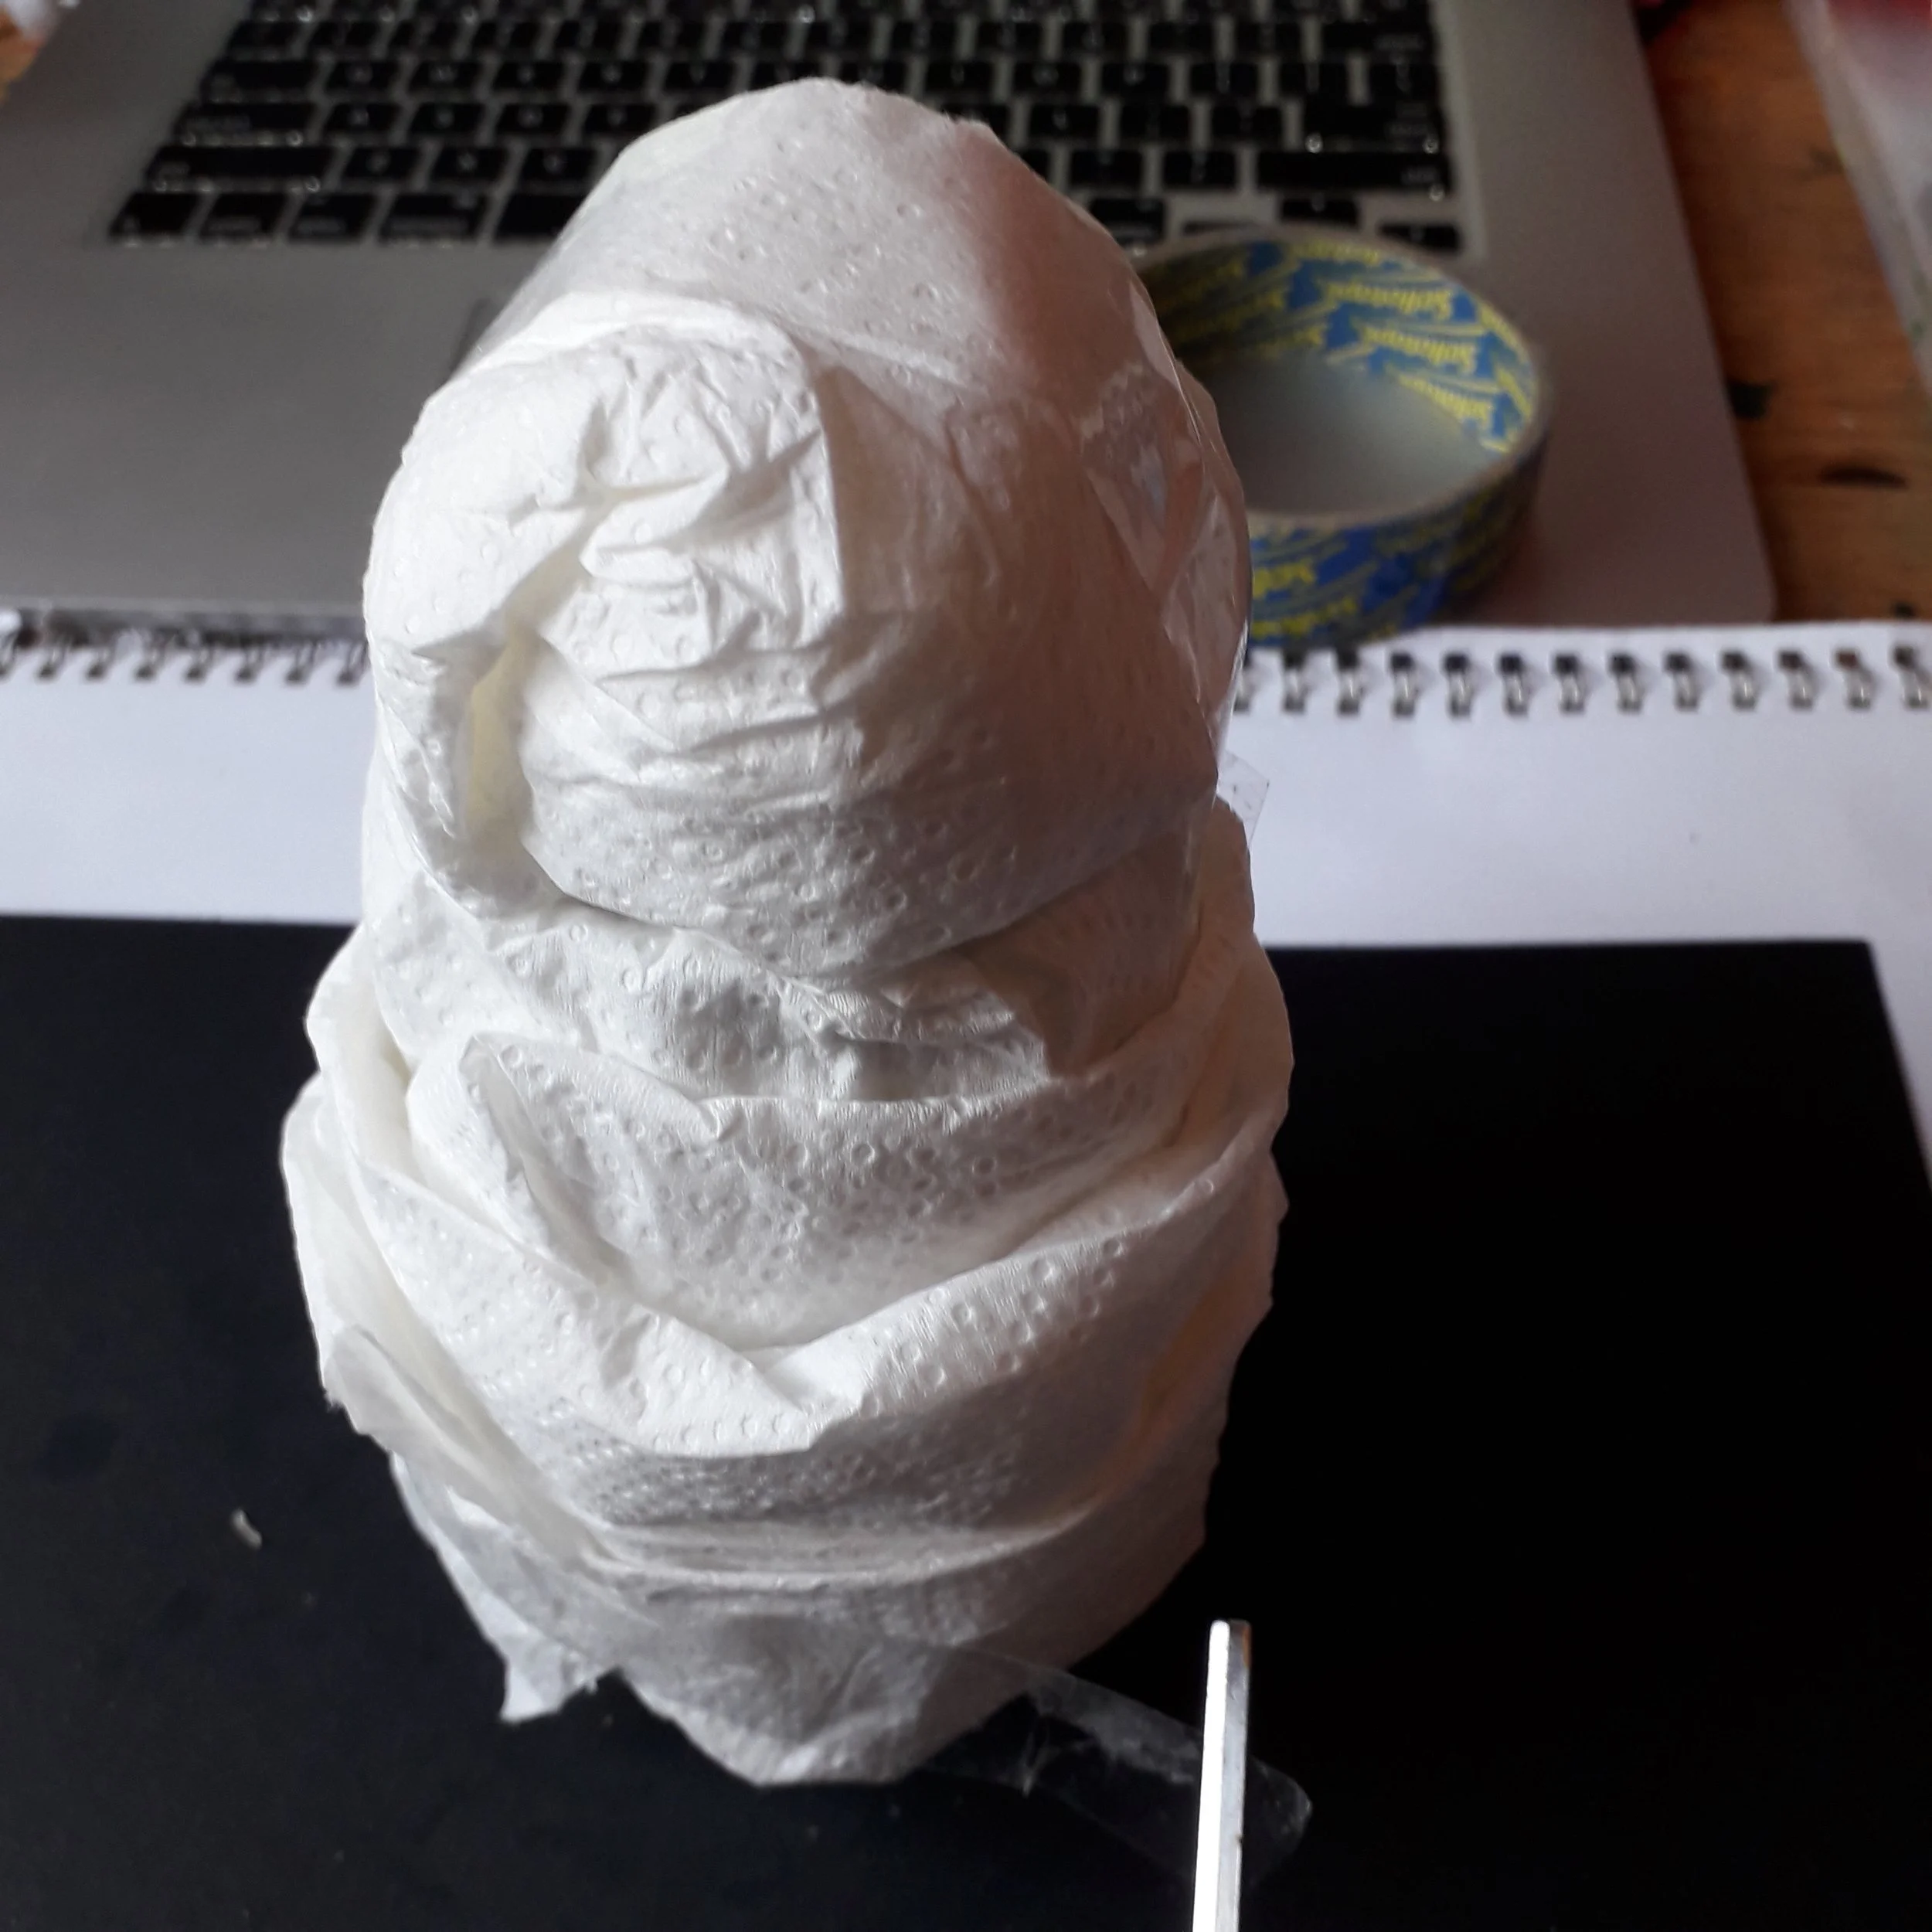
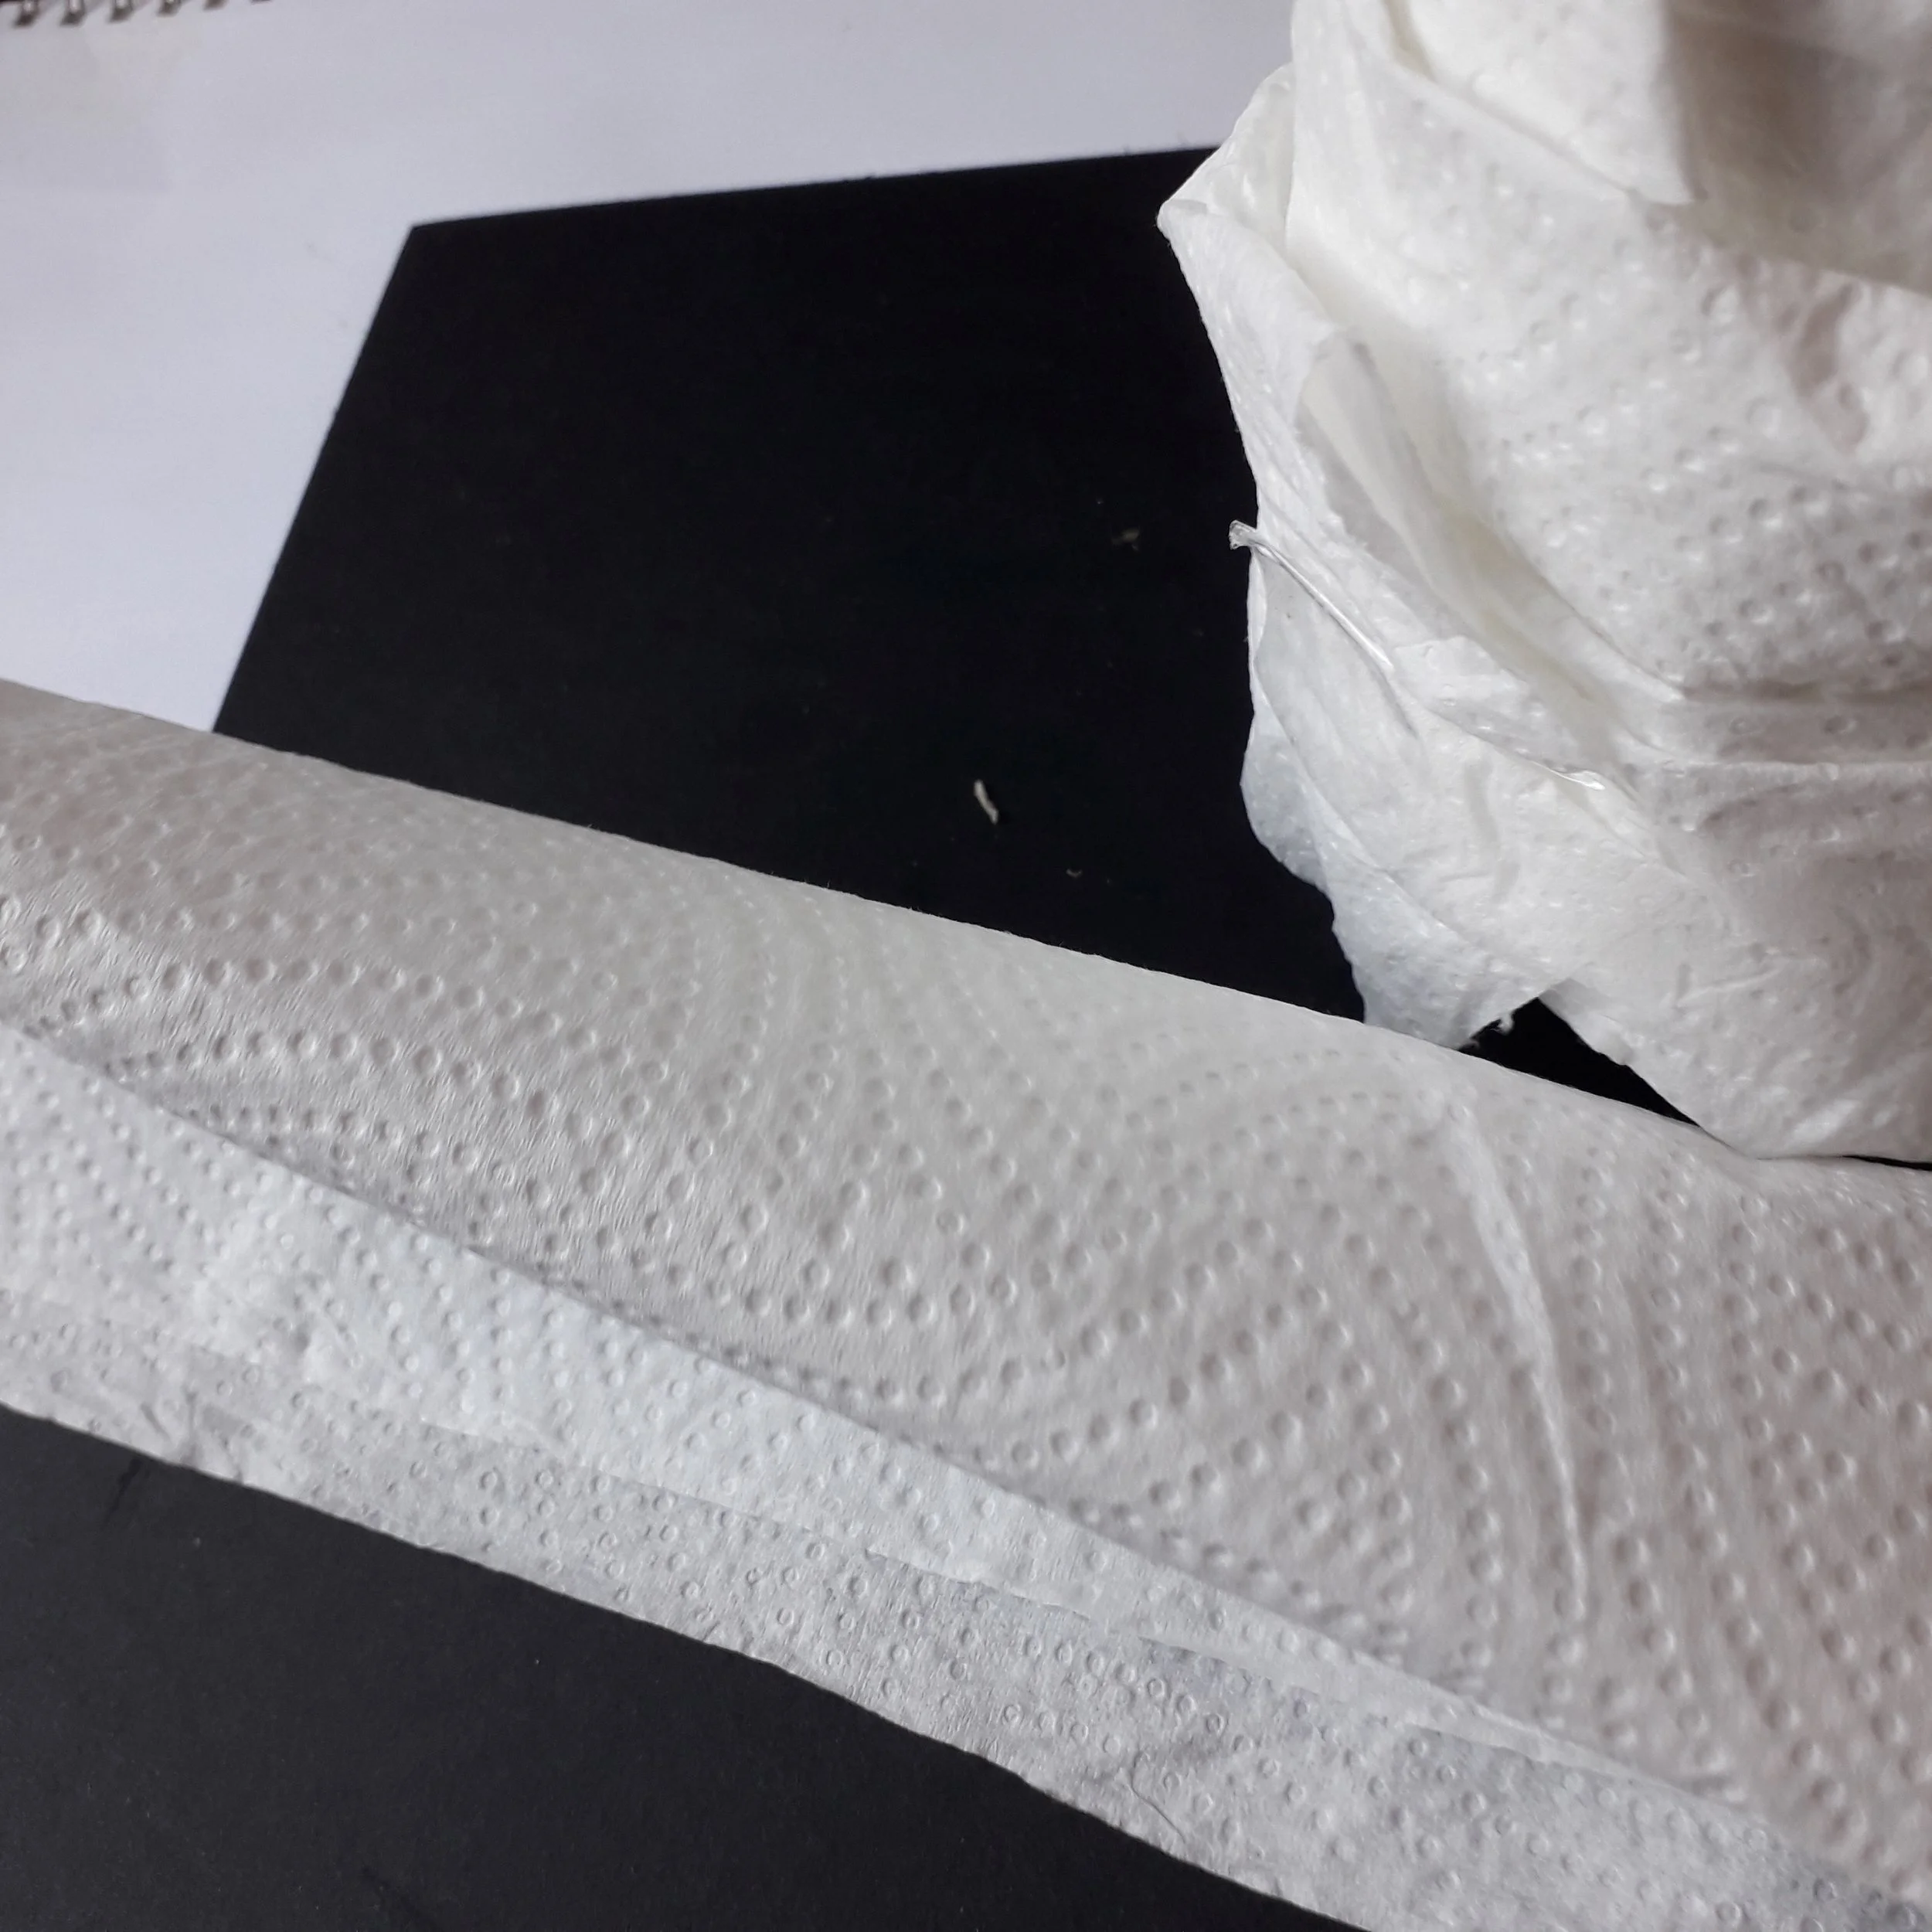
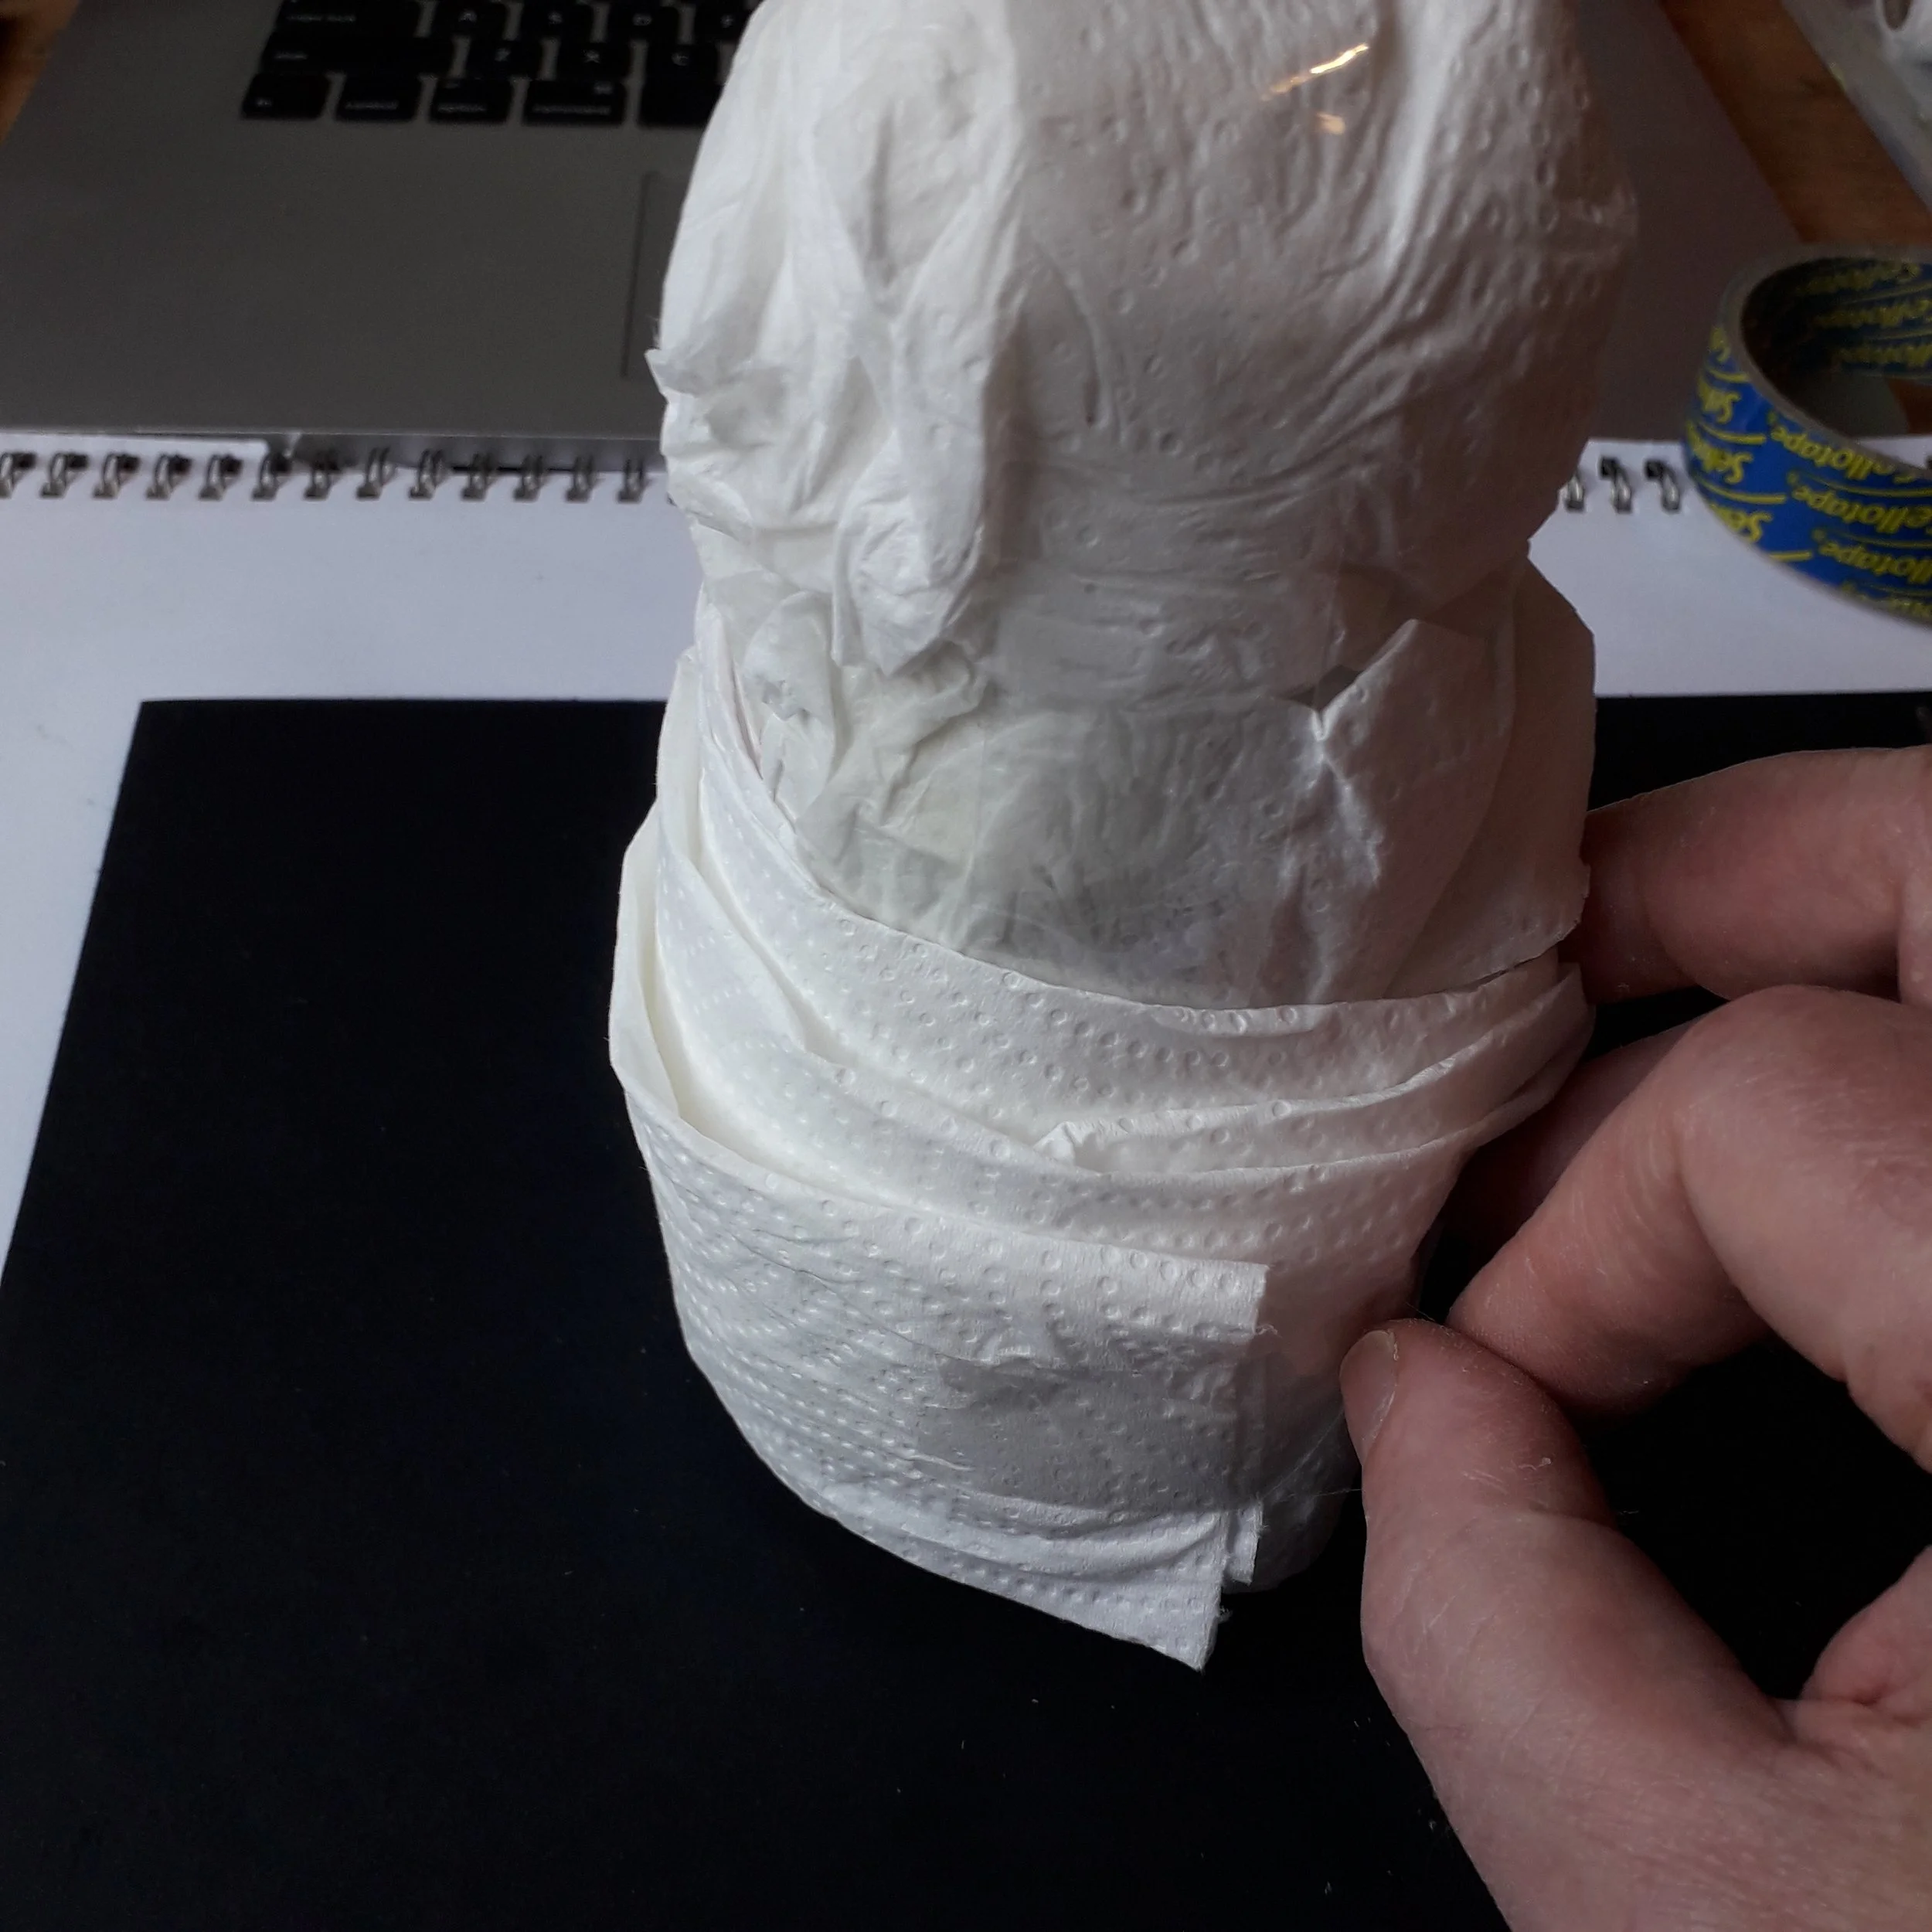
Double fold more paper towel around the can to pad out the penguin. Secure using tape.
Step 4:
Add further double folded paper towel around middle to pad the model further. Secure with tape.

Step 5:
Add 3rd layer fo paper towel around bottom to pad out penguin. Secure with tape.
Step 6:
Use tissue paper in thin strips and paste form top to bottom all around penguin.
Paint it black, and the eyes.
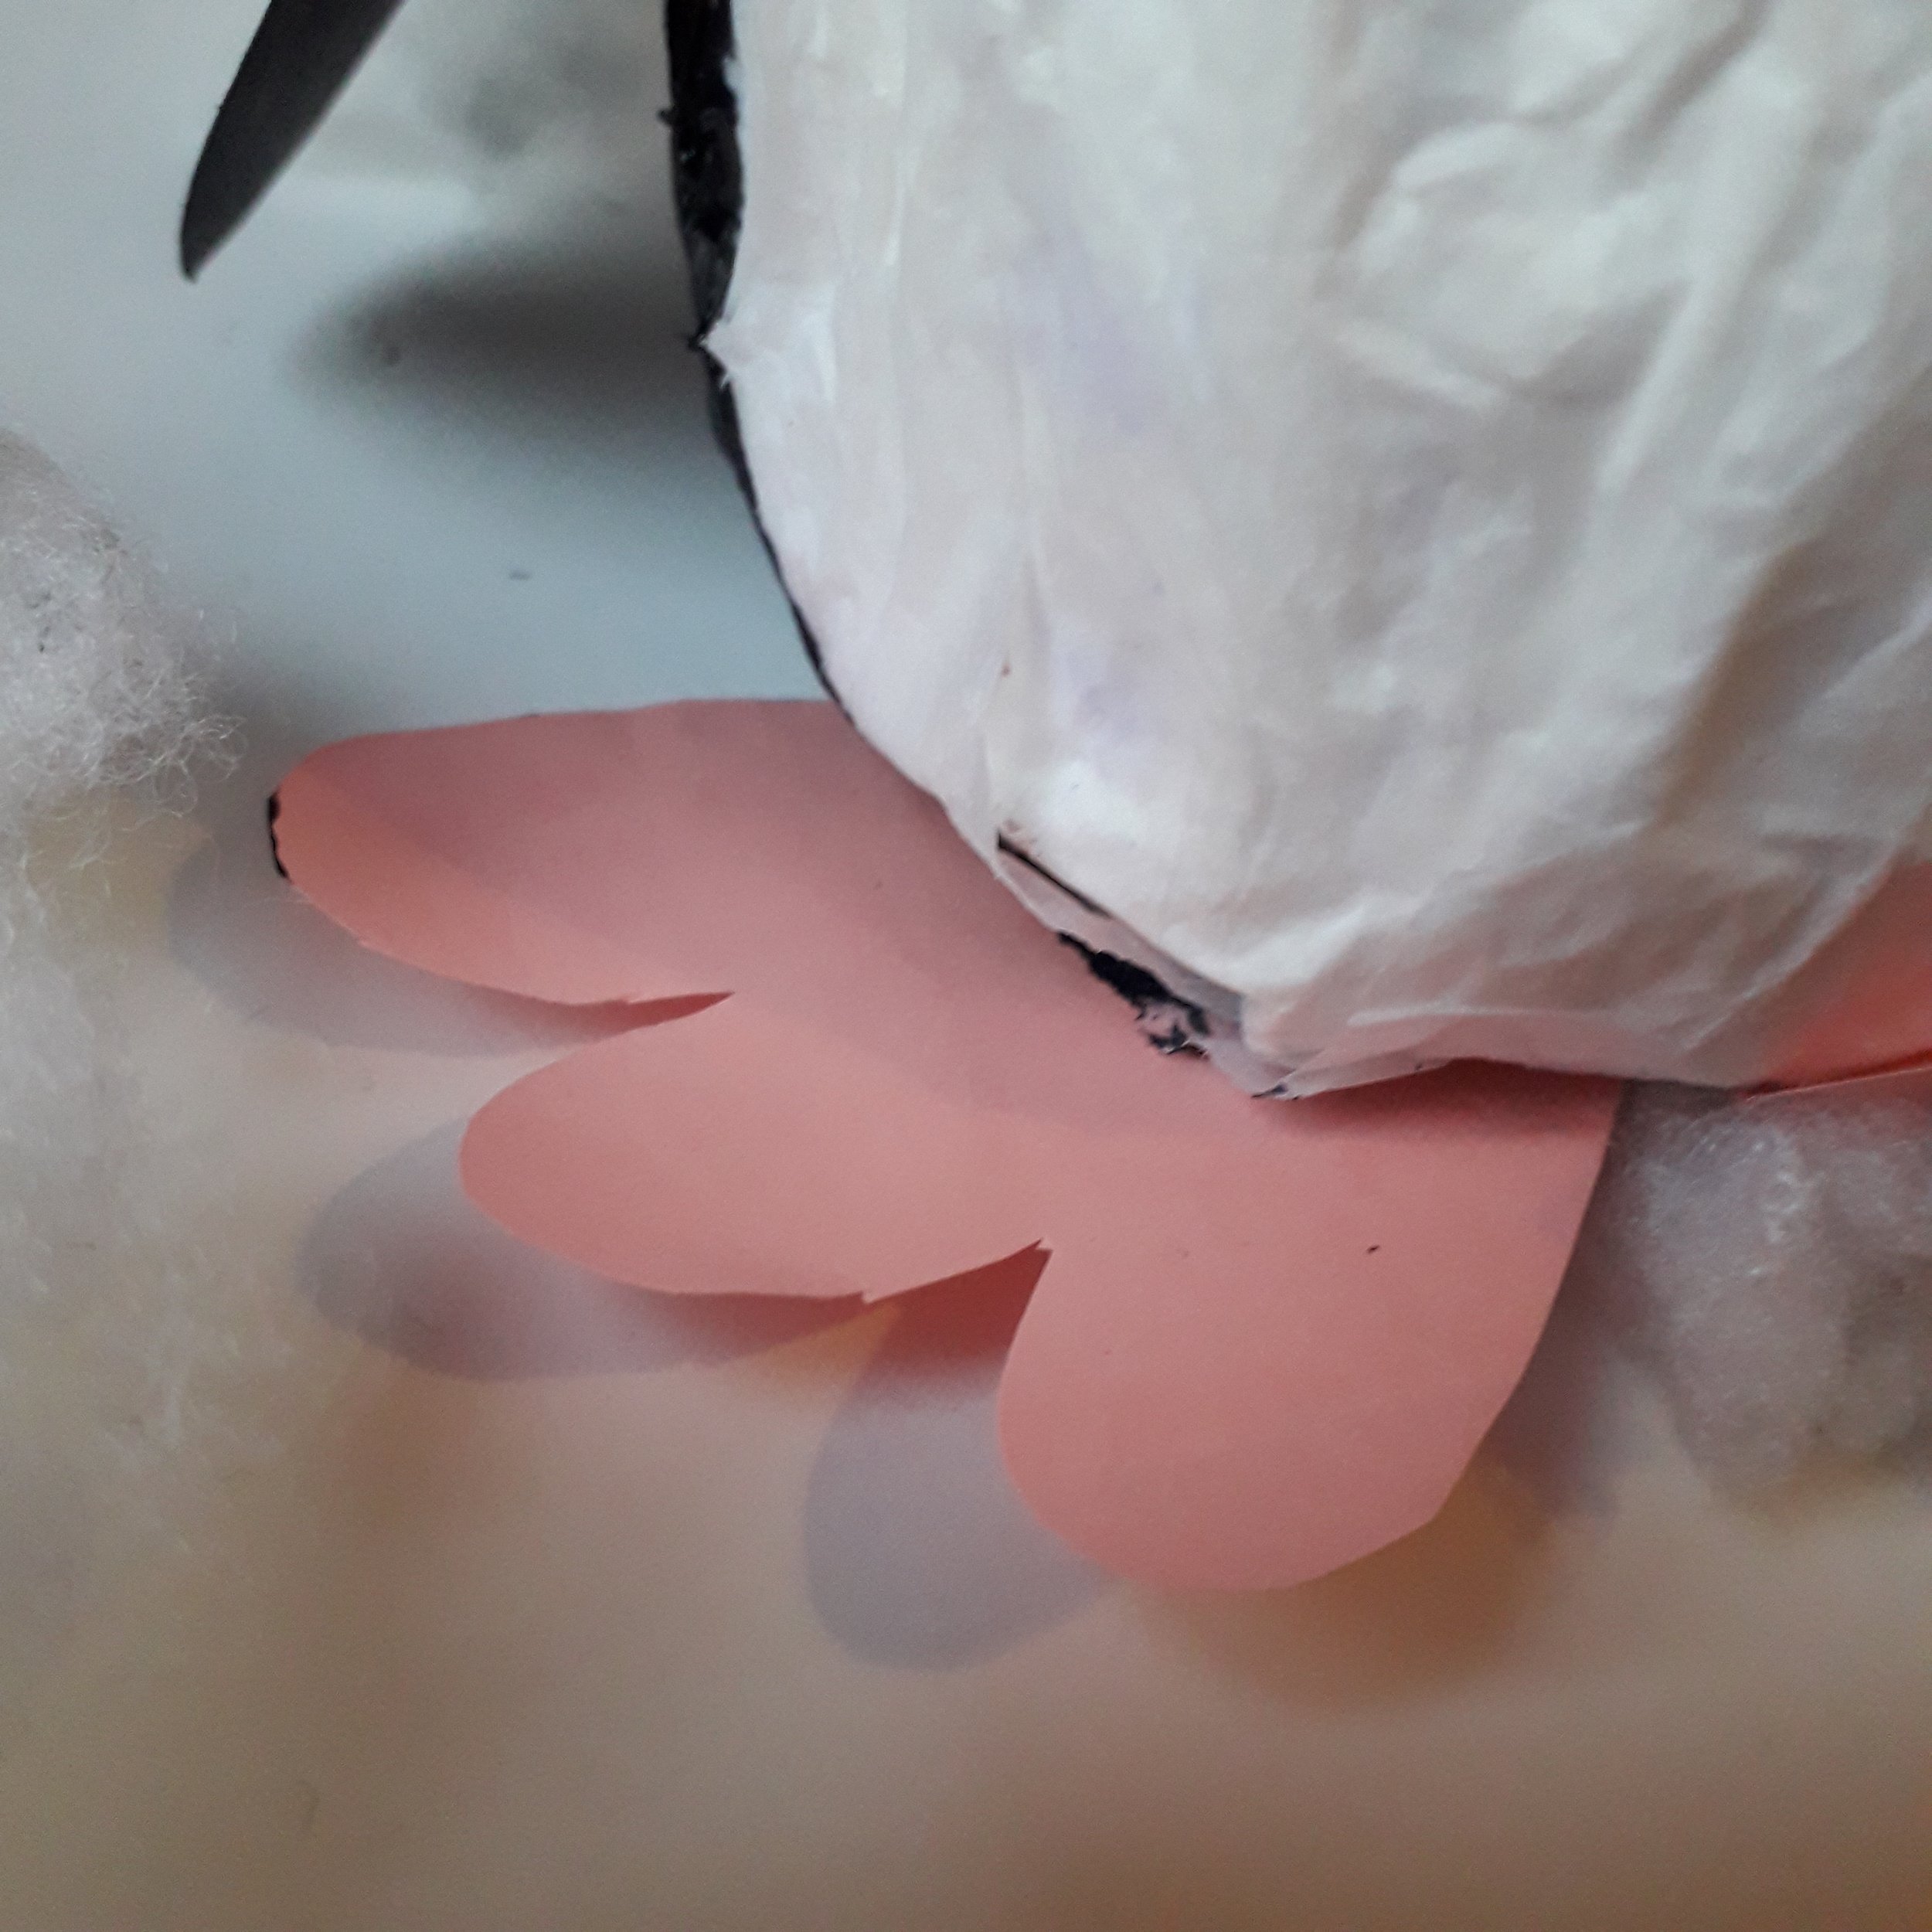
Cut and paste on the nose and feet.
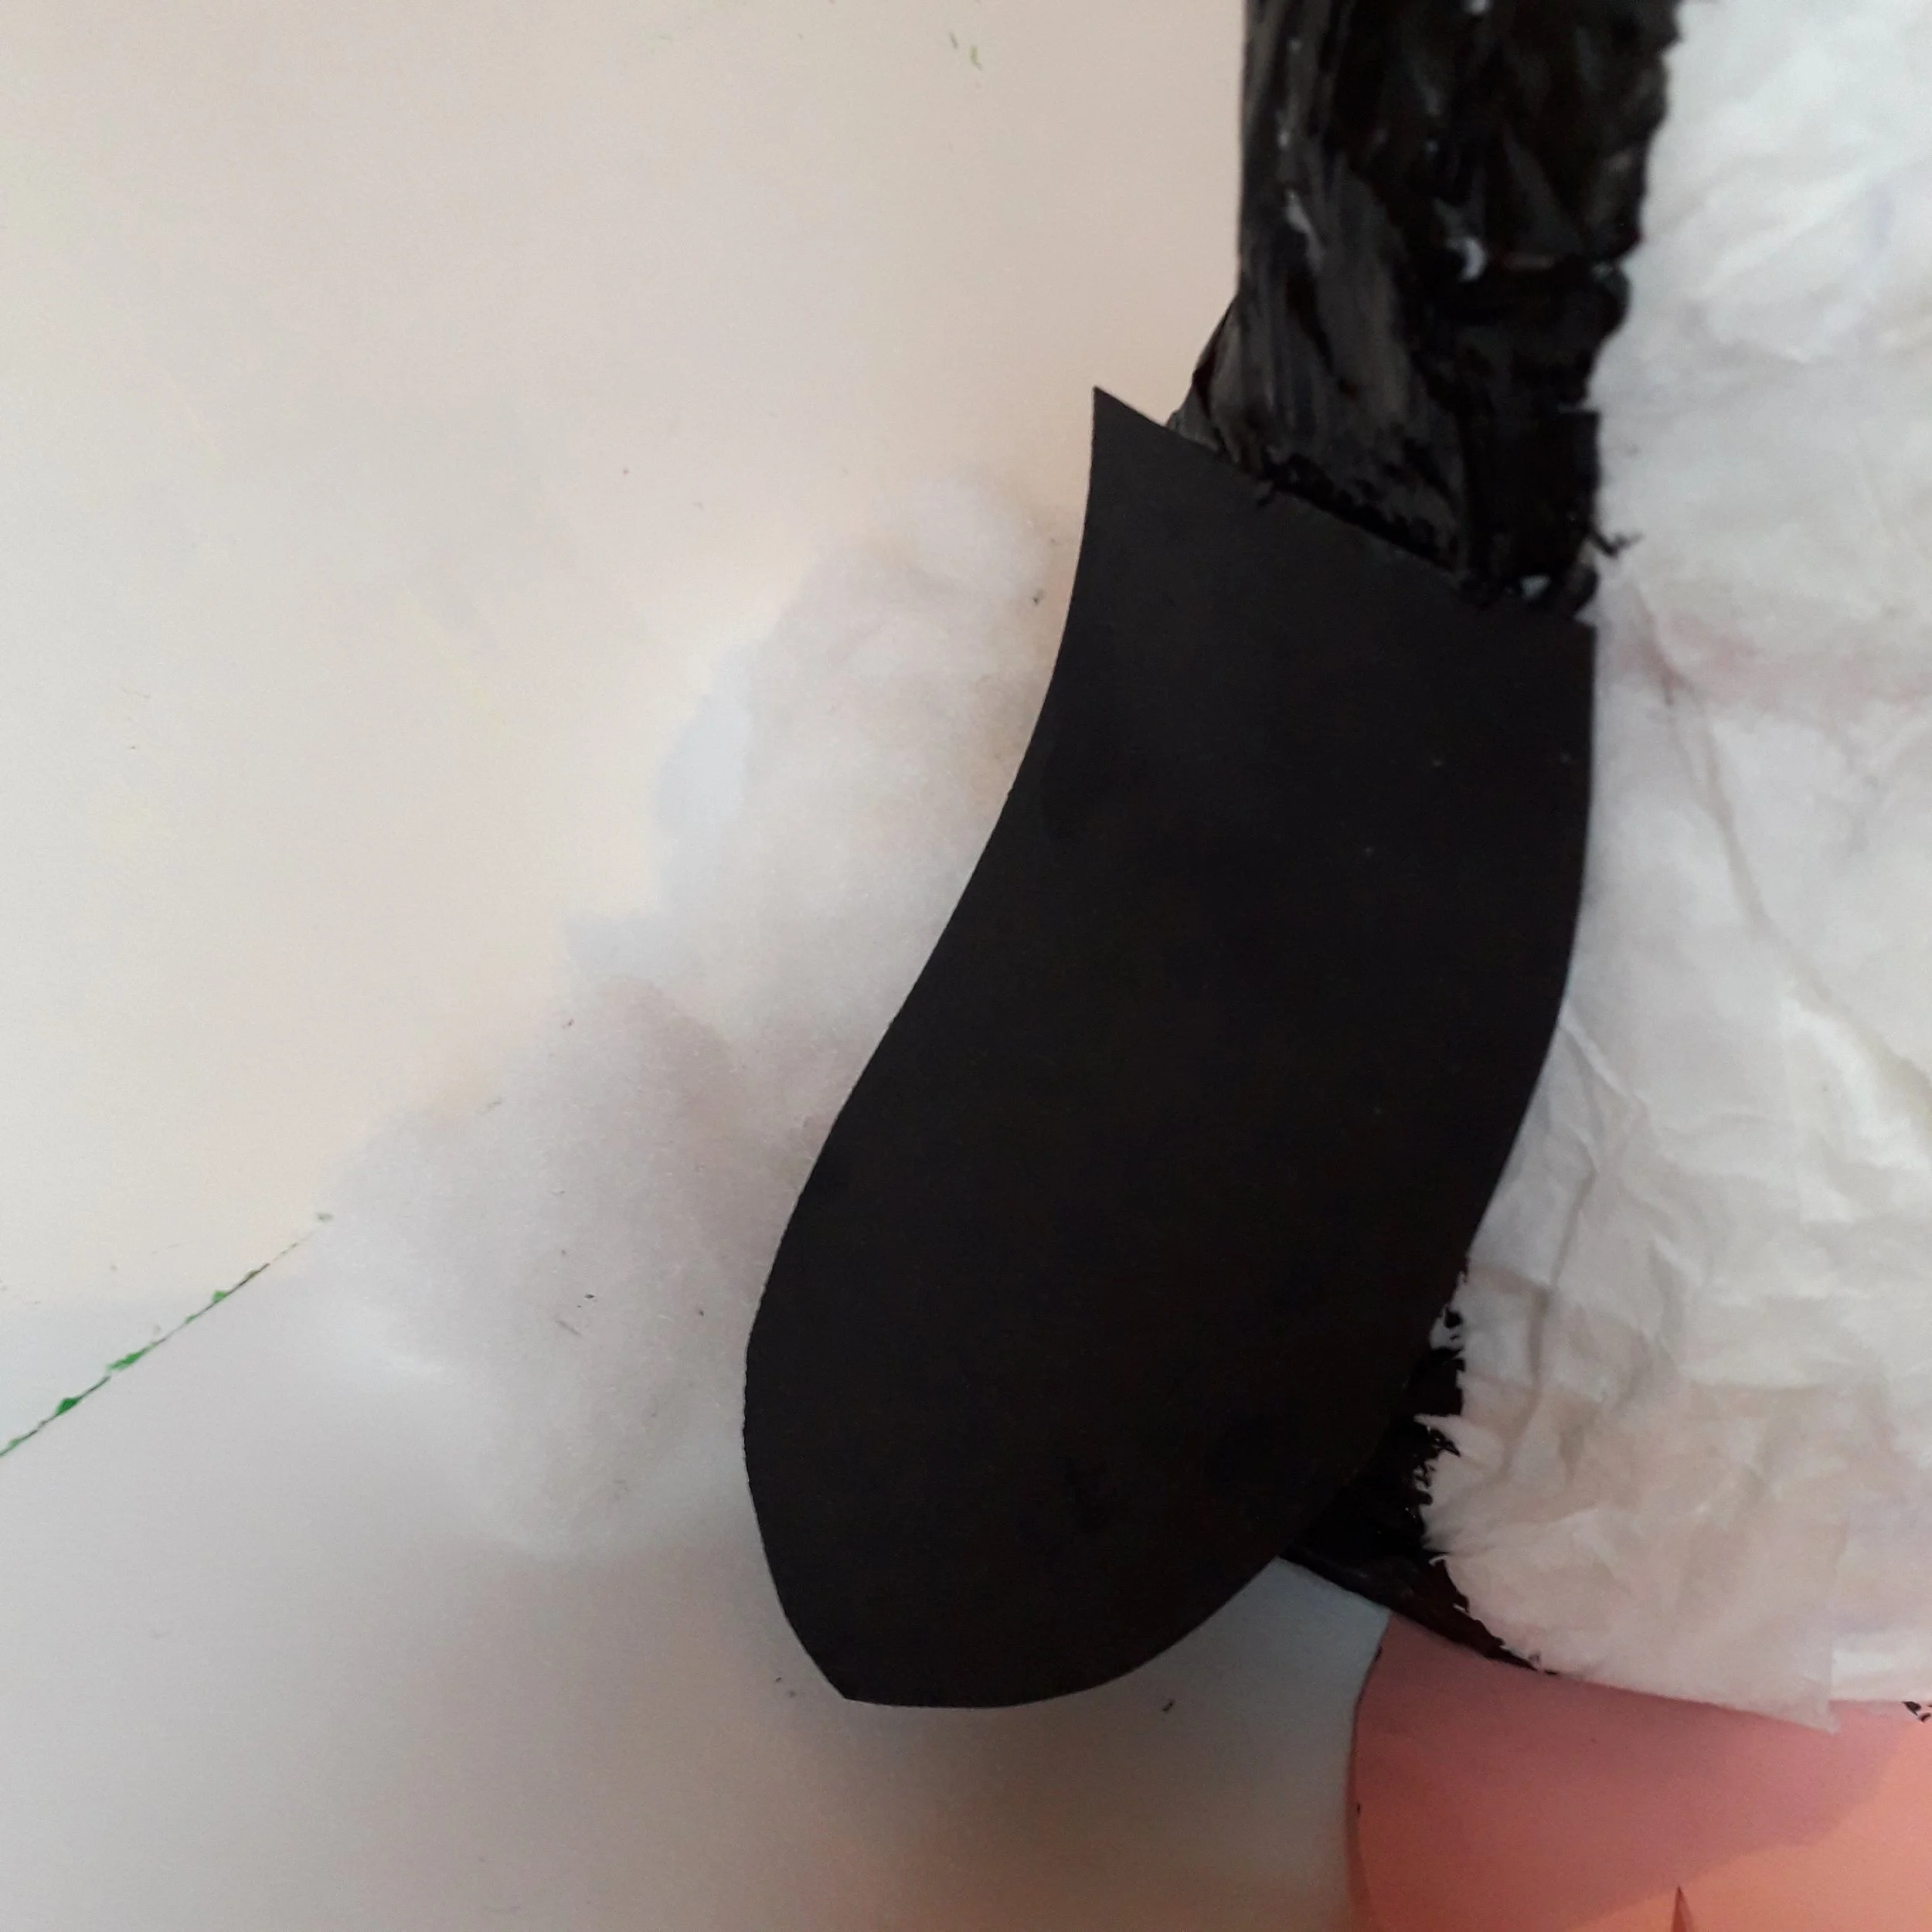
Step 7:
Cut and paste on the wings with black card, and bend outwards.
Step 8:
Background use cotton wool as snow and ice to surround penguin.
Steps to make the iceberg for the penguin and video for instructions to follow shortly.
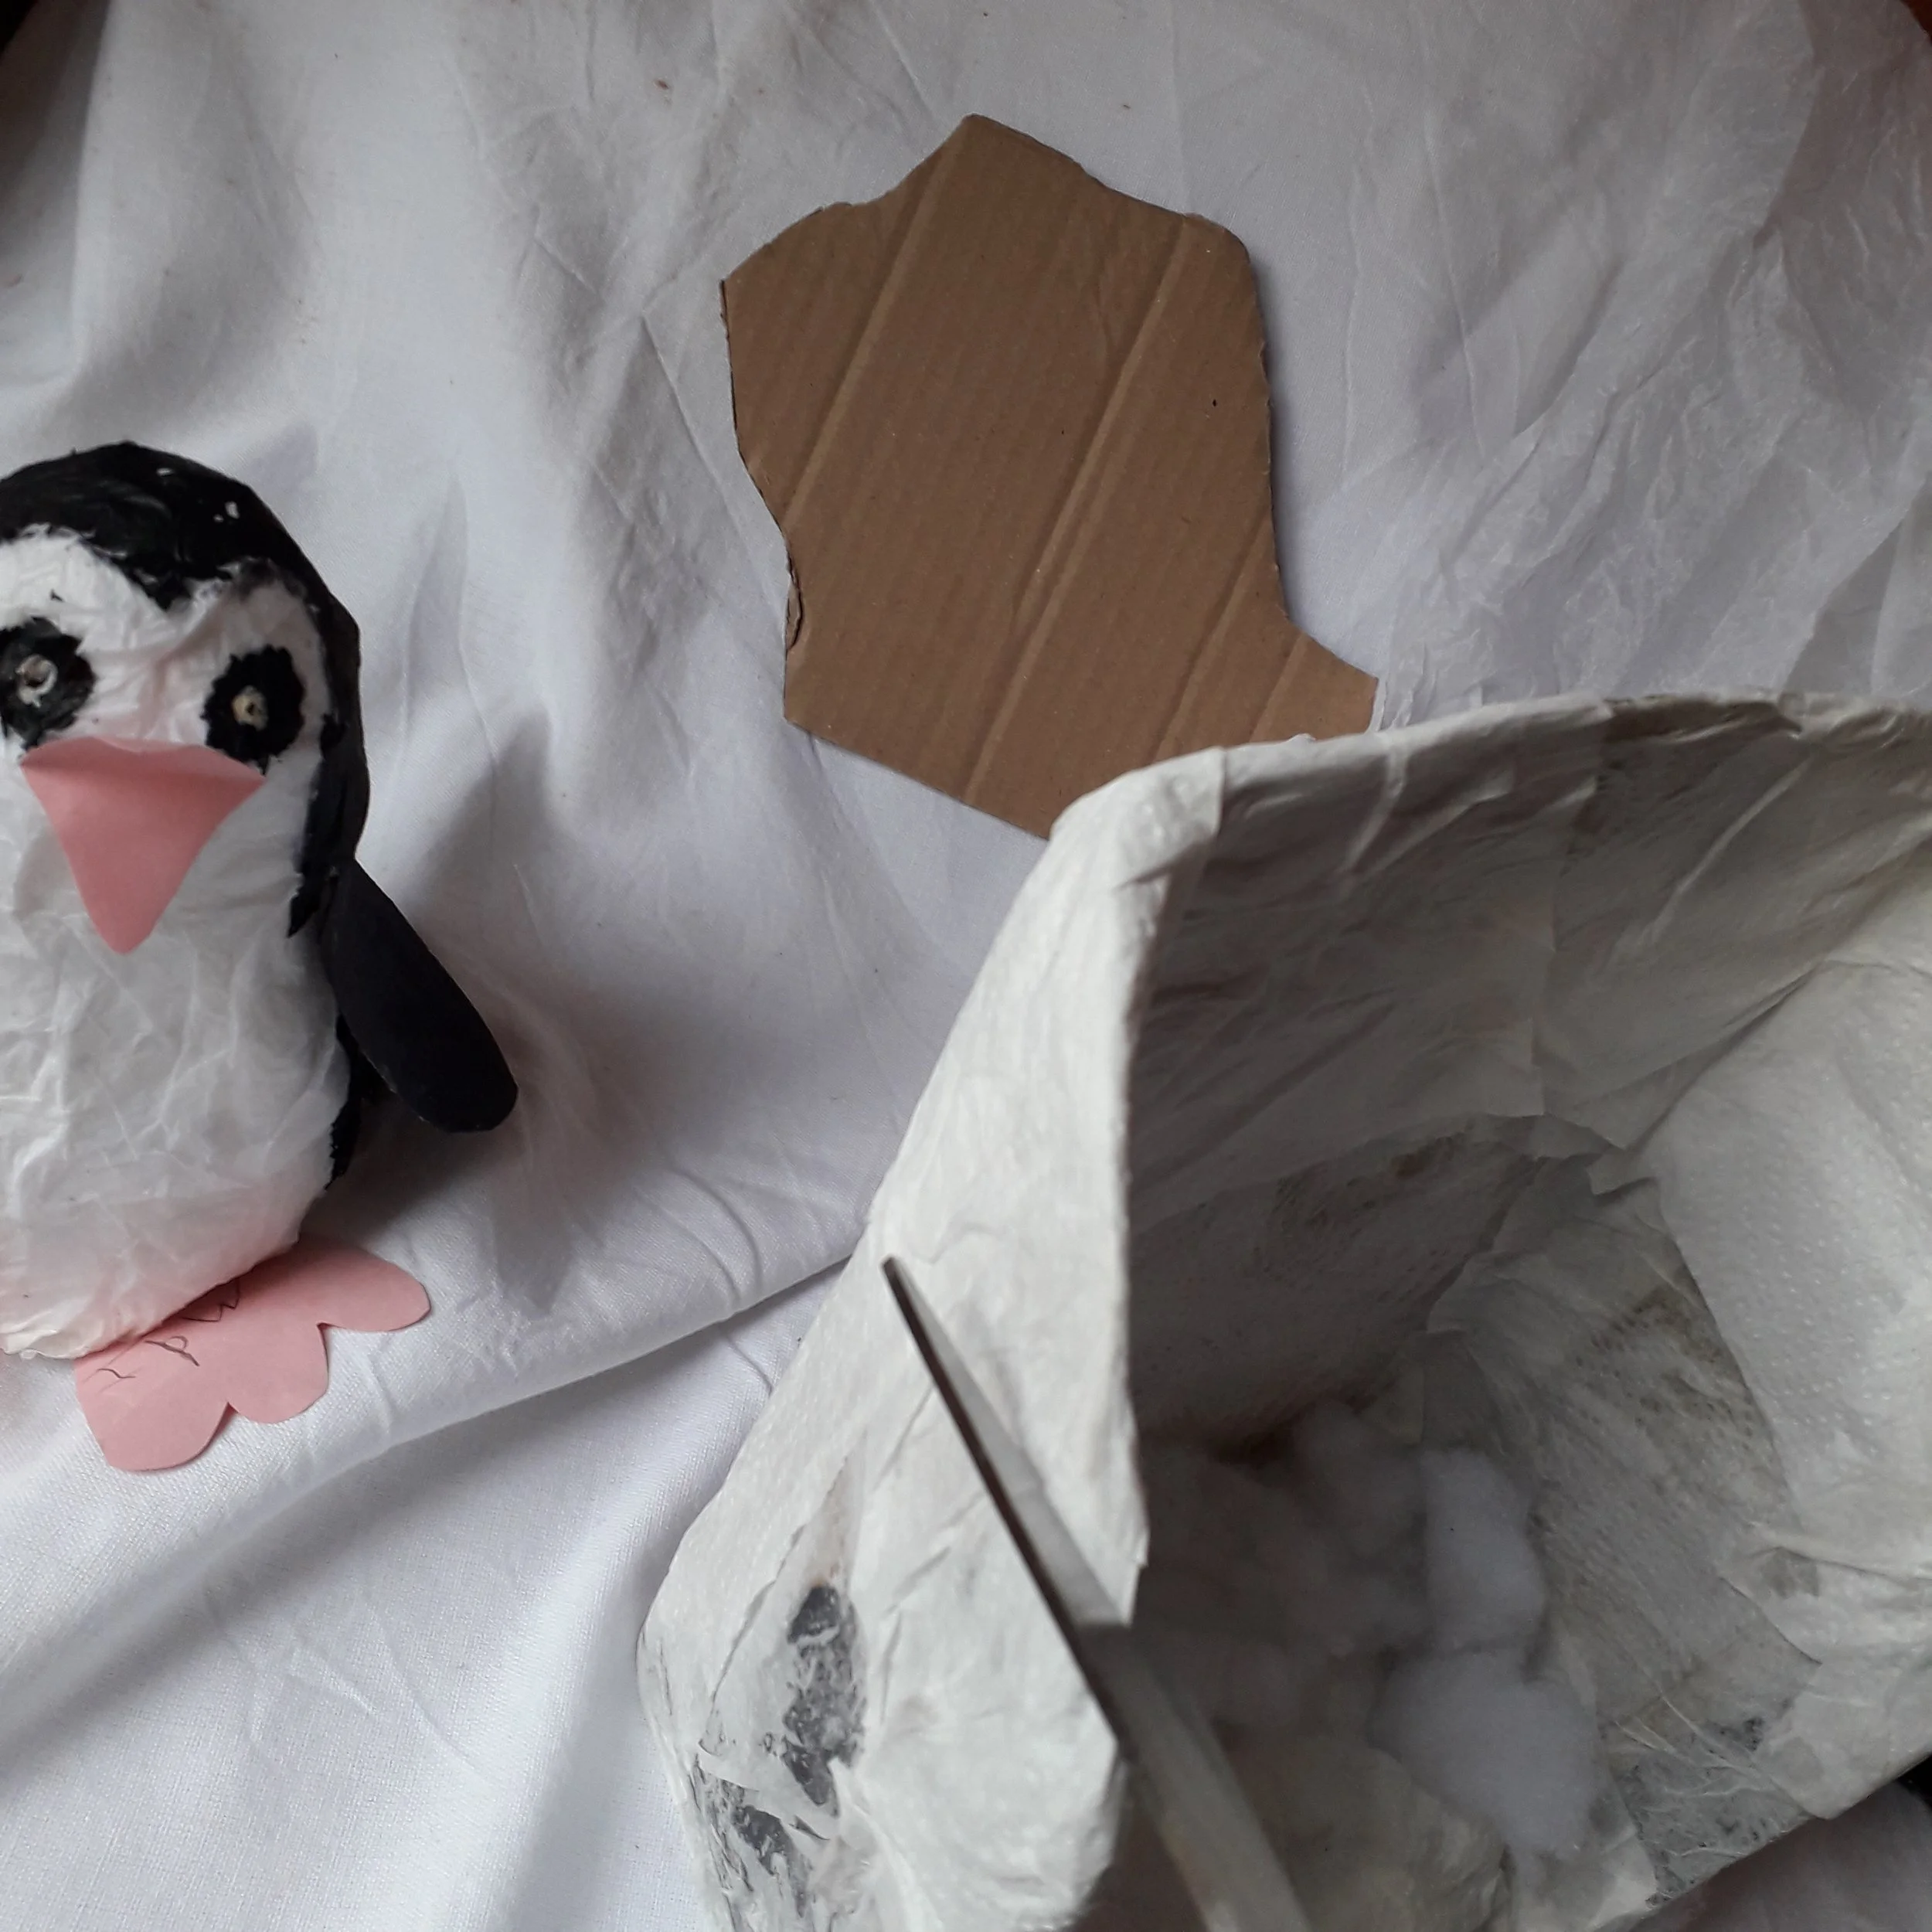
Iceberg idea 1 - Making an enclosed iceberg for the penguin.
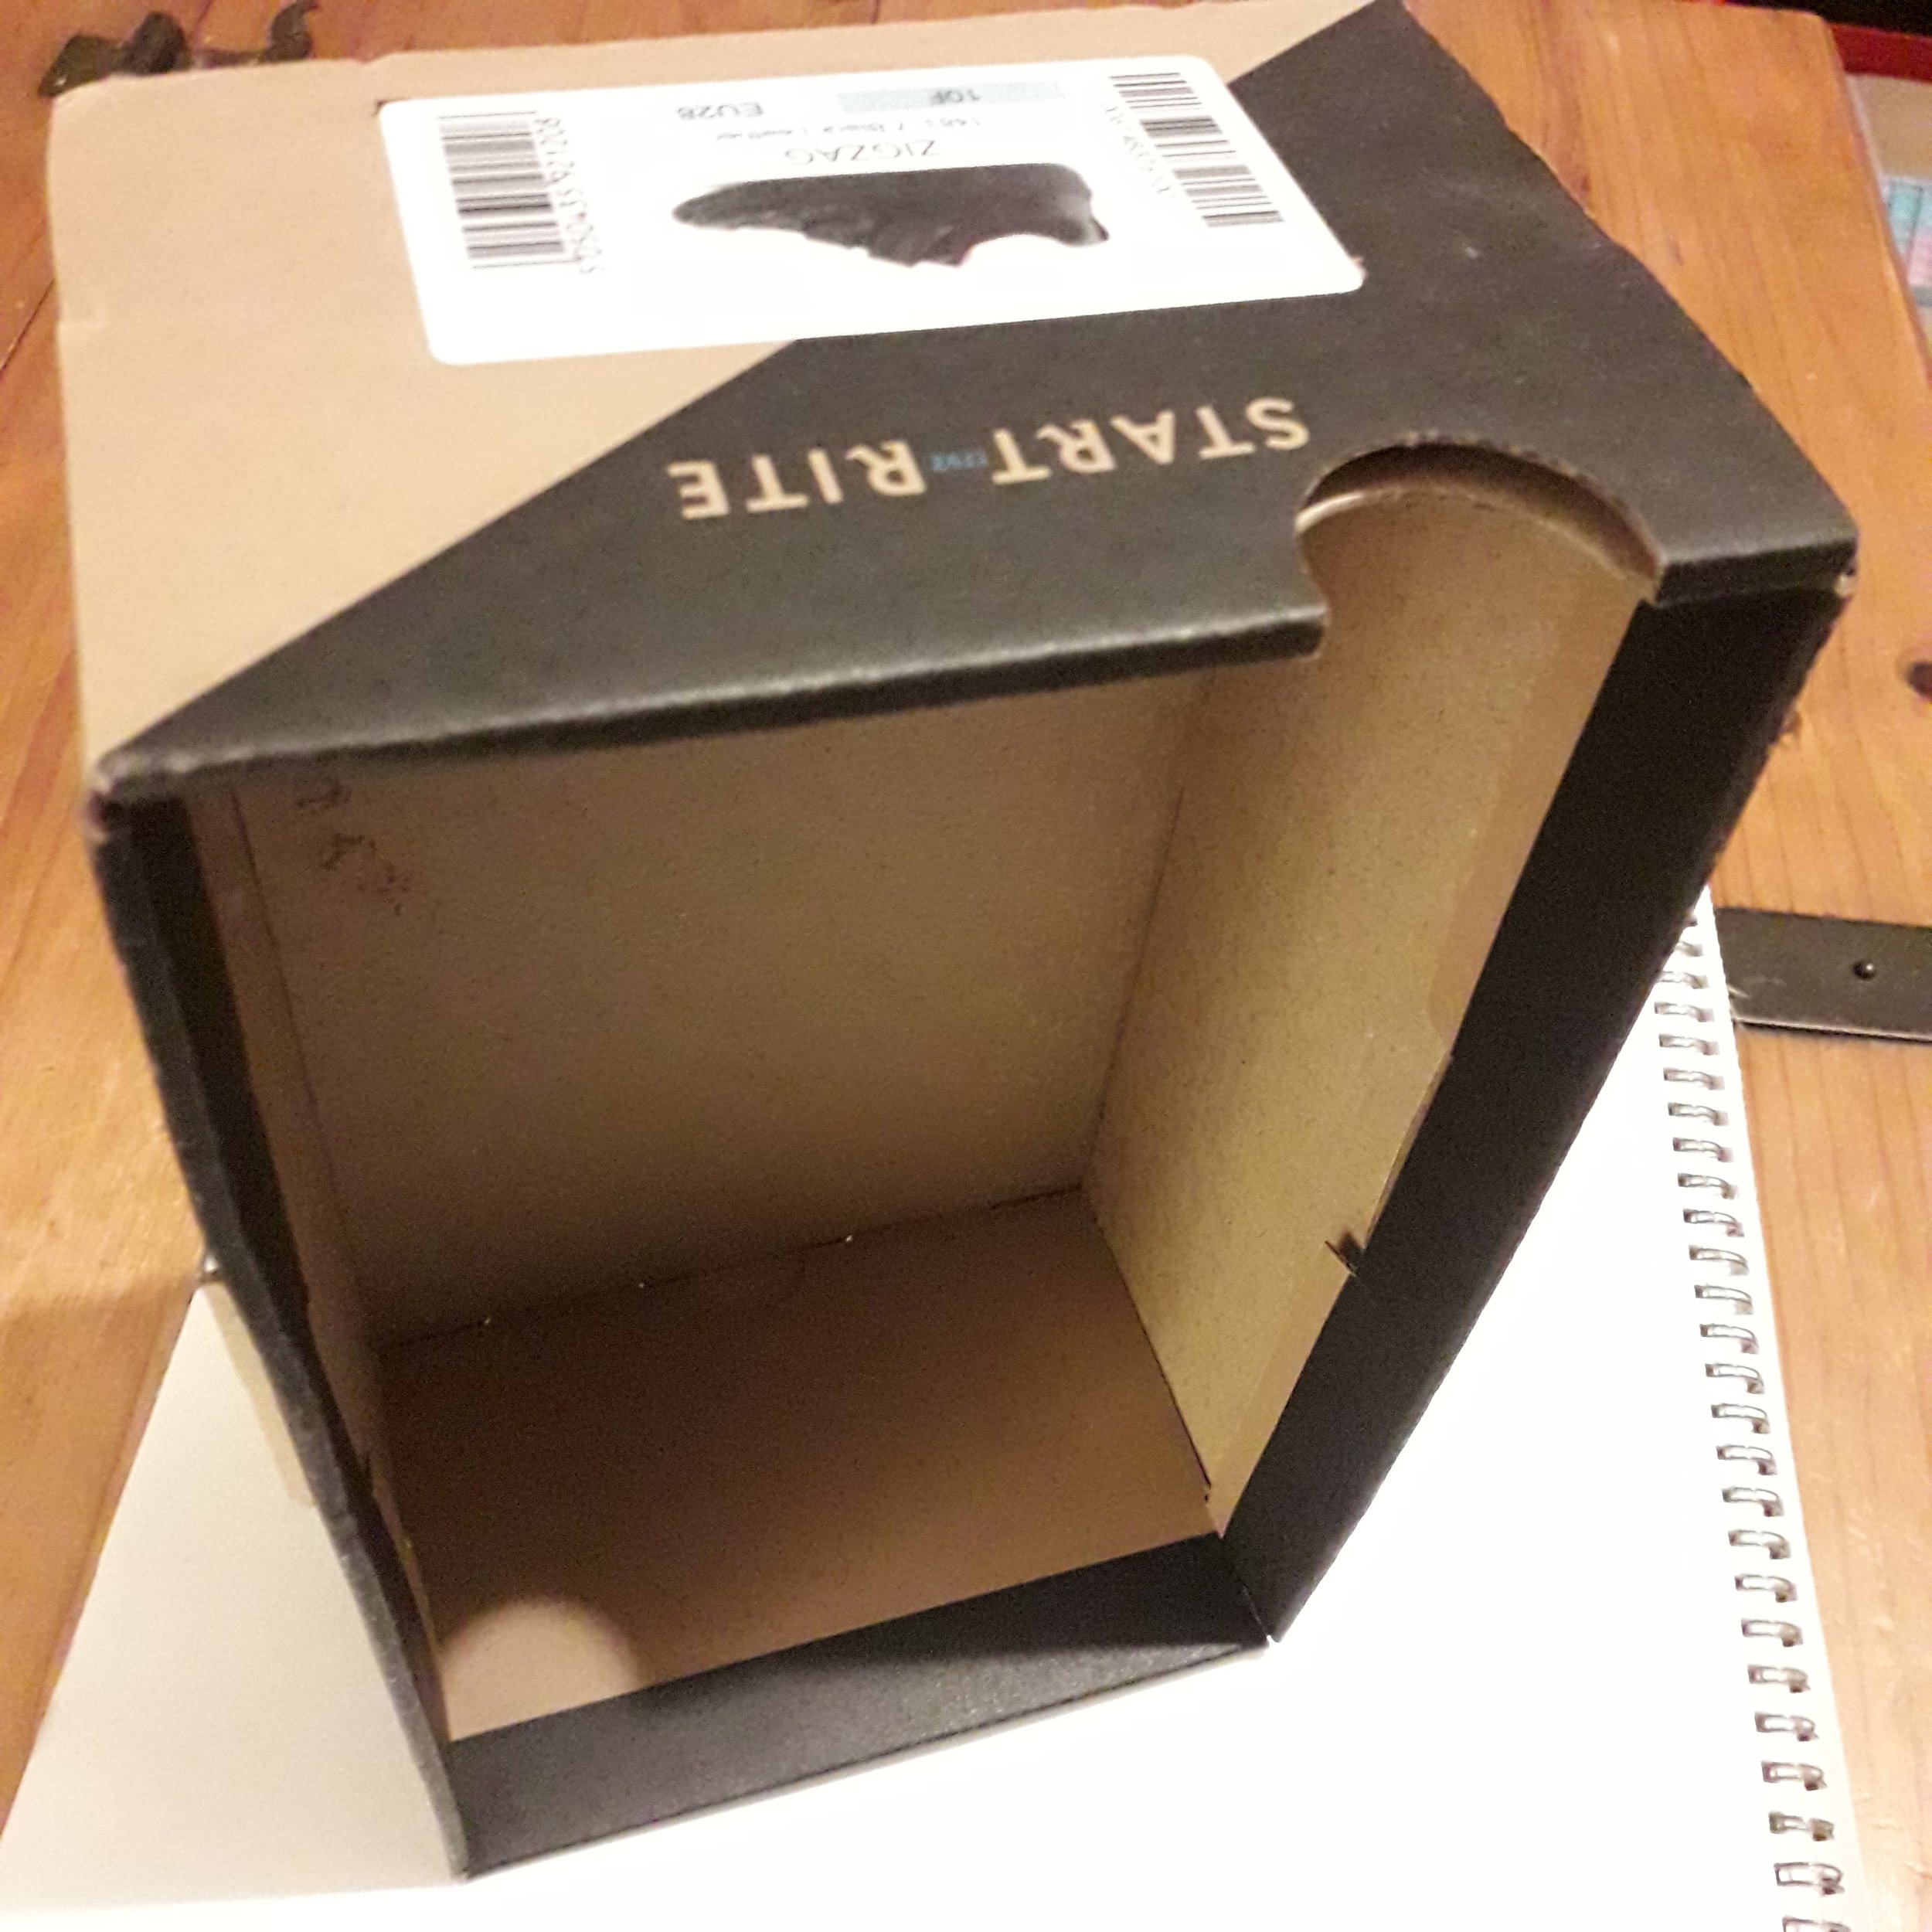
Step 1: Find a card board box suitable for the penguin to sit in and cut 1 or 2 of the sides out for penguin.
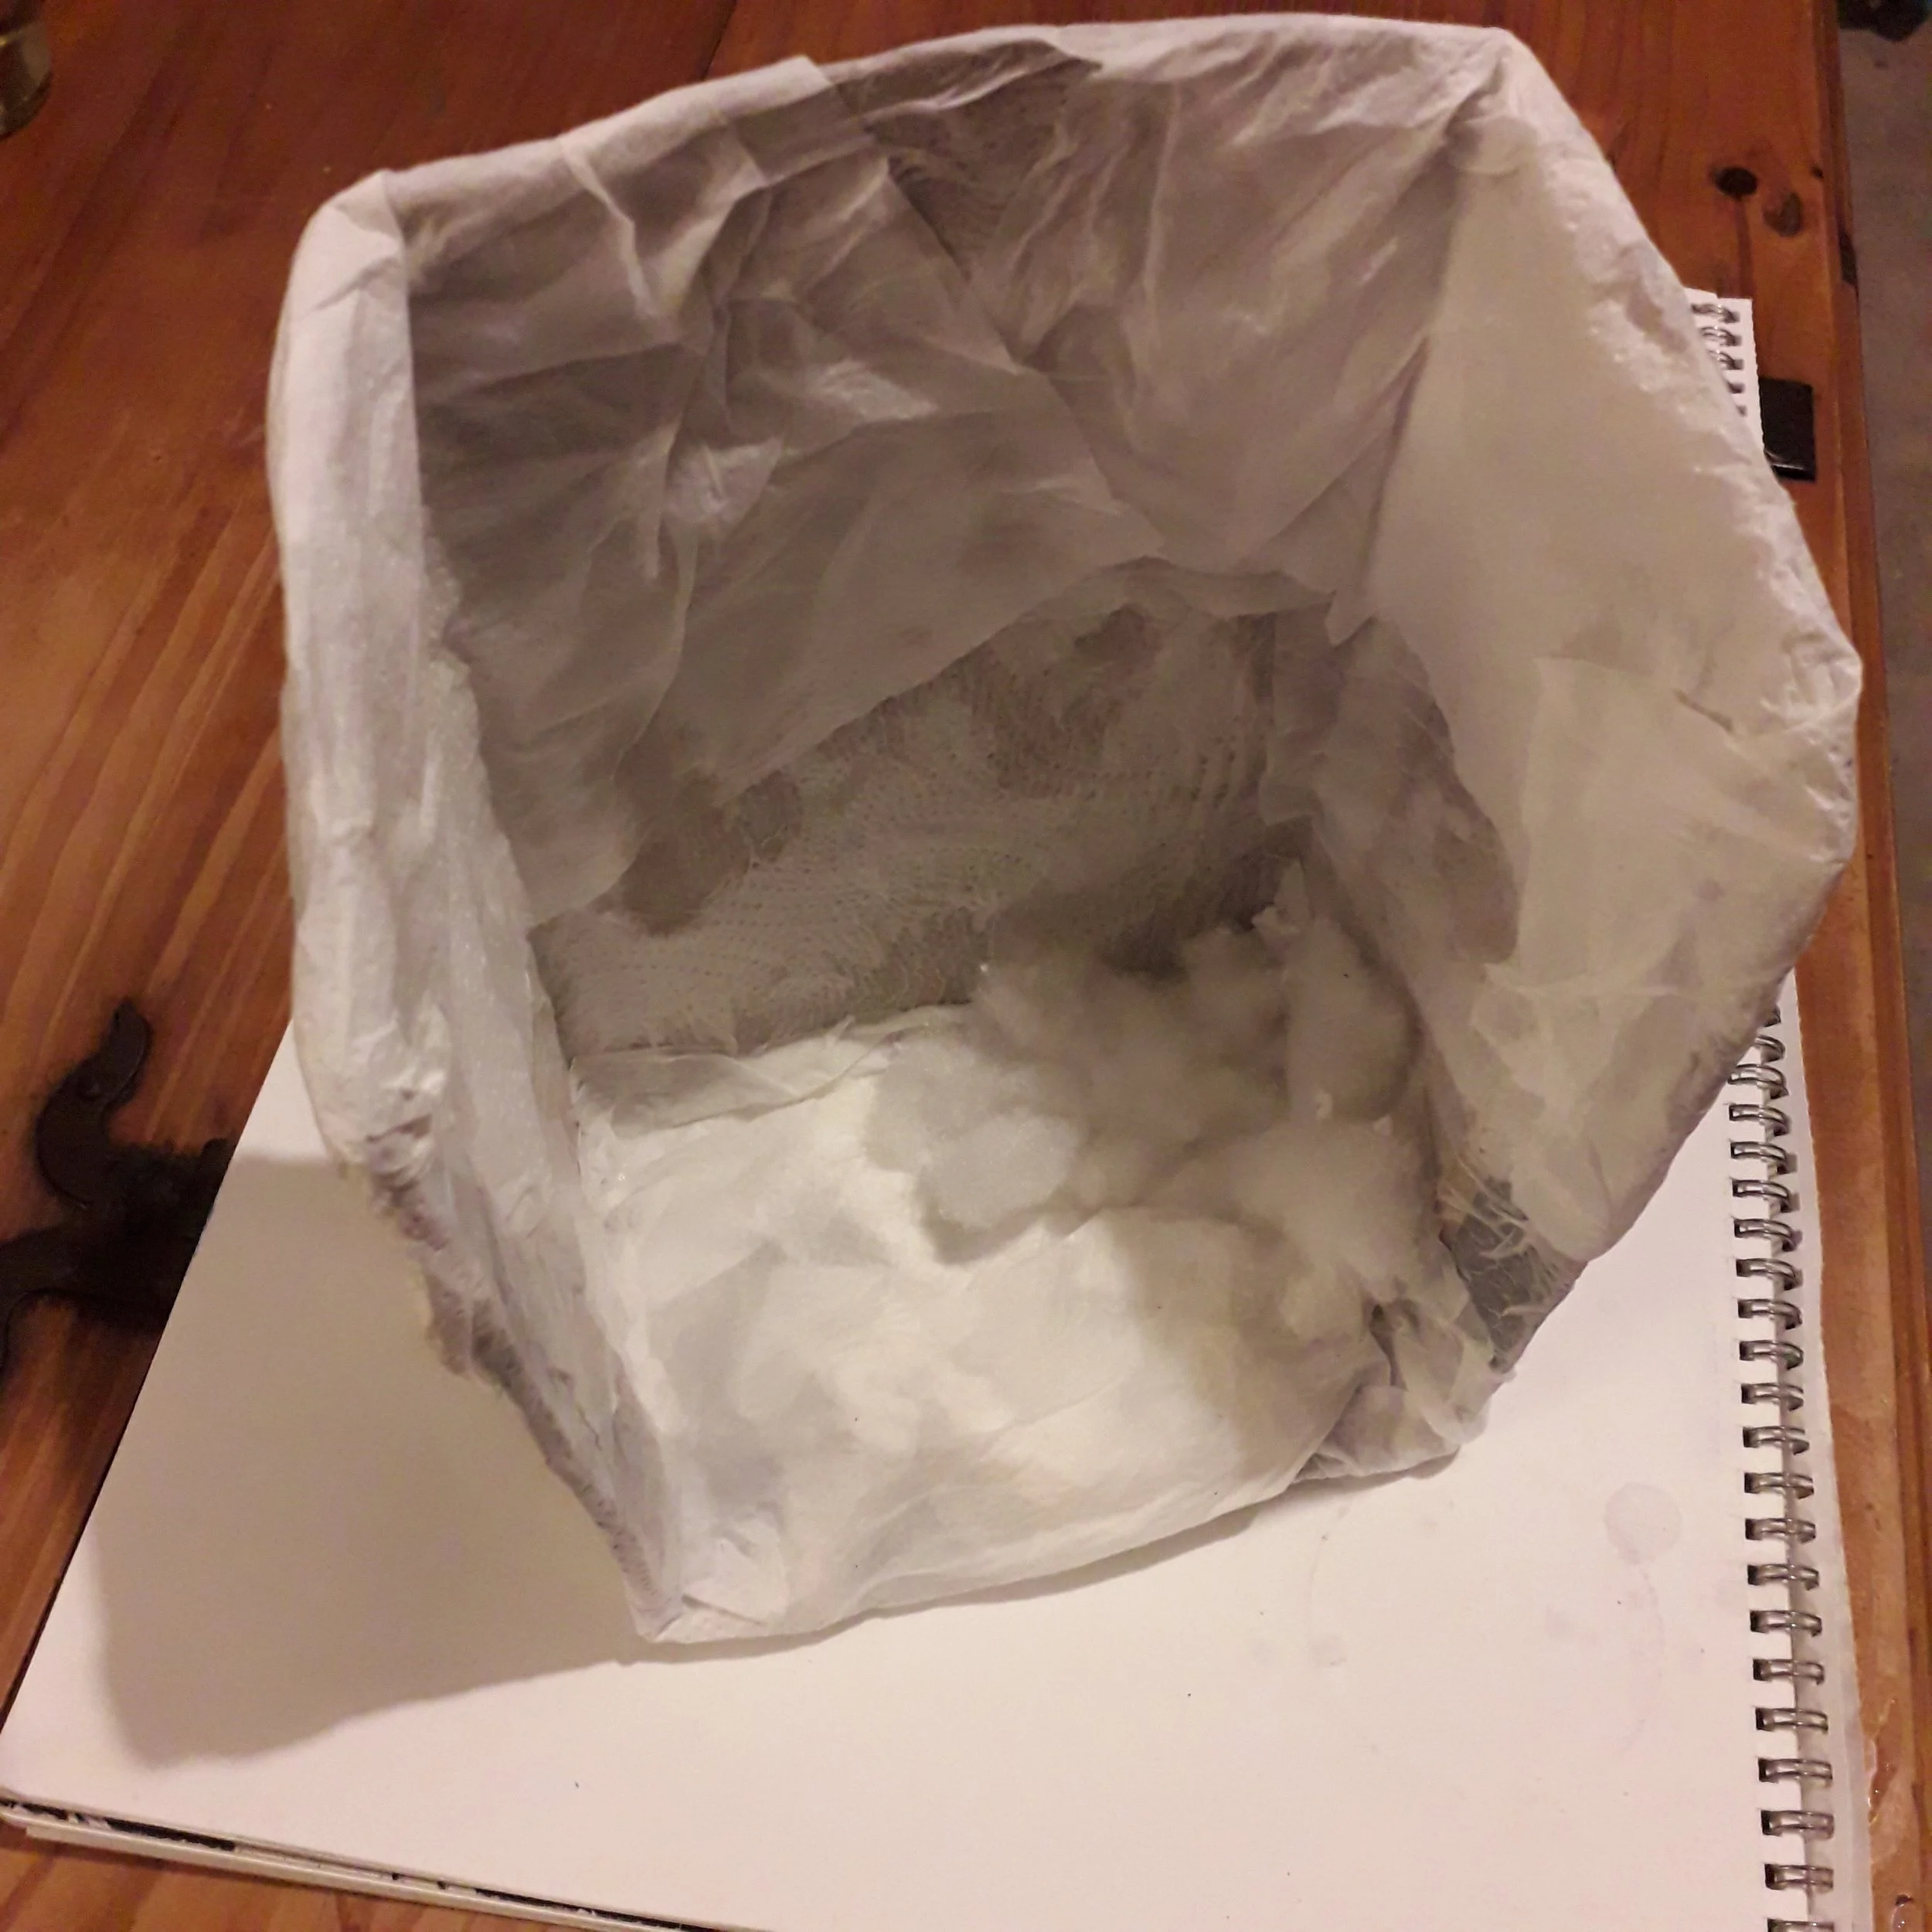
Step 2: Use PVA glue to paste the inside and outs of the box all over and place tissue paper in large pieces over the box the glue into place.
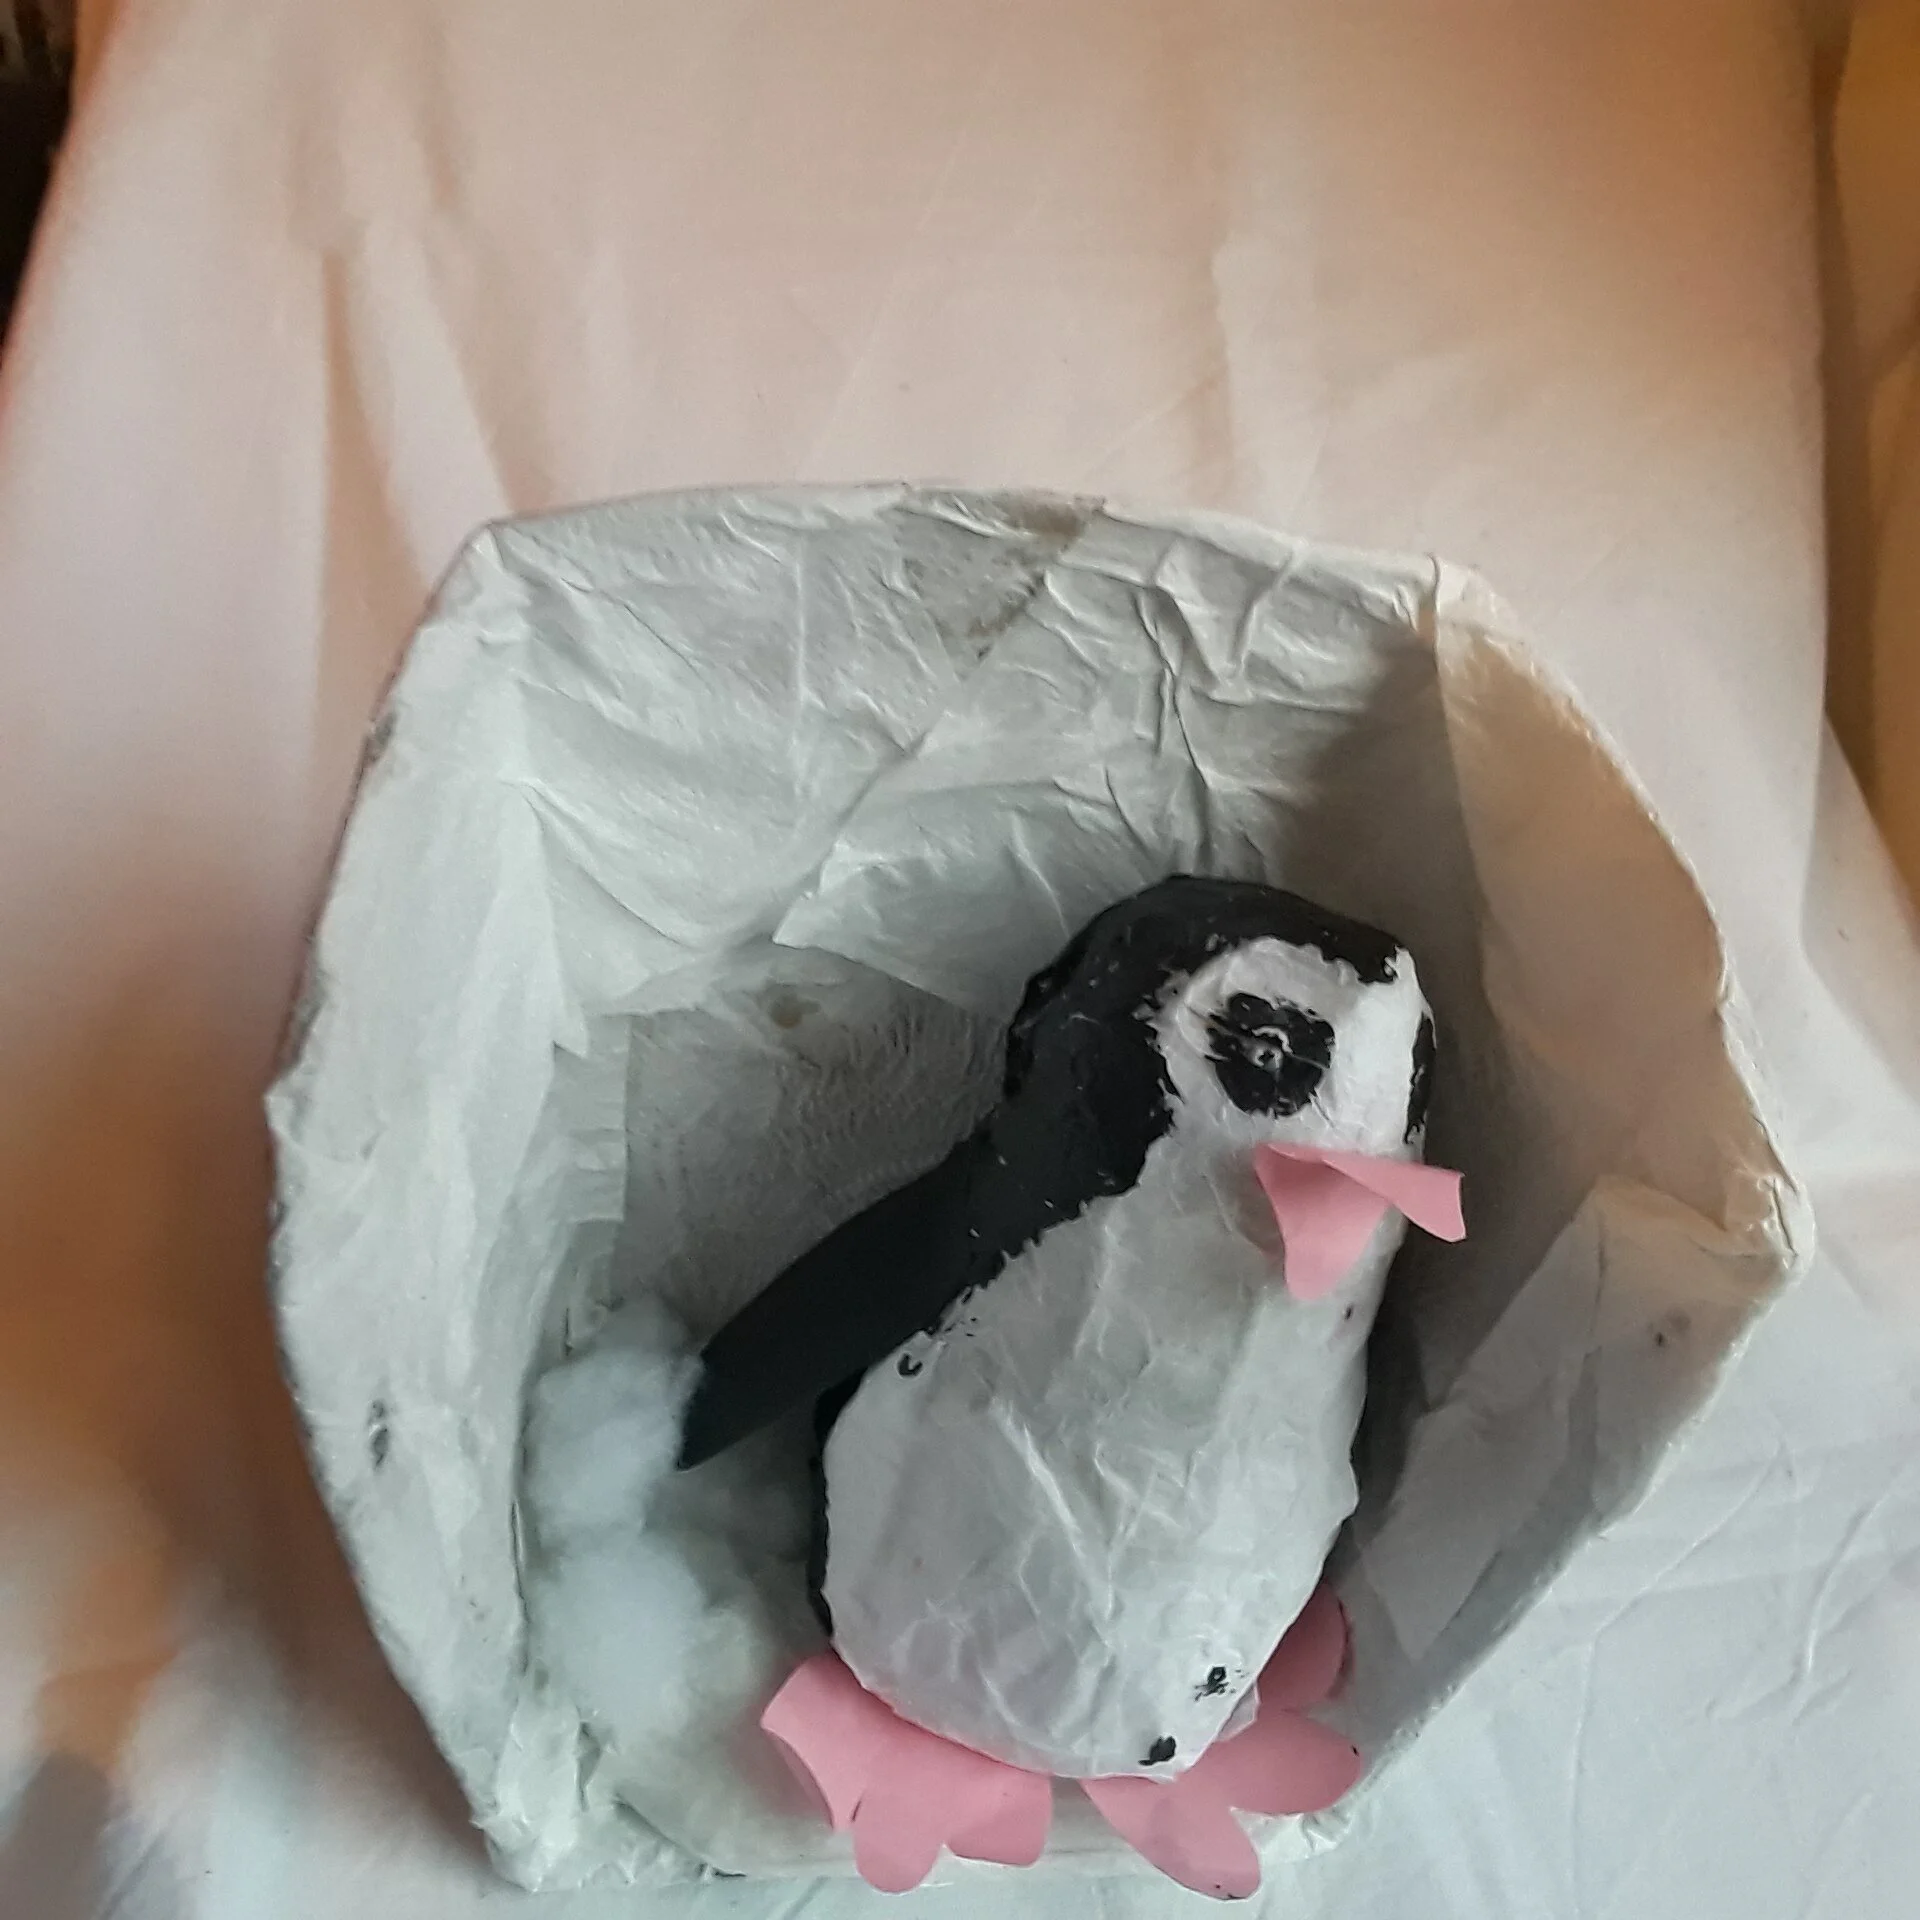
Step 3: Scrunch tissue paper up and place onto the inside of the box to pad and raise the surface and paste more tissue paper over with PVA glue.
To finish, add sparkles and sprinkles with glue pasted on the box already randomly and a ribbon to the top of the box so that it can be hung up.
This can be tied on if 2 holes are made in each side of the box with a pair of scissors or with tape, as the model should be quite light in weight.
Simply tie a knot in each end and use on a door or wall for decoration or Christmas tree if you have one.

Step 1: Take a cereal packet and glue the base if it isn’t stuck with PVA glue.

Step 2: Cut the card with scissors in an irregular shape or rip the card in an uneven shape.

Step 3: Place 3 layers of cardboard on the base to build a platform. Cut he card or rip it.


Step 4: Paste tissue paper over all the front and back of the iceberg.
Step 5: Cut into the car from an angle and place some ribbon and tie a bow or knot.
Step 6: Use sprinkles and glitter and cotton wool to finish and to display.
2nd Video of alternative iceberg idea for the penguin