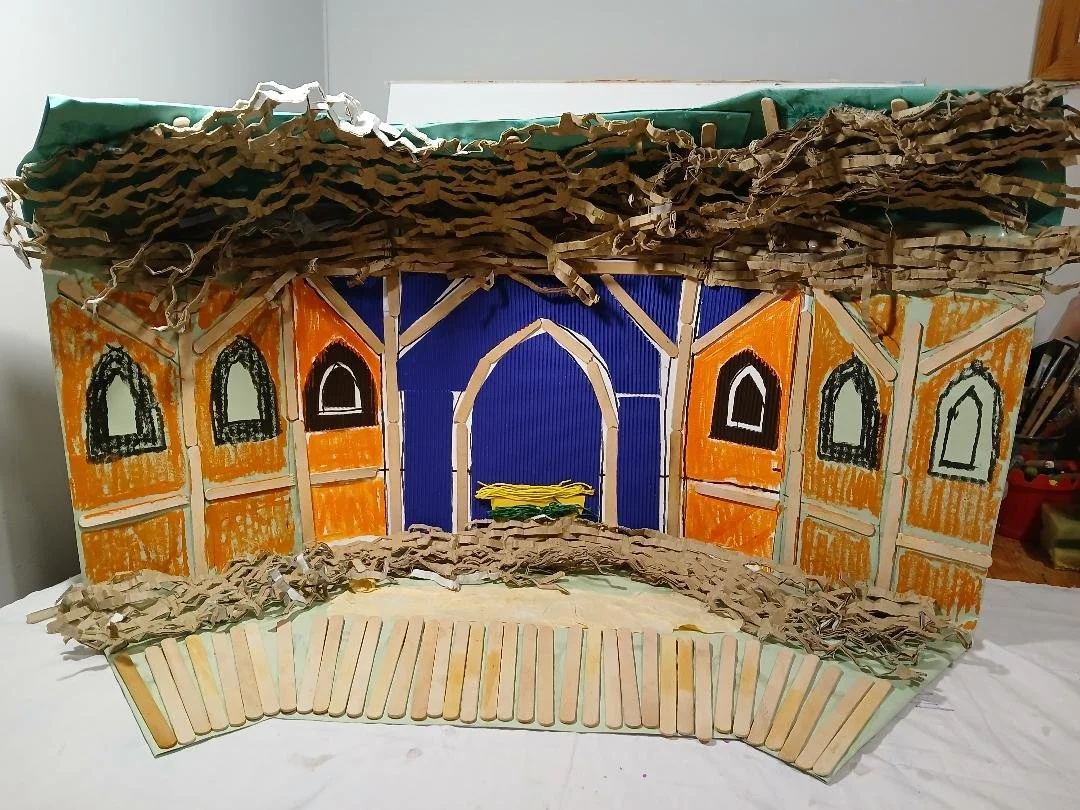
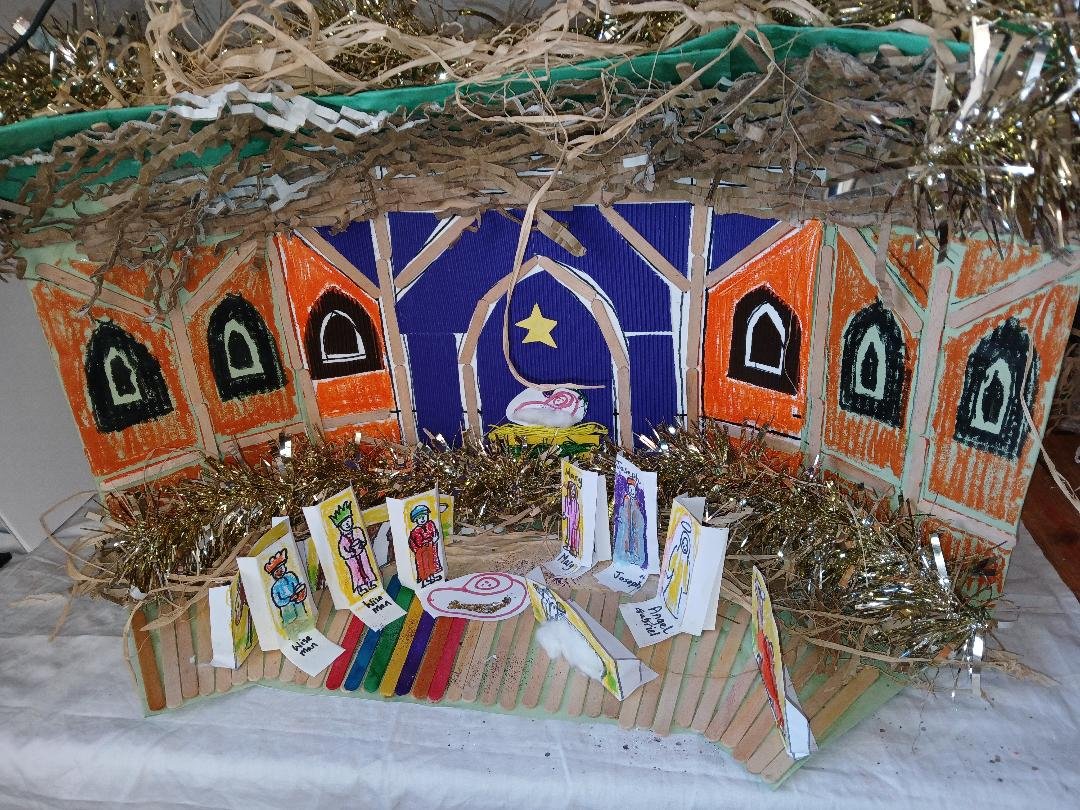
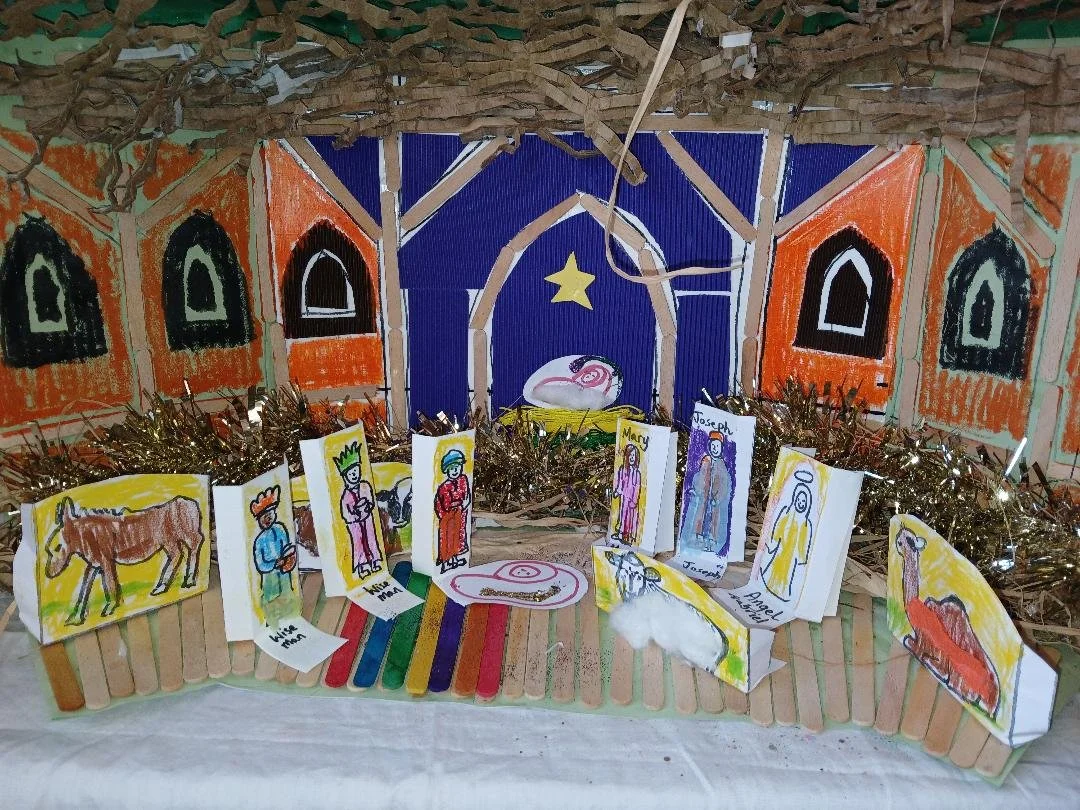
Nativity scene.
Nativity scene.
Steps 11:
Add the figures and use paint sticks for the colour and tissue paper.
Choose complimentary colours for each figure so colours that contrast such as green and red, or orange and blue.
Step 12:
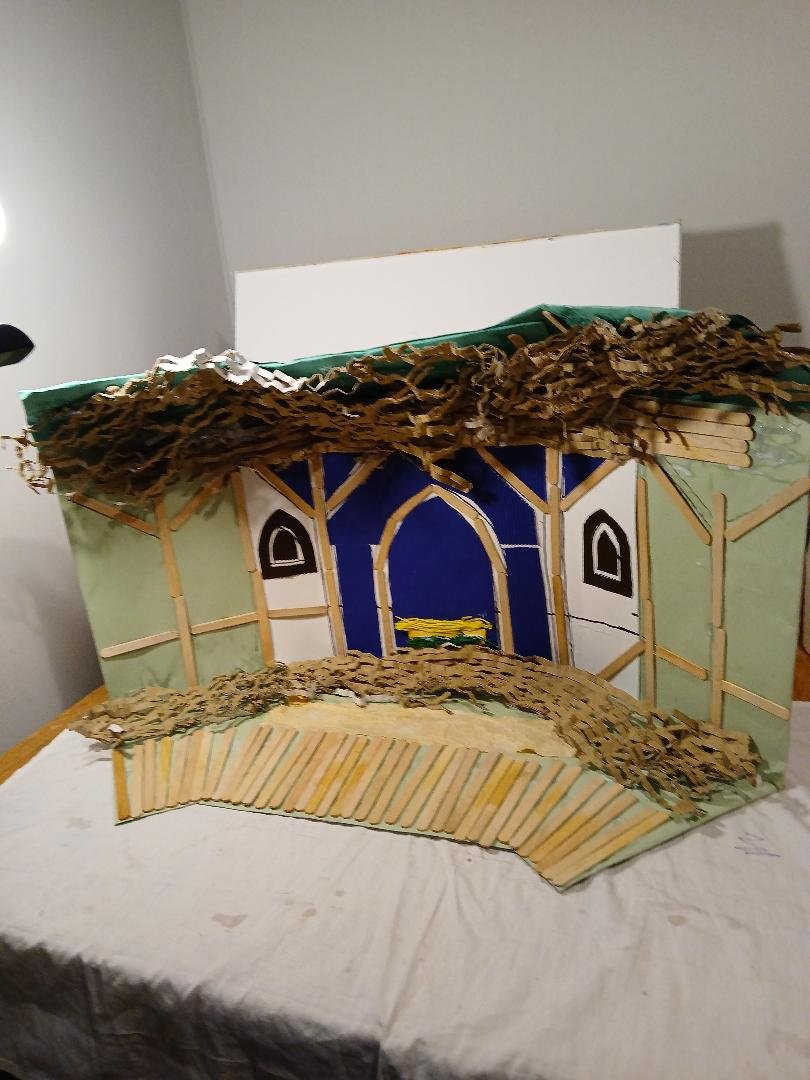
Completed Nativity scene
Add tinsel and glitter.
Step 6:
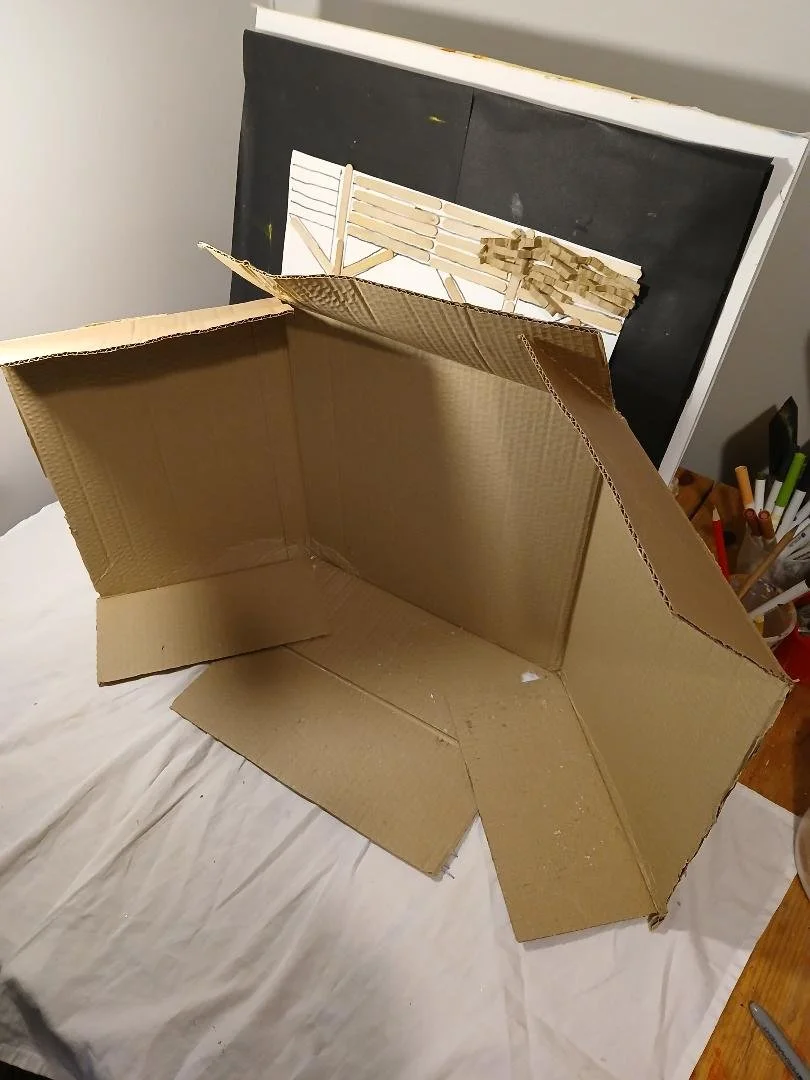
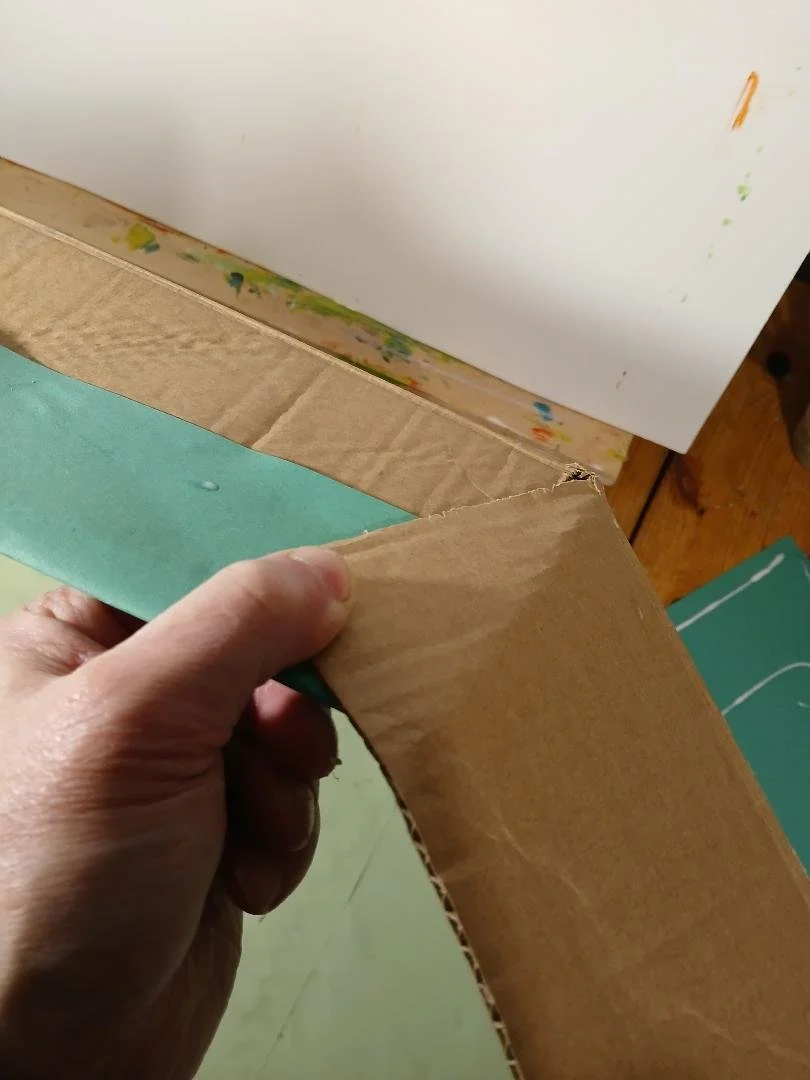
Open the box to create sides base and top.
Step 7:
Paste the base together at an angle.
Step 7:
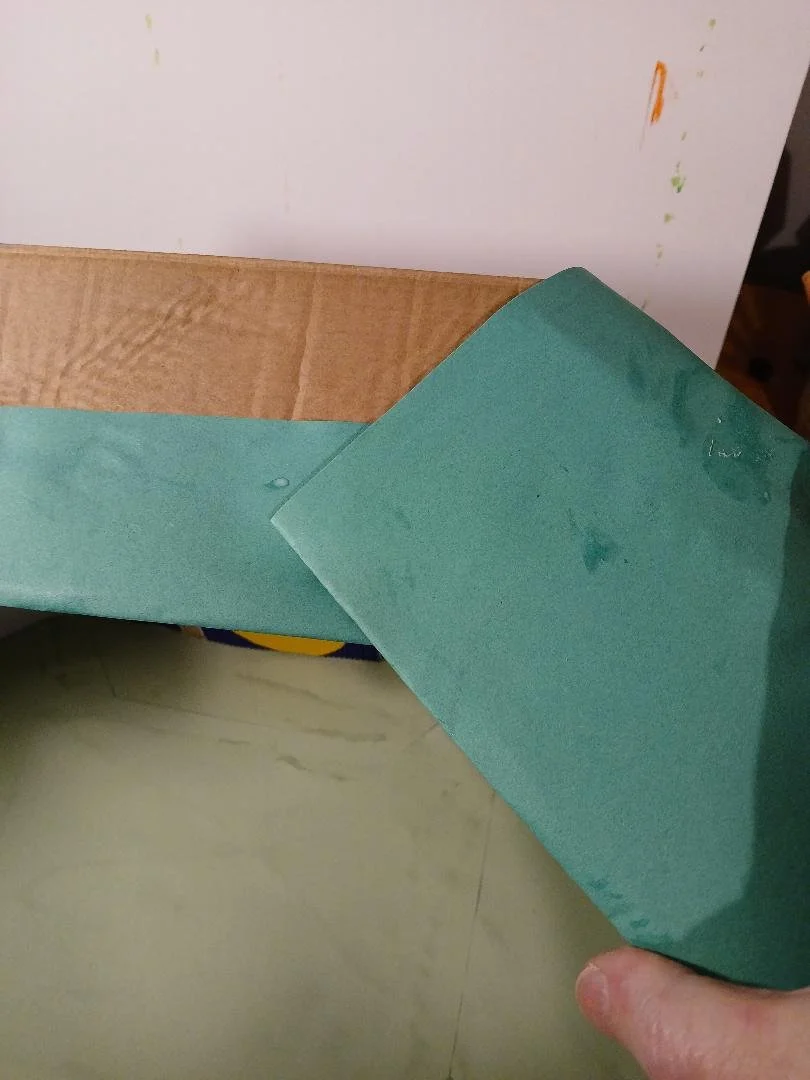
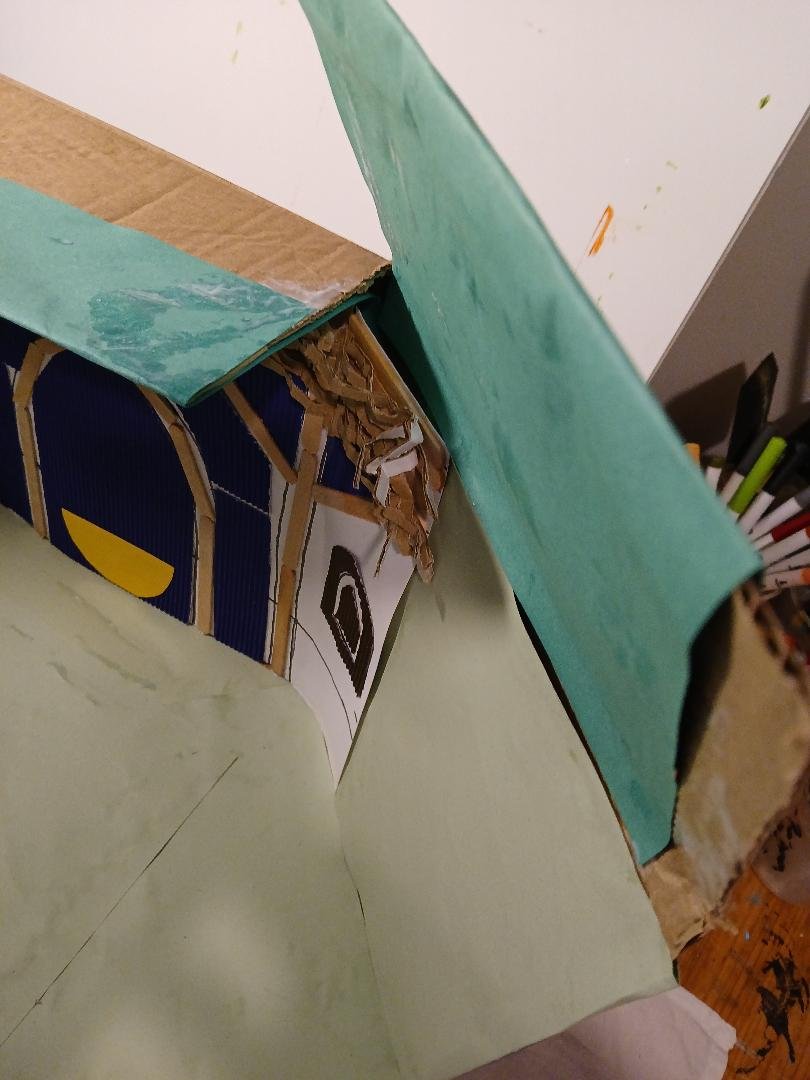
Paste the background image into the box at the back. Paste coloured paper onto inside of the scene to cover the box up. Then paste the flaps.
Step 8:
Fix the flaps to there roof at an angle.
Step 9:
Use PVA glue and add lolly sticks, hay, or similar, and tissue paper.
Step 10:
Use colour wool for the crib, paint sticks for the backgrounds.
Nativity scene:
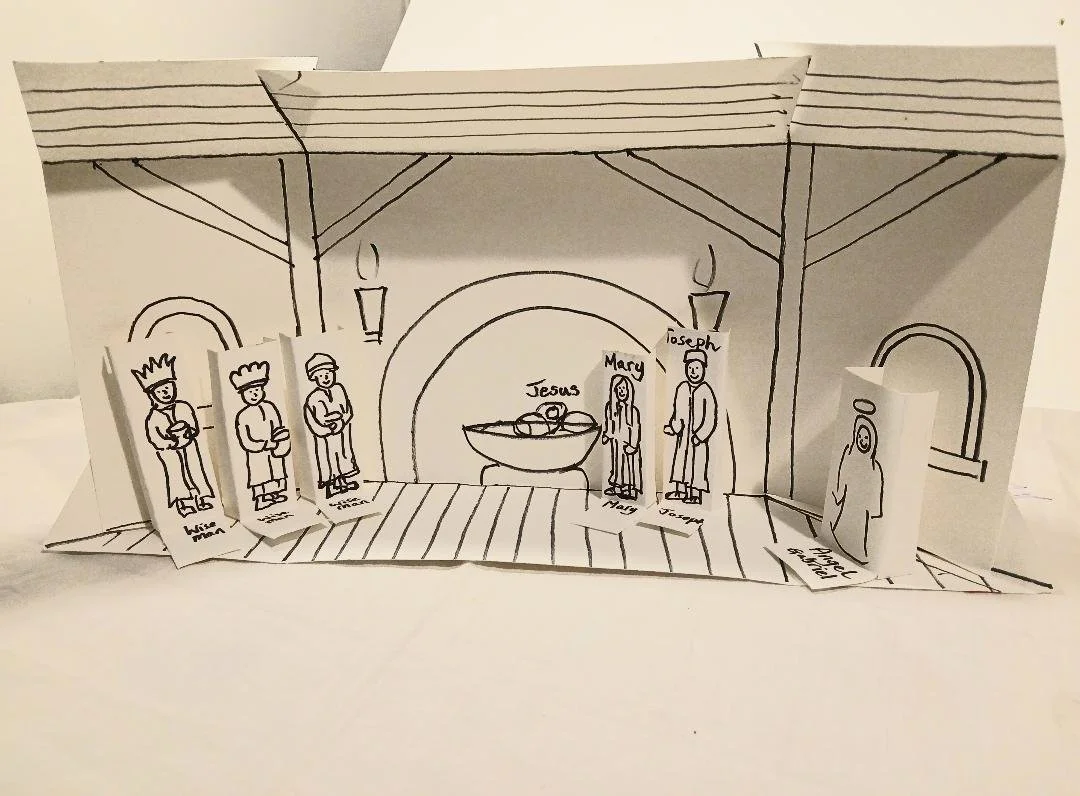
Initial sketch layout for the Nativity scene for the Christmas project.
The Nativity scene:
The layout of the scene with the figures below as a flat piece.
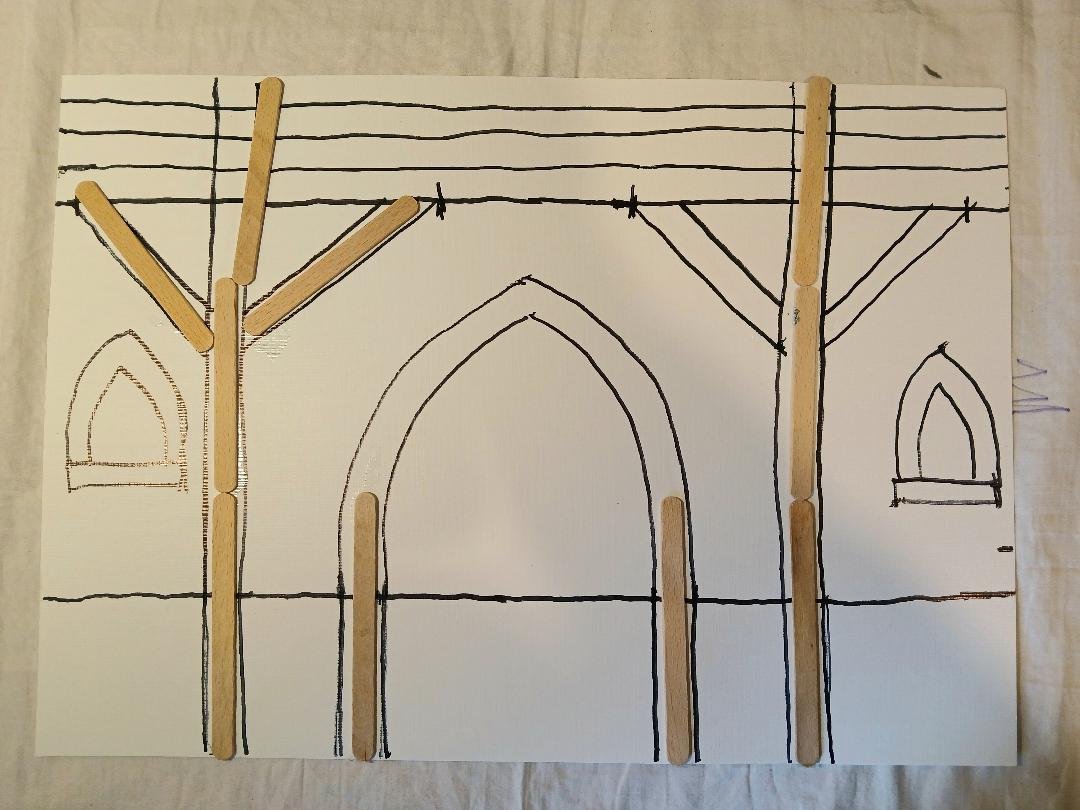
Step 1:
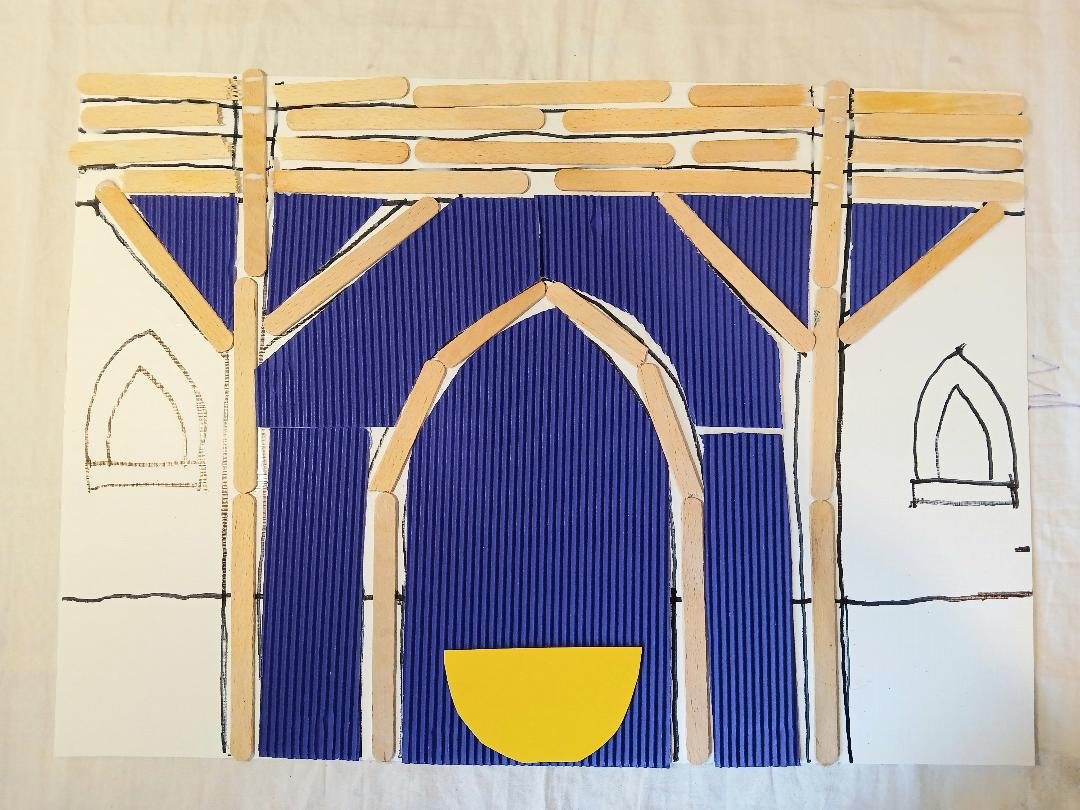
Start A2 piece of card draw the outline for the stables. Then add wooly sticks to the wooden supports.
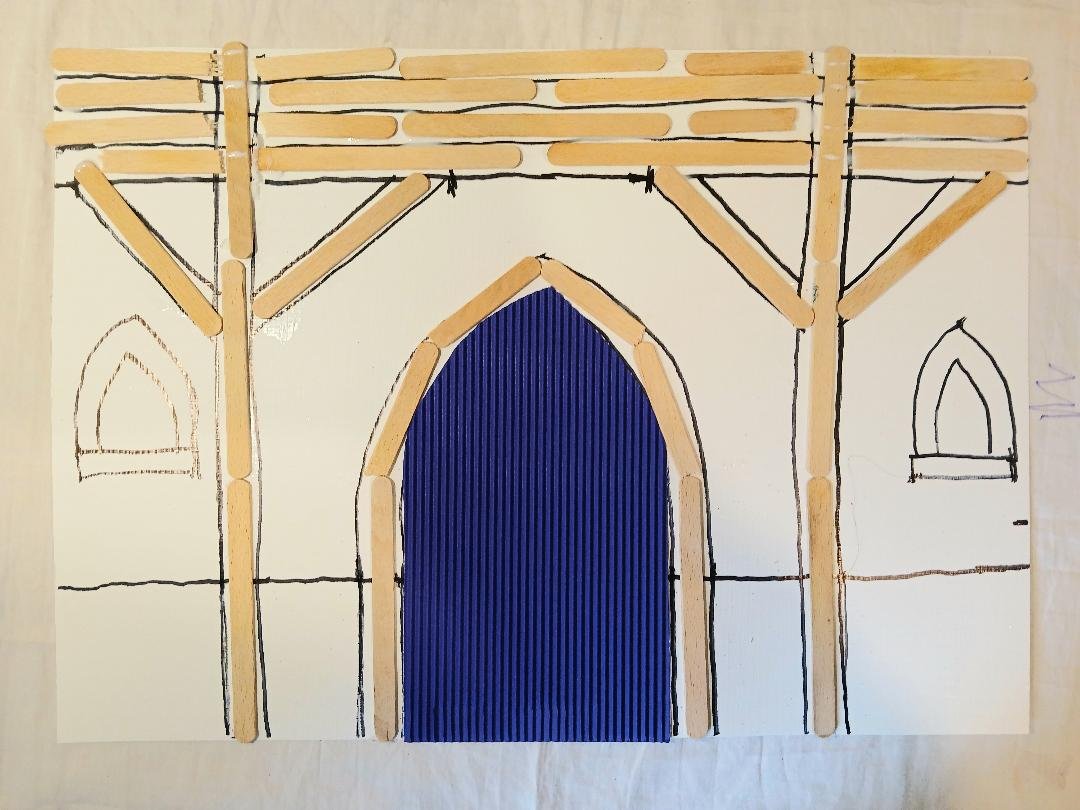
Step 2:
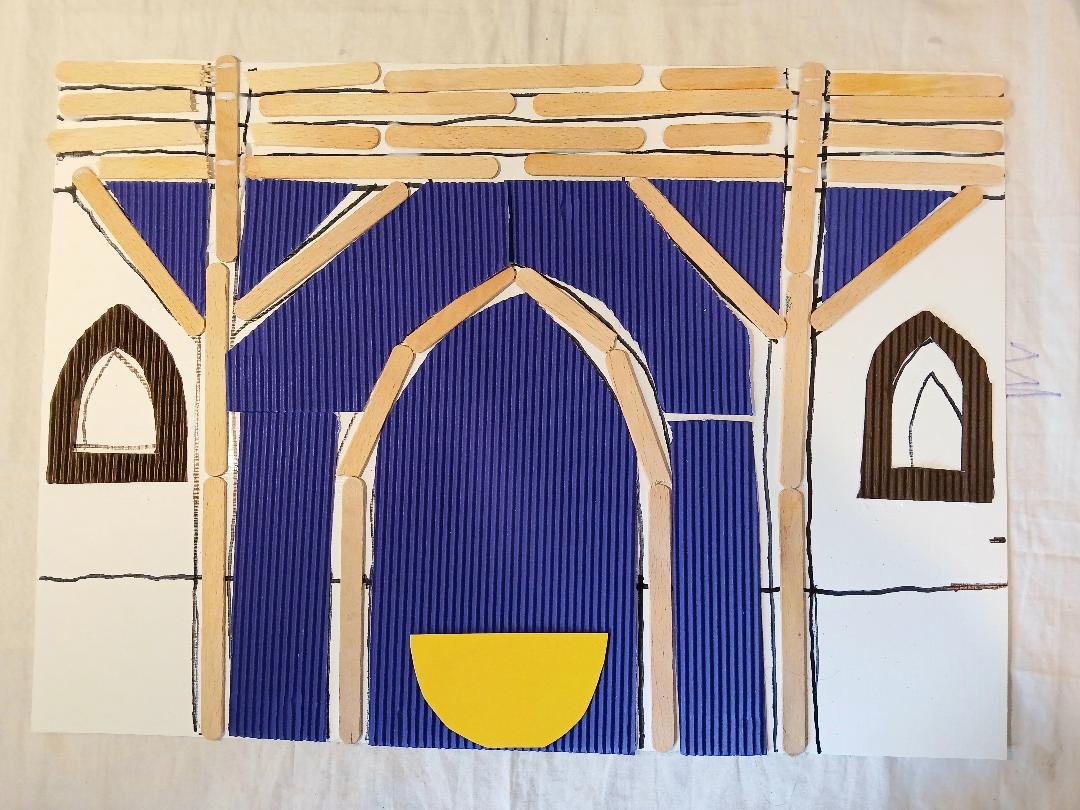
Paste on lolly sticks to the wood supports, then add corrugated card to the central arch, cut and paste to fit.
Step 3:
Add more corrugated card - purple, or brown, to the main central part of the stables.
Step 4:
Add arches to the left and right areas and the cradle to the central arch with corrugated card.
Step 5:
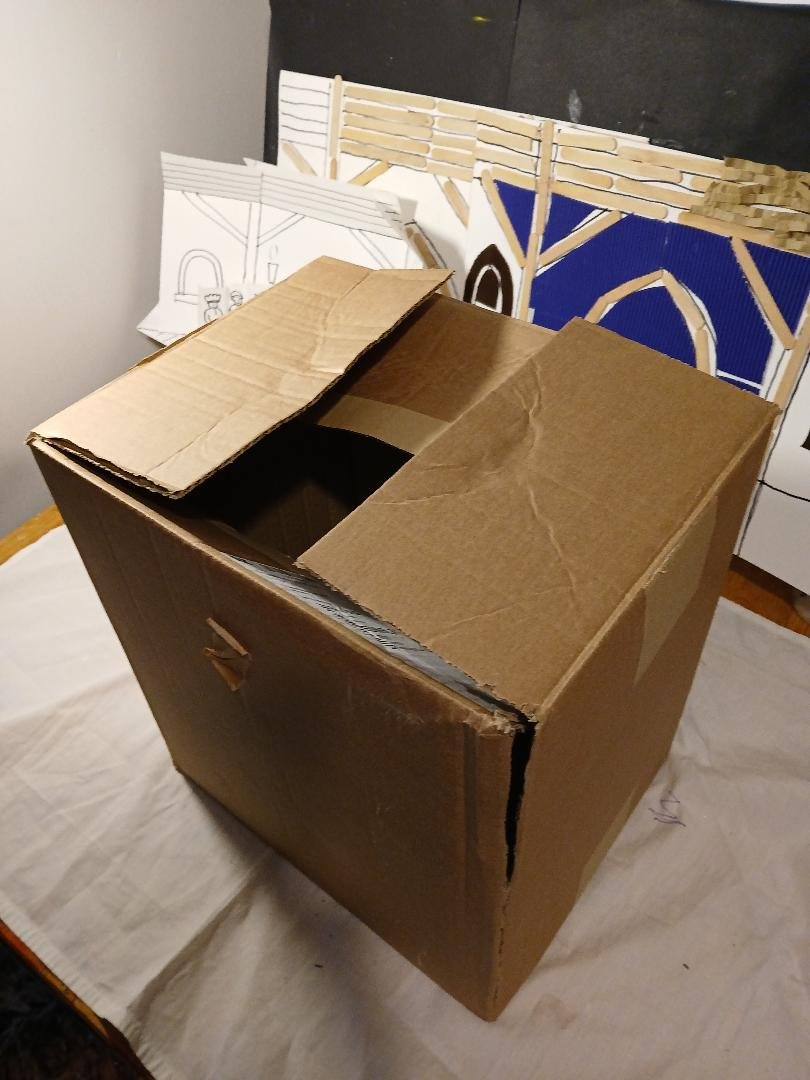
Use a cardboard box or two cereal boxes.
Cut it as shown in step 6.
